Download ready-to-use profiles. Slice with confidence. Print right away.
You’ve found the perfect model.
Maybe you downloaded it from a community platform. Maybe you generated it with AI.
Now what?
Many beginners assume that a 3D model can be sent directly to a printer. In reality, every model needs to go through a preparation stage before printing.
This process is called slicing.
The good news is that you don’t need to become a slicing expert to get great results. Understanding a few key concepts is enough to start printing successfully.
What Is a Slicer?
A slicer is software that converts a 3D model into instructions your printer can understand.
The model itself only contains geometry.
Your printer still needs to know:
- How thick each layer should be
- How fast to print
- How much material to use
- Whether supports are needed
- How the model should be positioned
The slicer generates all of this information and creates the final print file.
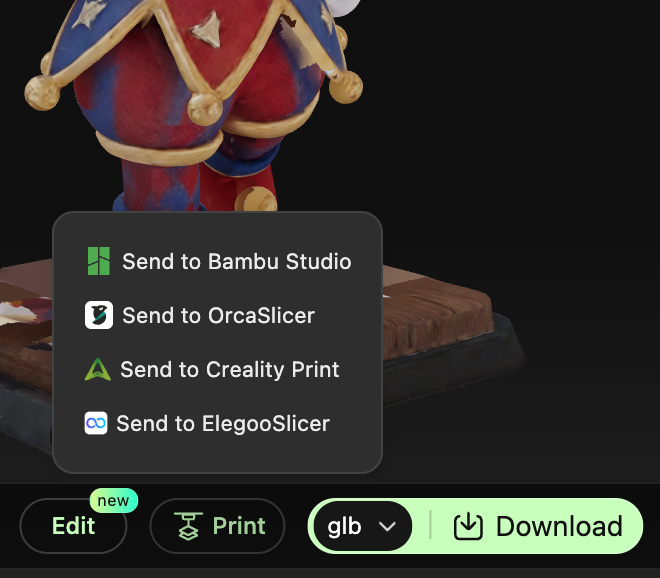
Popular slicers include: OrcaSlicer, Bambu Studio, PrusaSlicer, Cura
Think of the slicer as the bridge between your model and your printer.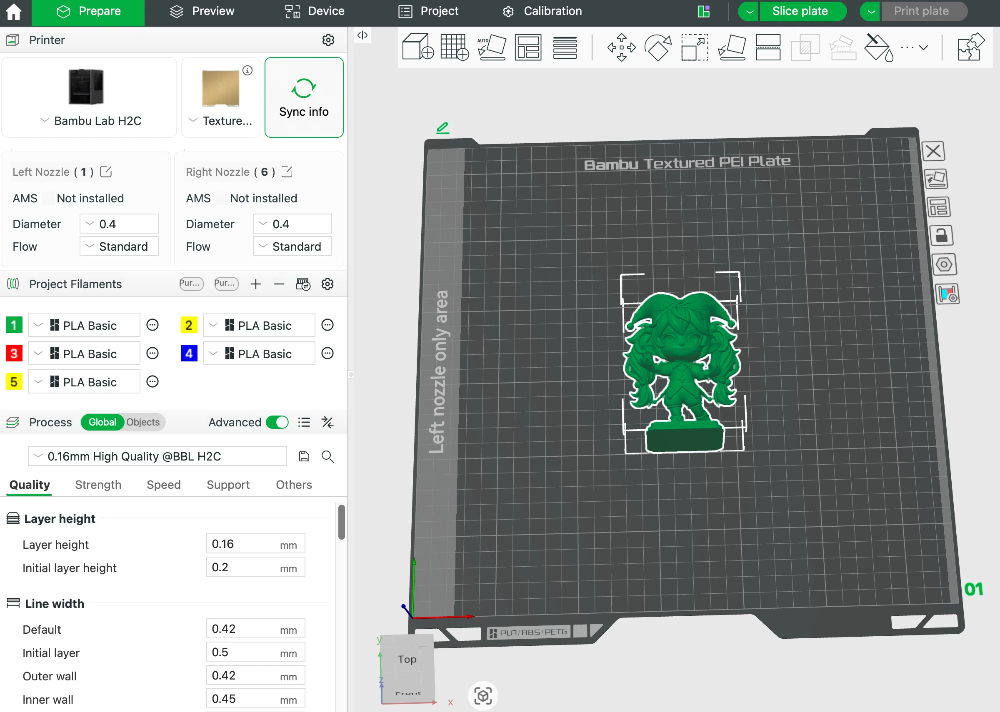
Step 1: Check the Model Orientation
One of the most important decisions happens before you touch any settings.
How you place a model on the build plate affects: Surface quality, Print time, Support usage, Print success rate
For example:
A figurine standing upright may require a large amount of support.
The same model tilted slightly backward could use significantly less support while producing cleaner surfaces.
Good orientation often matters more than advanced slicer settings.
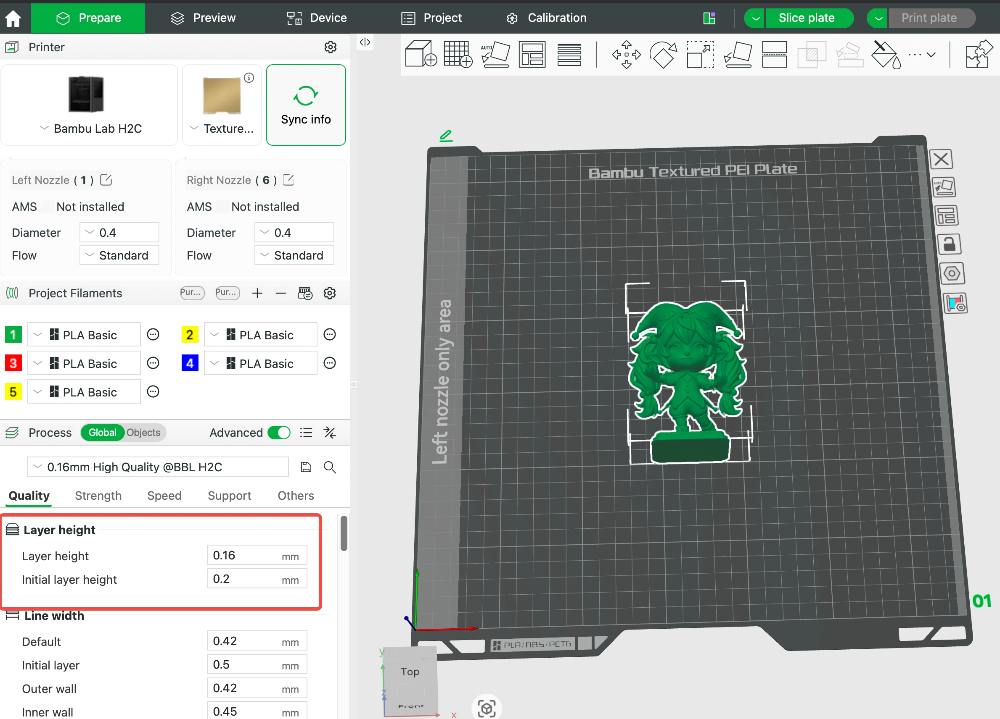
Step 2: Choose the Right Layer Height
Layer height controls the balance between detail and speed.
| Layer Height | Characteristics |
|---|---|
| 0.28 mm | Faster printing, Good for prototypes, Functional parts |
| 0.20 mm | Recommended default, Balanced speed and quality, Suitable for most prints |
| 0.12 mm | Higher detail, Longer print times, Miniatures and display models |
Step 3: Set Infill Density
Infill is the internal structure of a print.
A model does not need to be completely solid.
| Infill Density | Recommended Use |
|---|---|
| 10-15% | Decorative models and display pieces. |
| 15-25% | General-purpose prints. |
| 30%+ | Functional parts that need additional strength. |
More infill increases strength, but also increases material usage and print time.
Most everyday prints work perfectly well at around 15–20%.
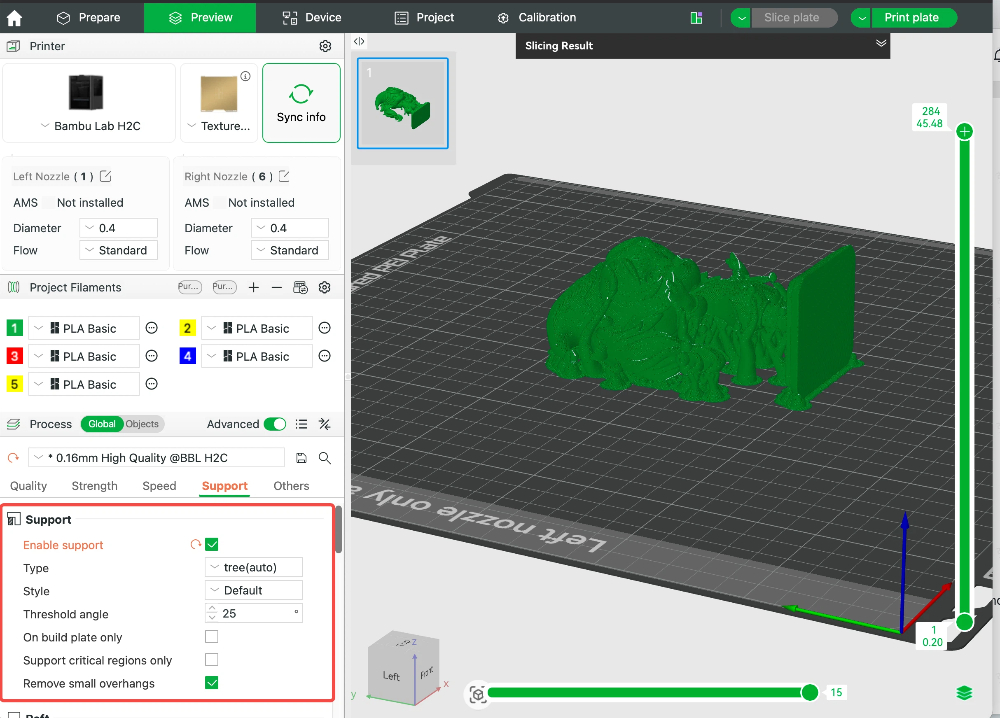
Step 4: Decide Whether Supports Are Needed
Supports are temporary structures printed underneath overhangs.
Without support, certain parts of a model may fail during printing.
Supports are commonly needed for: Figurines, Character models, Complex decorative objects
Supports are often unnecessary for: Boxes, Mechanical parts, Well-designed functional models
As a beginner, don’t be afraid to use supports when needed. Failed prints waste more time than removing supports afterward.
Step 5: Use the Right Print Profile
One of the biggest mistakes new makers make is manually changing dozens of settings without understanding their purpose.
Most modern slicers already provide tested printer profiles.
These profiles include optimized settings for: Print speed, Temperatures, Cooling, Retraction, Material behavior
In many cases, a proven profile will outperform random manual adjustments.
Start with a trusted profile before experimenting.
Common Slicing Mistakes
Many failed prints happen before printing even starts.
Watch out for these common mistakes:
Scaling Errors
Always verify the model size before slicing.
A 50 mm model and a 500 mm model can look identical on screen.
Floating Parts
Check that all parts touch the build plate properly.
Floating geometry cannot be printed.
Excessive Supports
Too many supports increase print time and cleanup work.
Try adjusting model orientation first.
Wrong Material Profile
PLA, PETG, TPU, and ASA require different settings.
Always select the correct material profile before slicing.
Make Slicing Easier with Smart Automation
As models become more detailed, preparation can quickly become the most time-consuming part of the workflow.
Choosing orientation, arranging parts, and adjusting settings often requires experience.
This is where automation can help.
Smart Model Placement
Hi3D can automatically analyze imported models and recommend print-friendly orientations.
The goal is to reduce support usage, improve surface quality, and increase print success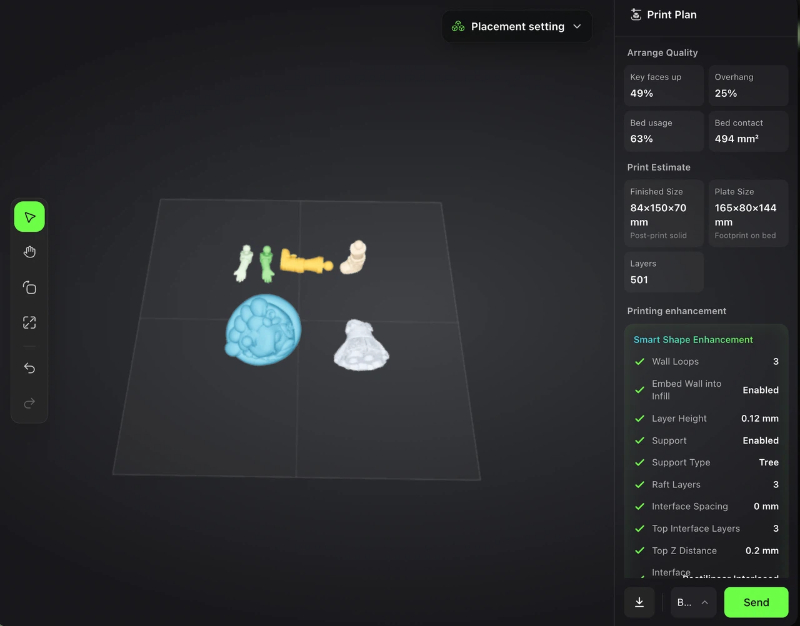
One-Click Print Preparation
Instead of manually adjusting every setting, Hi3D helps streamline the preparation process by combining model analysis and print optimization into a single workflow.
Optimized Layout Suggestions
When printing multiple parts, proper arrangement can reduce wasted space and improve efficiency.
Hi3D automatically generates optimized build plate layouts, helping makers spend less time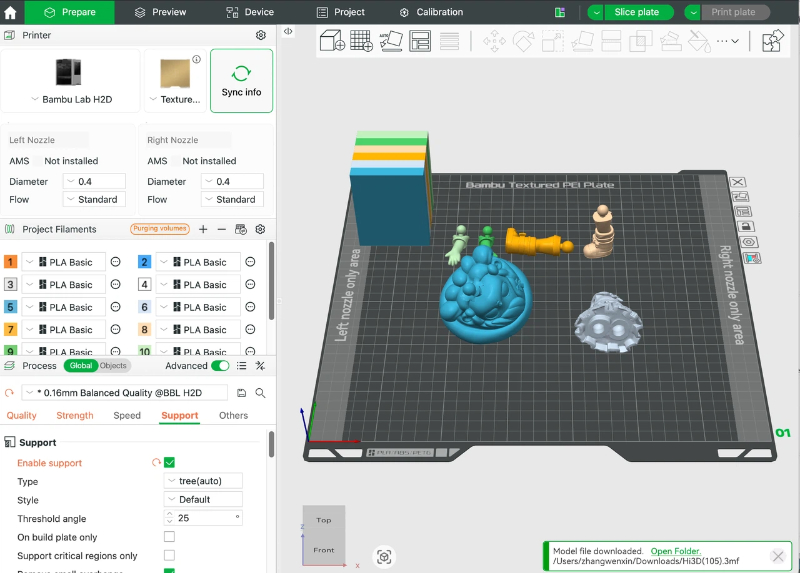
Final Thoughts
Slicing may seem intimidating at first, but it doesn’t have to be complicated.
For most beginners, success comes from mastering a few fundamentals:
- Use a trusted profile
- Orient models correctly
- Choose reasonable layer heights
- Add supports when necessary
Once you understand these basics, you’ll spend less time troubleshooting and more time creating.
Remember: a great print often starts long before the printer begins moving.