Cleaning Supports & Blobs
- Use needle-nose pliers, a craft knife, or a file to thoroughly remove support residue and stringing from pins, slots, and mating surfaces.
- Pay special attention to round pins and holes: small bumps can cause parts to crack or not seat fully.
- Always do a dry fit after cleaning. The parts should insert and remove easily without wobbling. If too tight, lightly sand the outer surface of the pin.
❌ What happens if you skip cleaning?
Parts won’t fit, you risk cracking them by forcing, and glued assemblies will be crooked.
Support removal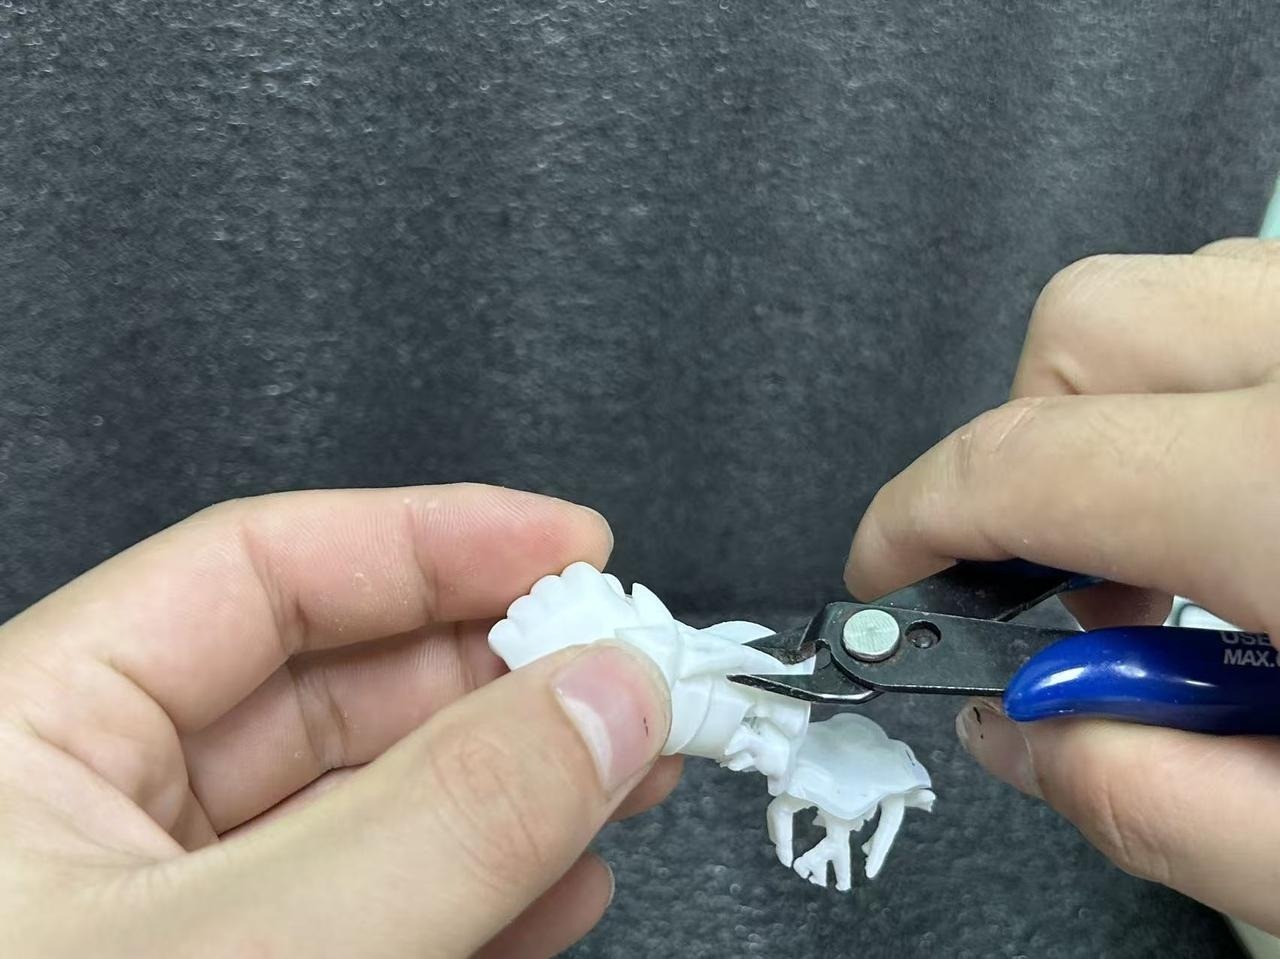
Trimming burrs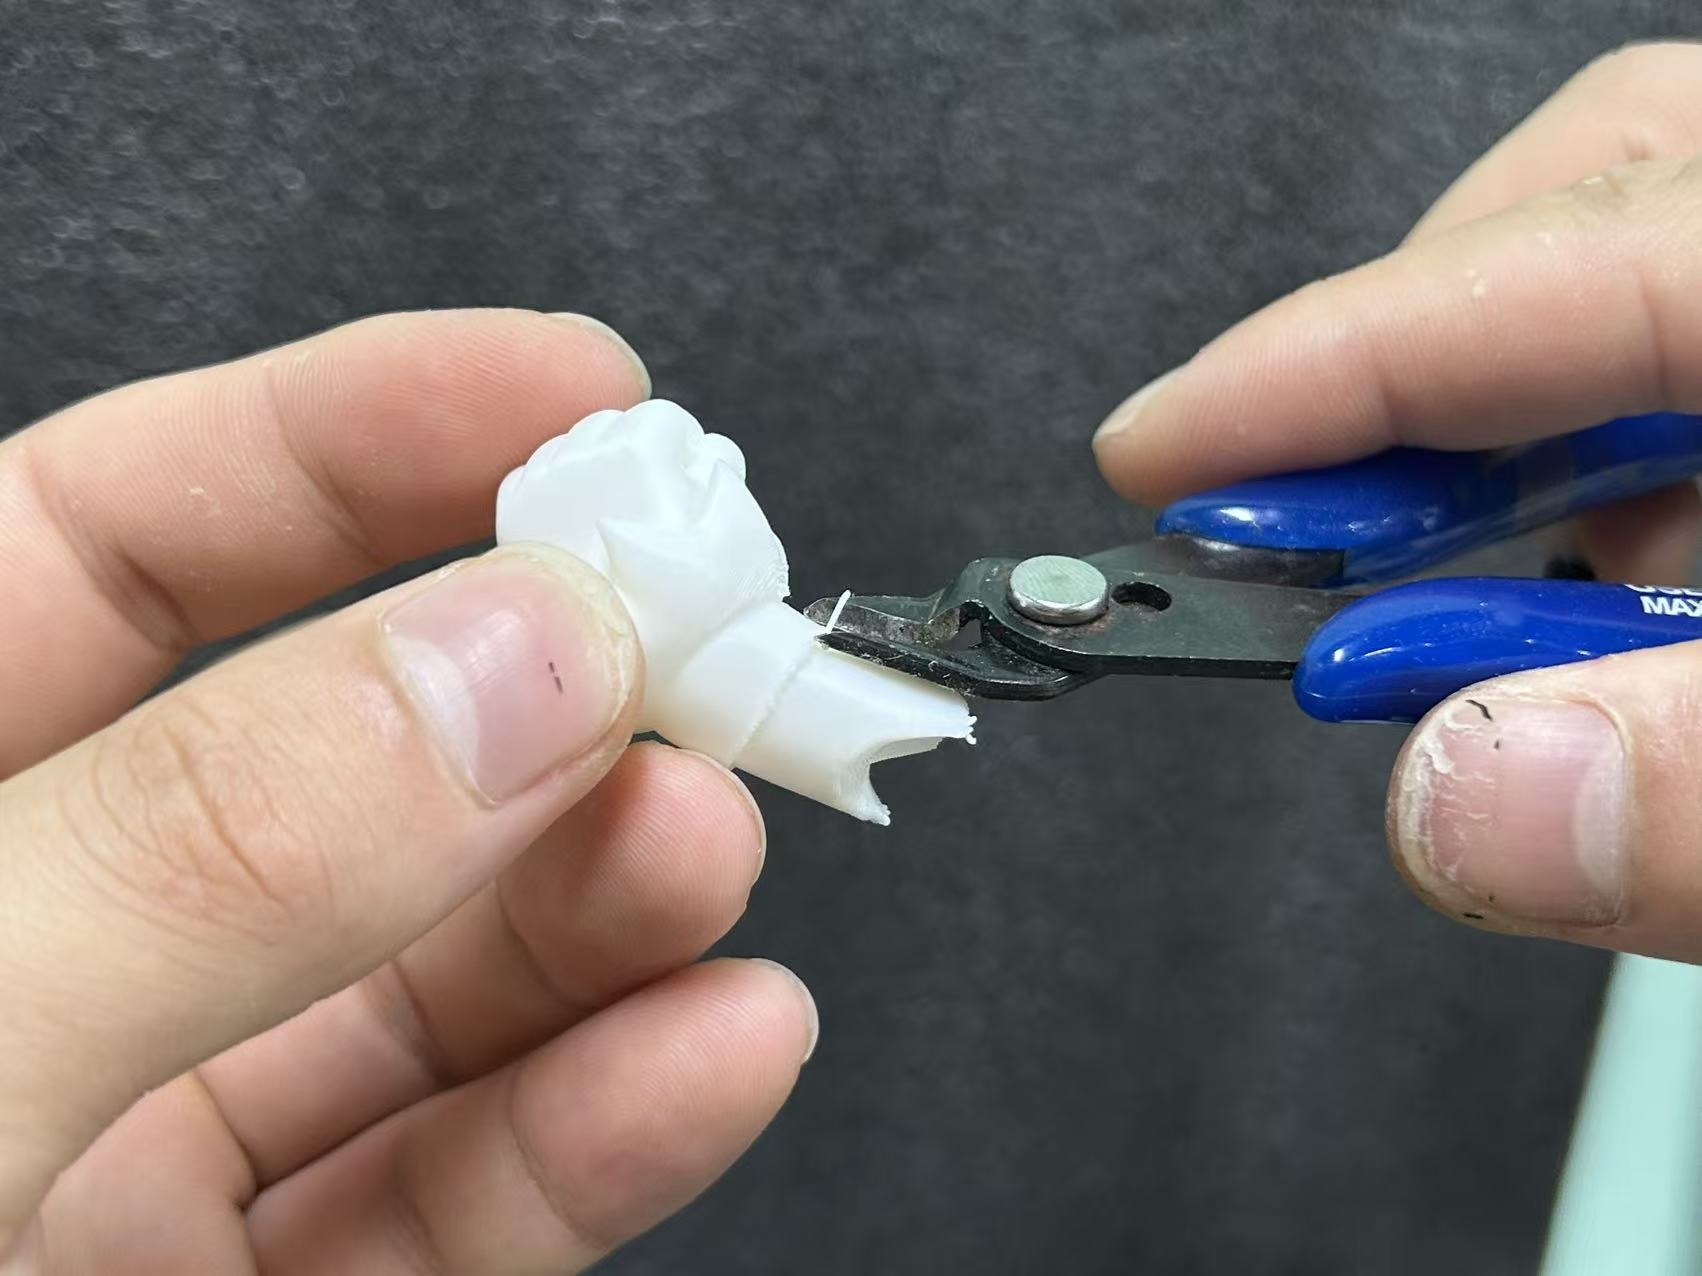
Cleaning pin holes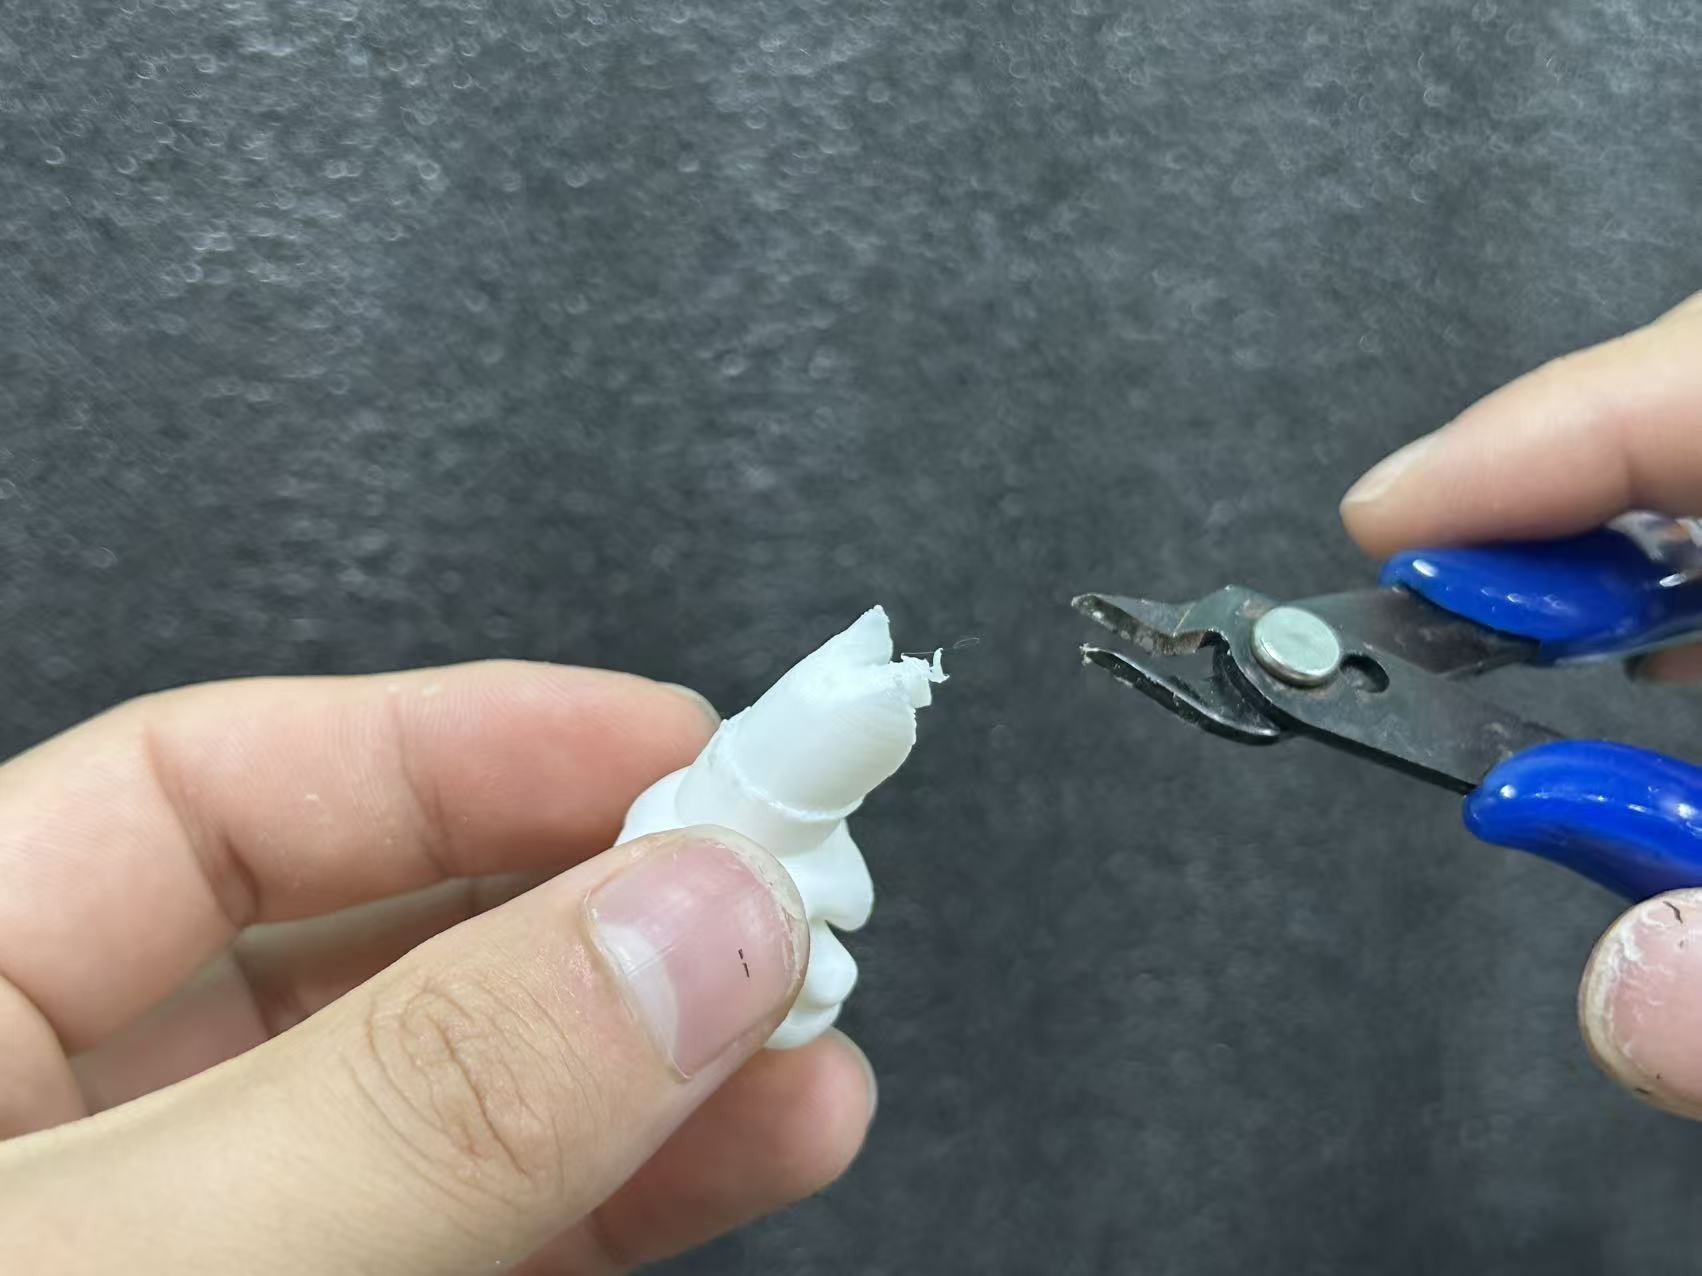
Sanding pins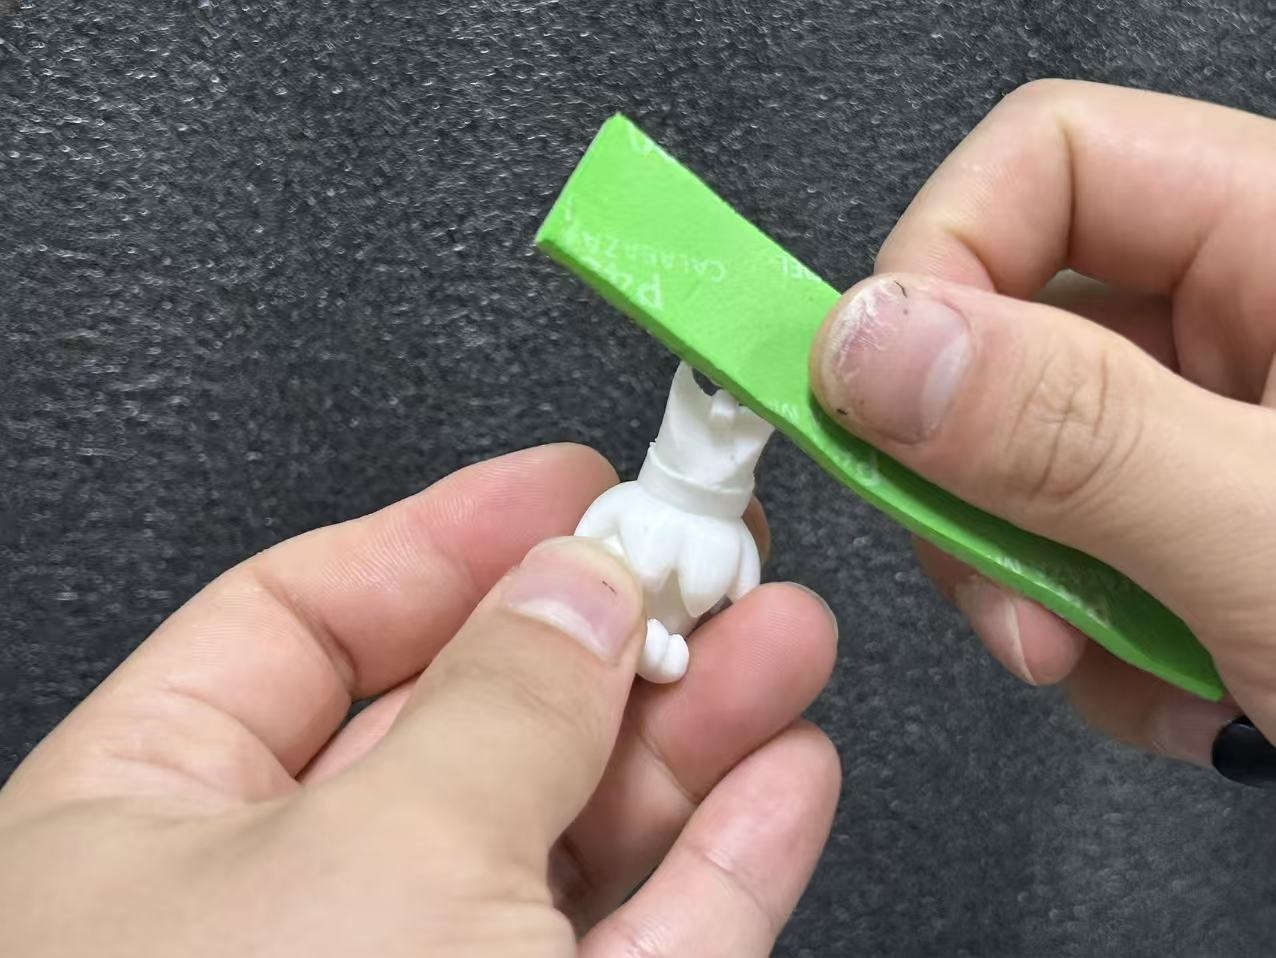
Needle file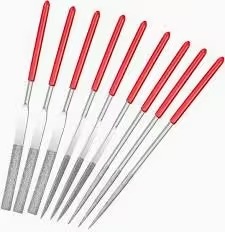
Utility knife
Needle-nose pliers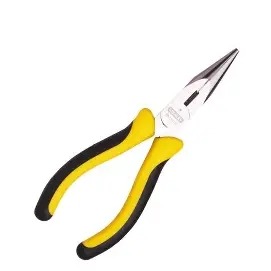
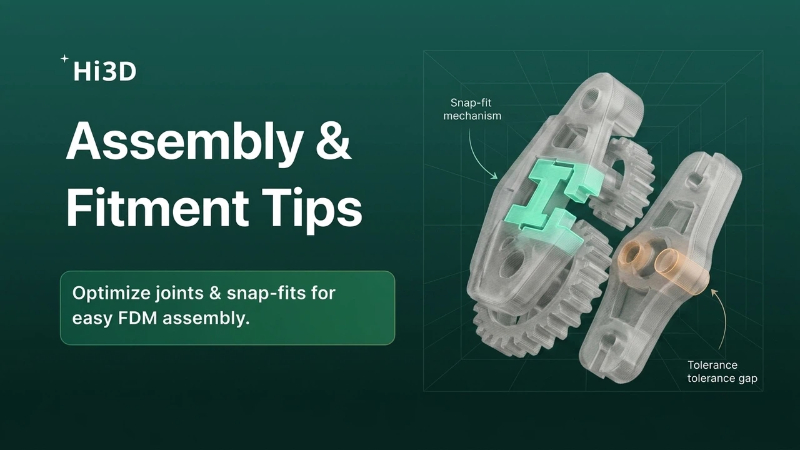
Assembly & Fixing Methods
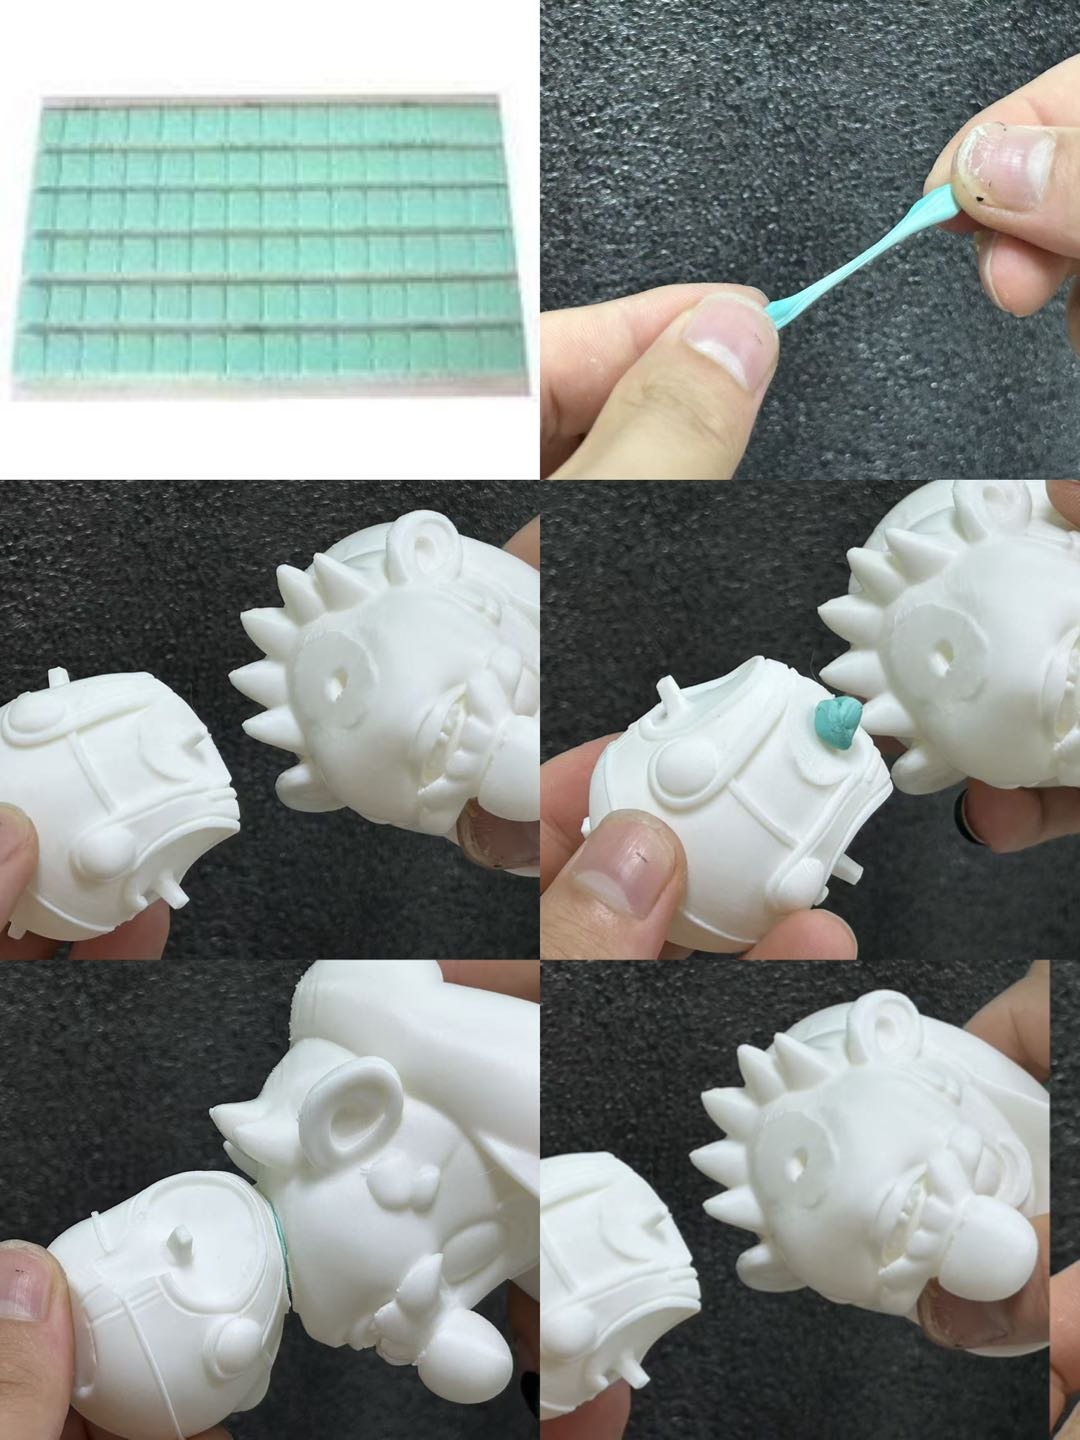
A. Blu-Tack (Best for: temporary fits, removable joints, no residue)
How to use:
- Pinch a small piece of Blu-Tack for about 10 seconds to soften it.
- Roll it into a thin strip or small disc, then press onto one of the mating surfaces.
- Press the two parts together. Remove any squeezed-out excess by hand.
Pros: Repositionable, leaves no residue.
⚠️ Note: Low holding strength — only for lightweight display models.
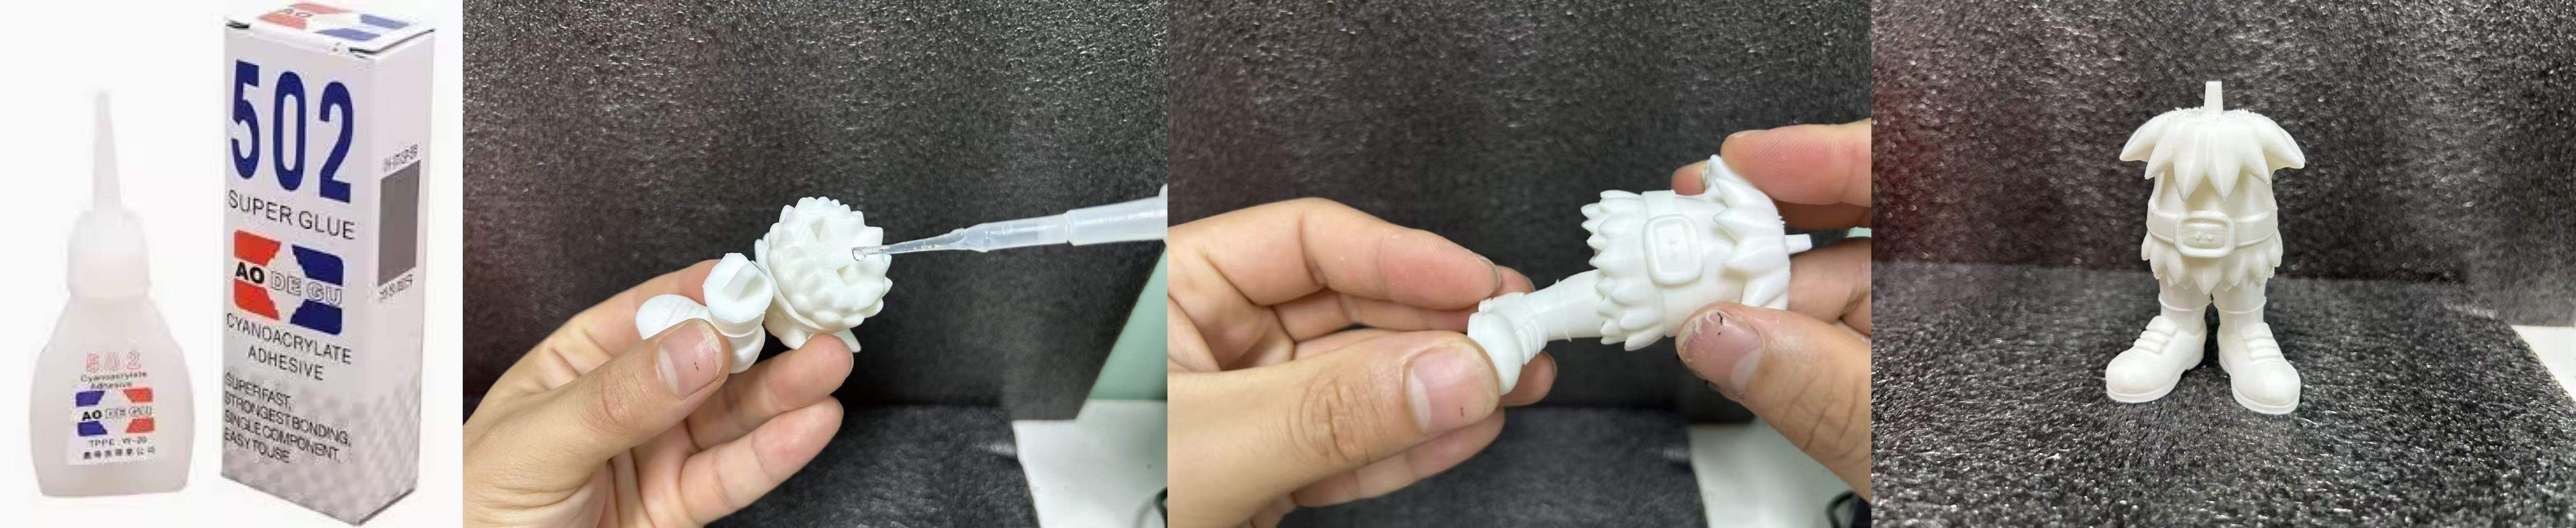
B. Super Glue (CA glue — best for: permanent bonds, load-bearing parts)
How to use:
- Roughen the bonding surfaces with 400-grit sandpaper, then wipe with alcohol to remove dust and oil.
- Apply a thin coat of glue to only one surface (use a toothpick for precision).
- Align and press firmly for 15–30 seconds. Do not release pressure.
- If you need to adjust position, do so within ~10 seconds before the glue sets.
⚠️ Note: CA glue can fog and leave white residue. Keep glue away from visible surfaces. Never use paper towel to wipe excess glue — it can smoke and burn your fingers.
C. Double-Sided Tape (Best for: flat surfaces)
How to use:
- Cut a piece to size and stick it to the flat surface of one part.
- Peel off the backing paper, then align and press the two parts together.
- For stronger bonds, use two parallel strips or a ring shape.
Pros: Clean, instant bond, doesn’t stick to fingers.
Cons: Works only on flat surfaces — not suitable for curved faces or small pins.

Important Reminders
- Skipping the dry fit before gluing → You’ll find out the parts don’t fit after the glue has dried.
- Using too much glue → It seeps out onto visible surfaces and is very hard to remove.
- Forcing parts before supports are fully cleaned → The part will crack.
⚠️ Only apply glue when the parts fit together easily. If you need a hammer or excessive force, either supports are still present or the tolerance is too tight.