Fix bed adhesion. Stop stringing. Solve layer shifts step by step.
Every maker experiences failed prints. A model detaches halfway through printing. Stringing appears everywhere. Layers suddenly shift.
Supports collapse. The good news is that most print failures are surprisingly predictable.
In fact, a handful of common issues account for the majority of failed prints. Once you learn how to identify them, troubleshooting becomes much easier.
This guide covers the most common FDM printing problems and how to fix them.
Problem #1: The First Layer Won’t Stick
| Symptoms | Common Causes | Solutions |
|---|---|---|
| Corners lifting from the bed | Bed not leveled properly | ✓ Re-level the print bed |
| Entire model detaching | Incorrect nozzle-to-bed distance | ✓ Clean the build surface with isopropyl alcohol |
| First layer looks uneven | Dirty build plate | ✓ Increase first-layer bed temperature slightly |
| Nozzle dragging printed lines | First layer temperature too low | ✓ Reduce first-layer print speed |
| Why It Matters | ||
A bad first layer almost always leads to a failed print. |
||
Many experienced makers spend more time checking the first layer than adjusting advanced settings. |
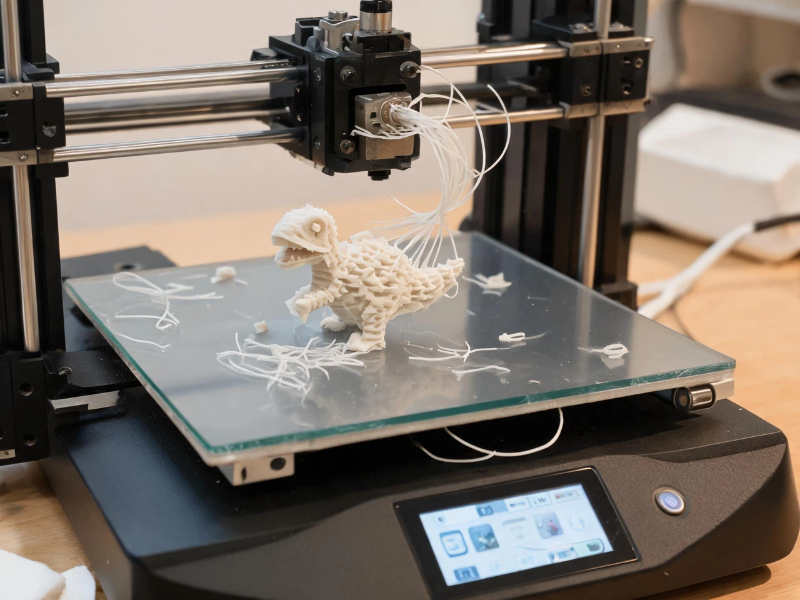
Problem #2: Stringing Between Parts
| Symptoms | Common Causes | Solutions |
|---|---|---|
| Thin hairs between printed features | Wet filament, Excessive nozzle temperature | ✓ Dry the filament, ✓ Lower printing temperature by 5–10°C |
| Web-like strands across open spaces | Poor retraction settings | ✓ Increase retraction distance if necessary |
| Rough surfaces around travel moves | Wet filament | ✓ Store filament in a dry environment |
Most Overlooked Cause
PETG, TPU, Nylon, and many engineering materials absorb moisture from the air surprisingly quickly.
If you hear popping or crackling sounds while printing, wet filament is often the culprit.
Problem #3: Layer Shifts
| Symptoms | Common Causes | Solutions |
|---|---|---|
| Print suddenly shifts sideways | Loose belts | ✅ Check belt tension |
| Layers no longer align | Mechanical resistance | ✅ Inspect pulleys and screws |
| Model appears offset | Printing too fast, Motor skipping steps | ✅ Reduce print speed, ✅ Ensure axes move smoothly |
Why It Happens
A layer shift is usually a mechanical issue rather than a slicing issue.
Before changing settings, inspect the machine itself.
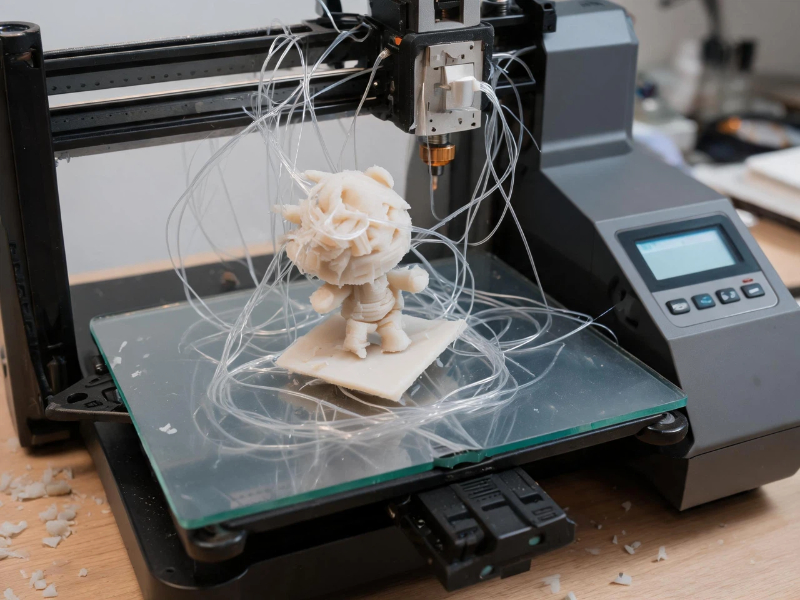
Problem #4: Supports Fail or Collapse
| Symptoms | Common Causes | Solutions |
|---|---|---|
| Support structures break during printing | Poor model orientation, Weak support settings | ✓ Re-orient the model, ✓ Increase support density |
| Overhangs sag | Printing too fast | ✓ Use tree supports when appropriate |
| Unsupported areas fail | Insufficient cooling | ✓ Improve part cooling |
Beginner Tip
Support problems are often orientation problems.
Changing the model angle can sometimes eliminate the need for large support structures entirely.
Problem #5: Warping and Corner Lifting
| Symptoms | Common Causes | Solutions |
|---|---|---|
| Corners curl upward | Cooling too quickly | ✓ Increase bed temperature |
| Model separates from the bed | Drafts around the printer | ✓ Use a brim |
| Large flat surfaces deform | Bed temperature too low | ✓ Avoid cold air drafts |
| Material shrinkage | ✓ Use an enclosure for ABS and ASA |
Materials Most Affected
- ABS
- ASA
- Nylon
PLA is generally much more forgiving.
Problem #6: Under-Extrusion
| Symptoms | Common Causes | Solutions |
|---|---|---|
| Gaps between lines | Partial nozzle clog | ✓ Inspect and clean the nozzle |
| Missing layers | Worn nozzle | ✓ Check extruder gears |
| Weak prints | Extruder slipping | ✓ Verify filament path |
| Inconsistent surfaces | Incorrect flow settings | ✓ Replace worn nozzles if necessary |
Special Warning
Carbon fiber and glass fiber filaments can wear brass nozzles surprisingly quickly.
A Quick Troubleshooting Checklist
Before changing dozens of slicer settings, check these five things first:
1. Is the bed level?
A surprising number of failures start here.
2. Is the filament dry?
Wet filament causes more problems than most beginners realize.
3. Is the nozzle clean?
Partial clogs create a wide range of print defects.
4. Is the model oriented properly?
Good orientation reduces supports, improves quality, and increases reliability.
5. Is the printer mechanically sound?
Loose belts and worn components often look like software problems.
Prevent Problems Before They Happen
The easiest print failure to fix is the one that never occurs.
Many failed prints begin before printing even starts:
- Poor orientation
- Excessive supports
- Weak bed contact
- Inefficient layout
Preparing models correctly can significantly improve print success rates.
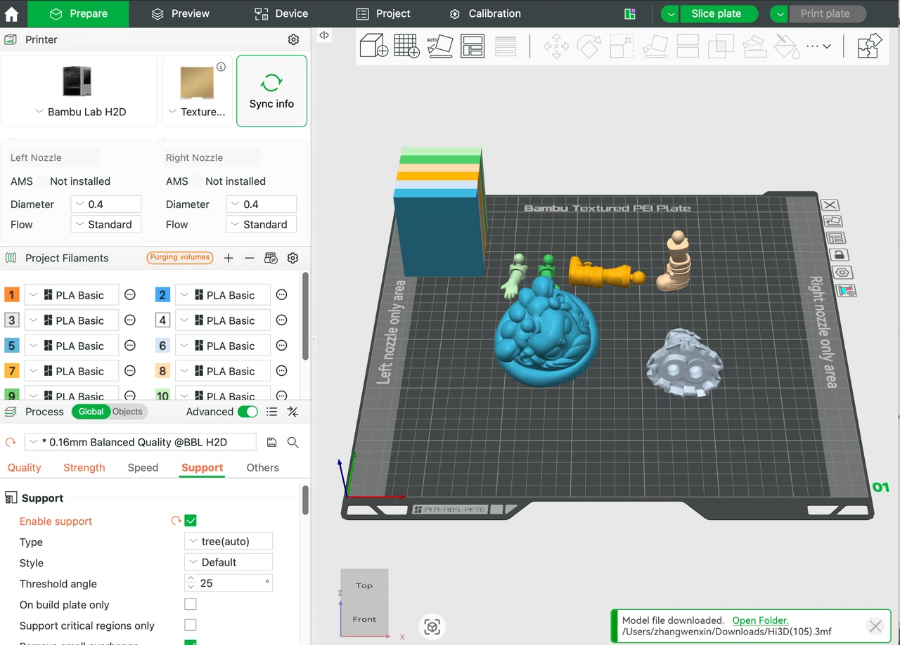
Smart Print Preparation with Hi3D
Hi3D helps makers reduce common setup mistakes before printing begins.
Intelligent Model Orientation
Automatically analyzes model geometry and recommends print-friendly orientations.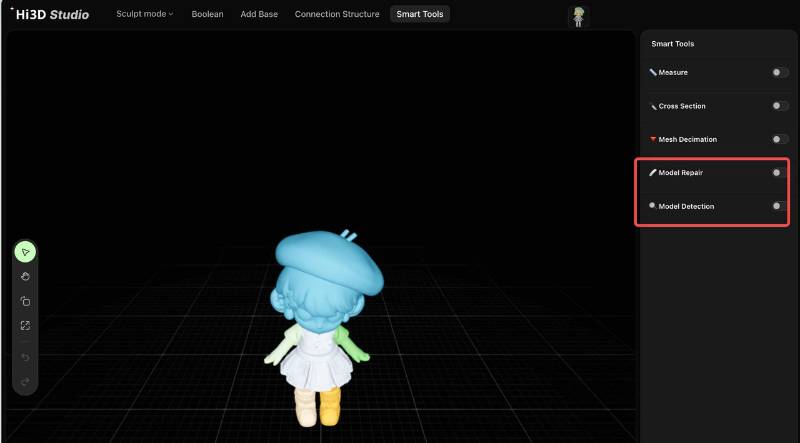
Smart Build Plate Layout
Optimizes part placement to improve space utilization and reduce setup time.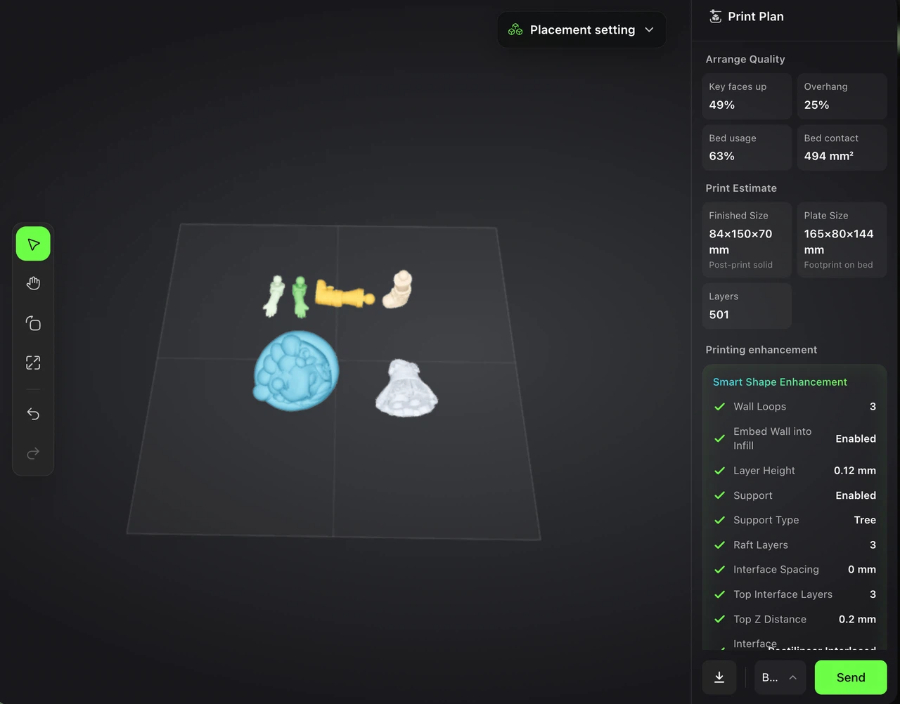
Print-Ready Workflow
Import a model, review recommendations, and prepare files faster with fewer manual adjustments.
By improving preparation before slicing, makers can spend less time troubleshooting and more time printing successfully.