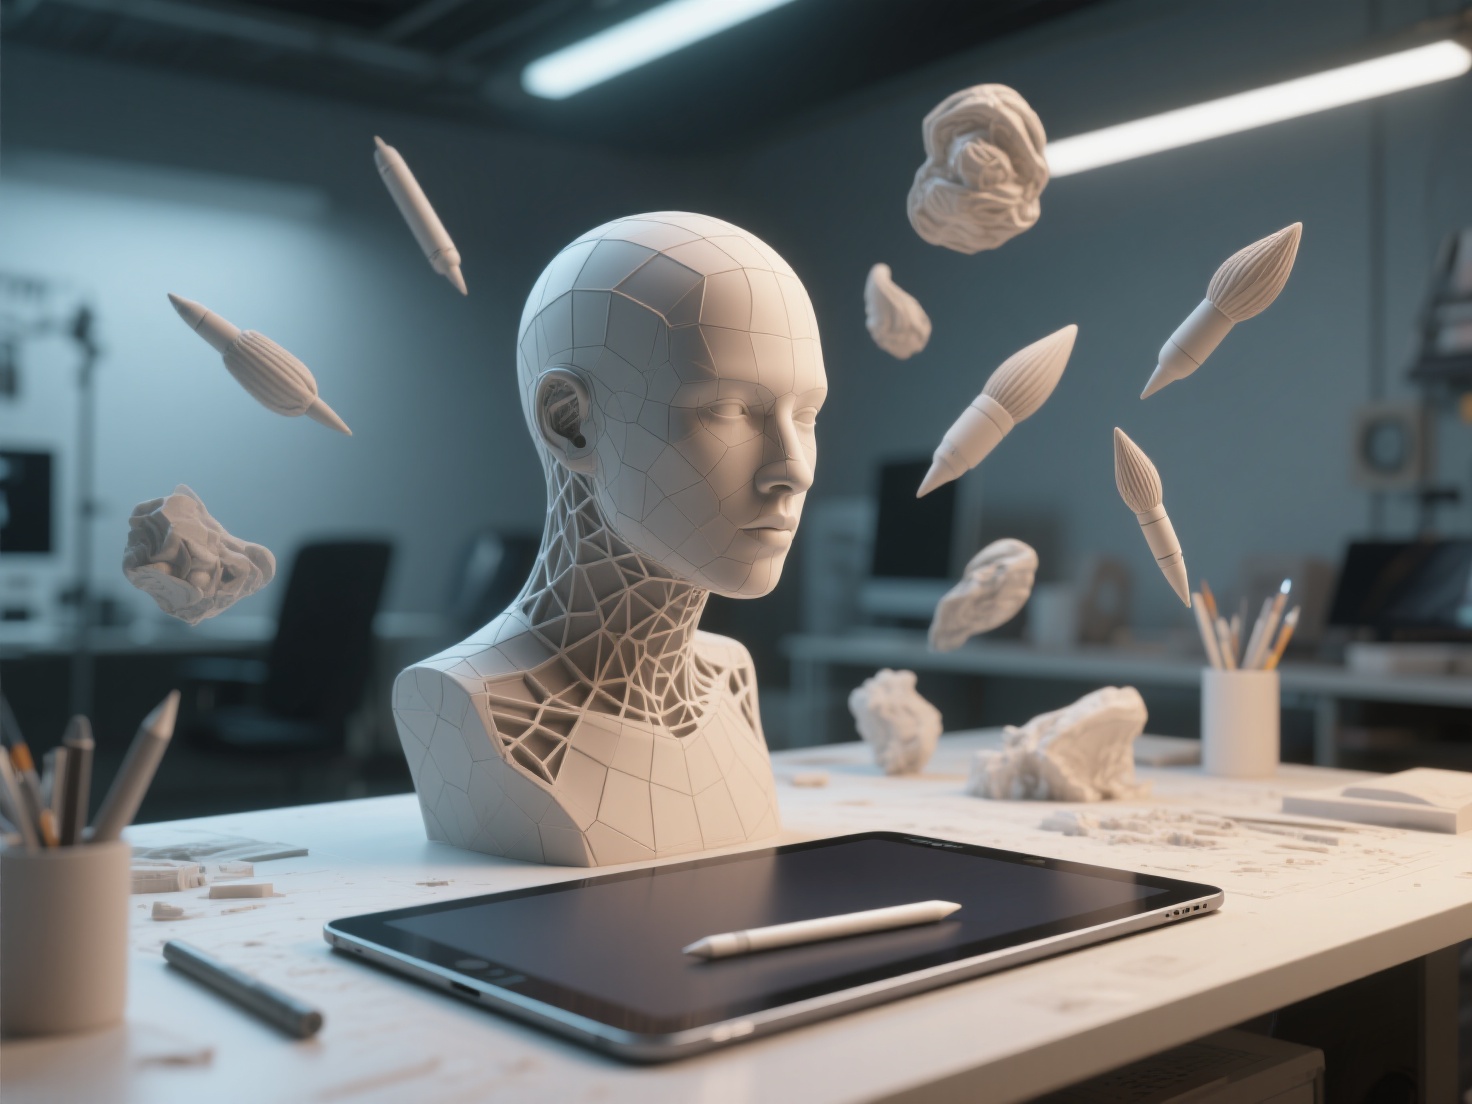
You’ve spent hours meticulously sculpting and modeling, but right now, your creation is just a flat, grey piece of digital clay. The true magic happens during 3D model texturing. Whether you are creating assets for next-gen video games, cinematic VFX, or immersive AR experiences, mastering the art of applying realistic materials is what ultimately brings your digital creations to life.
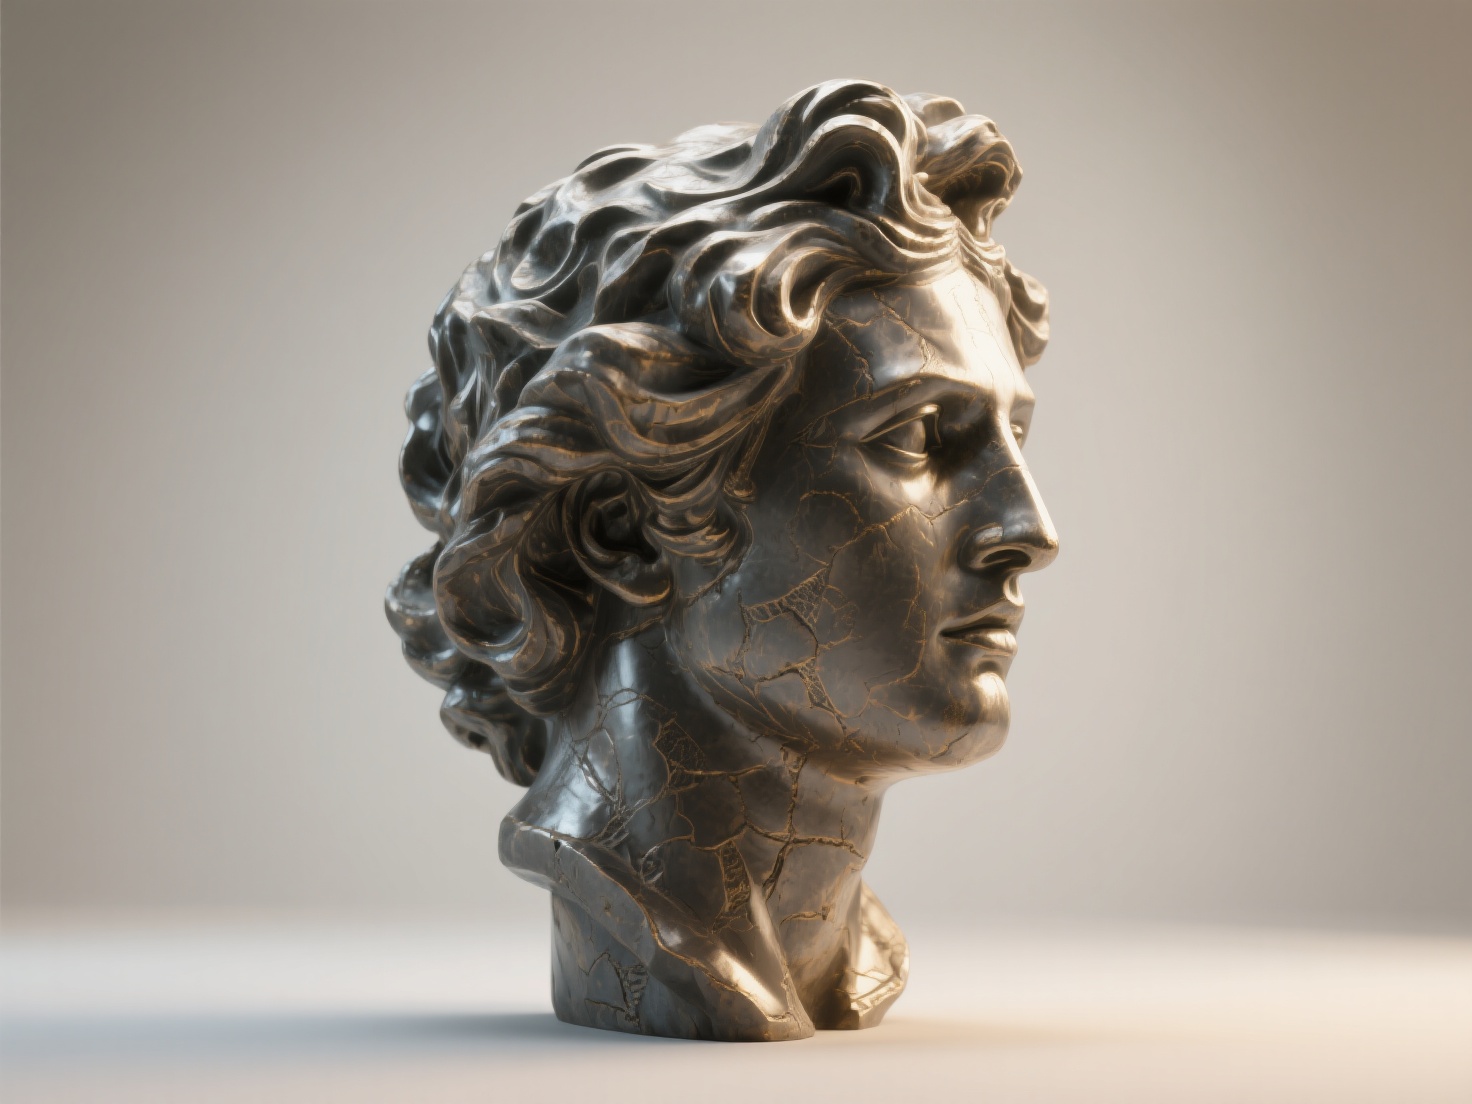
Historically, texturing was largely guesswork, but the industry standard has now shifted to PBR texturing (Physically Based Rendering). PBR relies on real-world physics to determine how light interacts with surfaces, ensuring your assets look photorealistic in any lighting environment.
In this complete guide, we will break down everything you need to know about 3D model texturing, from fundamental UV mapping to mastering texture maps, and provide insights into top software like Substance Painter to help you elevate your 3D art pipeline.
What is 3D Model Texturing?
3D model texturing is the process of wrapping a 2D image over a 3D mesh to define its color, surface properties, and fine details, transforming a blank geometric shape into a realistic, finished asset.
In modern workflows, this goes far beyond just “painting” colors. It involves a multi-layered approach where different maps dictate how rough, metallic, or bumpy a surface appears to the rendering engine.
The Fundamentals: UV Mapping Explained
Before you can paint a single stroke on your model, you must understand UV mapping.
Think of a 3D model like a chocolate box, and the texture like the foil wrapping around it. To paint the foil accurately, you need to flatten it out onto a 2D table. UV mapping is the process of unwrapping your 3D mesh (X, Y, Z coordinates) into a flat 2D space (U and V coordinates).
- Seams: Just like tailoring clothes, you must tell the software where to “cut” the 3D model. Hiding seams in natural crevices (like the inner arm or bottom of an object) is a hallmark of good texturing.
- Texel Density: This refers to the amount of texture resolution assigned to a specific part of the model. Keeping your texel density consistent ensures no part of your model looks blurrier than the rest.
- Clean Geometry: UV unwrapping is infinitely easier when you have clean, quad-based topology. AI tools are increasingly helping artists skip the tedious retopology phase by generating print-ready geometry with sharp edges from the start.
Decoding the PBR Texturing Workflow: Essential Texture Maps
The core of PBR texturing lies in splitting surface data into specific “maps.” By separating color from reflectivity and depth, rendering engines can calculate exactly how light should bounce off the object.
Here are the essential texture maps you will use in a standard PBR workflow:
| Map Type | Function | Description |
|---|---|---|
| Albedo / Diffuse | Base Color | The pure color of the object, completely devoid of any shadows or highlights. |
| Roughness / Glossiness | Surface Texture | A grayscale map defining how microscopic bumps affect light scattering. White (1) is perfectly rough (matte), Black (0) is perfectly smooth (shiny). |
| Metallic / Metalness | Material Identity | A black-and-white map where white represents conductive metals (gold, iron) and black represents non-metals (wood, plastic). |
| Normal Map | Fake Depth | Uses RGB data (usually a bluish-purple map) to fake high-resolution bumps, scratches, and details on a low-poly model without adding extra geometry. |
| Ambient Occlusion (AO) | Contact Shadows | A grayscale map that darkens deep crevices and corners where ambient light naturally struggles to reach. |
| Height / Displacement | Real Depth | A grayscale map that physically alters the geometry of the mesh at render time, pushing vertices up or down for extreme realism. |
Texturing Workflows: Hand-Painted vs. Photo-Based vs. Procedural
There is no one-size-fits-all approach to 3D model texturing. Depending on the project, artists generally rely on three distinct workflows:
1. Hand-Painted Texturing
Popularized by stylized games like World of Warcraft and Valorant, this technique involves painting all lighting, shadows, and details directly onto the Albedo map. It requires strong traditional art skills and an understanding of color theory, as the materials do not rely on realistic lighting engines.
2. Photo-Based Texturing (Photogrammetry)
This involves taking high-resolution photographs of real-world objects and projecting them onto a 3D model. It yields hyper-realistic results and is heavily used in film VFX and AAA game environments. However, these textures must be “delighted” (having all baked-in real-world shadows removed) to work properly in a PBR engine.
3. Procedural Texturing
Instead of painting, artists use mathematical nodes to generate materials. By combining different noises, gradients, and math functions, you can create infinitely tileable materials (like rusty metal or brick walls) that can easily be modified and scaled without losing resolution.

Top Software and Tools for 3D Texturing
Choosing the right software is critical for a smooth workflow. Here are the industry standards:
- Substance 3D Painter: The undisputed king of texturing. Following a good Substance Painter tutorial is highly recommended for beginners. It uses a layer-based system (similar to Photoshop) allowing you to paint materials, masks, and wear-and-tear directly onto the 3D model in real time.
- Quixel Mixer: A fantastic, free alternative to Substance. It relies heavily on mixing Megascans (photo-scanned data) to create ultra-realistic terrain and surface materials.
- Mari: Used primarily in high-end VFX and film. Mari excels at handling massive, ultra-high-resolution textures across multiple UDIMs (a complex form of UV mapping).
- Blender Texture Paint: As a free, open-source 3D suite, Blender has robust built-in painting and node-based procedural texturing capabilities, perfect for indie artists and hobbyists.
Practical Applications of PBR Texturing
Mastering the PBR texturing pipeline opens doors across various creative industries:
- Game Development: Real-time engines like Unreal Engine 5 and Unity rely heavily on optimized PBR maps to render characters and environments at 60+ FPS while maintaining visual fidelity.
- Film & VFX: Cinematic renders use massive 4K and 8K texture maps alongside intricate displacement maps to make CGI creatures and digital doubles indistinguishable from reality.
- 3D Printing & Physical Art: With the rise of multi-color 3D printing, artists need segmented, vividly colored models. Clean boundaries and accurate color representation during the modeling phase dictate the success of the final physical print.
Best Practices for Photorealistic Texturing
To truly make your assets stand out, follow these professional tips:
- Tell a Story with Wear and Tear: Nothing in the real world is perfectly clean. Add dirt to crevices, edge wear on exposed corners, and fingerprints to glossy surfaces to ground your model in reality.
- Rely on Masks and Generators: Instead of painting every scratch by hand, use curvature and AO bakes to generate procedural edge wear, saving you hours of manual labor.
- Eliminate Baked-In Lighting: In a PBR workflow, your Albedo map should be completely flat in terms of lighting. If your base color map has painted shadows, it will clash with the dynamic lighting in your game engine or render scene.
Solving the Baked-Lighting Problem with AI
Generating models from 2D images often results in textures that stubbornly retain the lighting and shadows from the original photo. This is a massive headache for artists who need pure Albedo maps for their PBR pipelines. This is where modern AI solutions step in.
Hitem3D is a next-generation AI-powered 3D model generator that not only reconstructs production-ready 3D geometry from simple 2D images but also integrates an advanced De-Lighted Texture feature. By intelligently removing baked-in lighting and shadows from the generated textures, Hitem3D provides true relightable materials instantly.
Powered by the high-precision Sparc3D and high-efficiency Ultra3D models, Hitem3D generates 4K resolution PBR-ready textures directly from your image uploads. Furthermore, its Invisible Parts technology reconstructs hidden structures beyond the visible surface, ensuring you have clean, watertight geometry (up to 2M polygons at 1536³ Pro resolution) that is immediately ready for advanced texturing or direct export to 3D printing slicers like Bambu Studio.
Conclusion
Mastering 3D model texturing is what separates an amateur block-out from a professional, portfolio-ready asset. By understanding the intricacies of UV mapping, utilizing standard PBR texturing maps, and leveraging powerful software, you can bring unparalleled realism to your art.
However, building base meshes, unwrapping UVs, and creating initial PBR setups can be incredibly time-consuming. If you want to streamline your workflow—whether for game dev, VFX, or multi-color 3D printing—leveraging AI is the next logical step.
With Hitem3D, you can bypass the tedious early stages. Simply upload a single or multi-view image to instantly generate fully geometric, UV-ready 3D models complete with De-Lighted, 4K PBR textures. If the result isn’t perfect, the Free Retry system lets you regenerate without spending additional credits. Export seamlessly to GLB, OBJ, STL, FBX, or USDZ formats and get straight to the creative part of your workflow.
Ready to transform your 2D concepts into production-ready 3D reality?
Frequently Asked Questions (FAQ)
What is the difference between texturing and shading?
3D model texturing involves creating the 2D images (maps) that wrap around a model, defining its color and surface details. Shading refers to the material setup within the rendering engine—how the software interprets those texture maps and calculates the way light interacts with them.
Is a Substance Painter tutorial necessary for beginners?
Yes, highly recommended. While the concepts of PBR are universal, Substance Painter’s interface, baking processes, and layer-based mask systems can be overwhelming at first. A dedicated Substance Painter tutorial will save you hours of trial and error and introduce you to non-destructive workflows.
What resolution should my textures be?
This depends heavily on the end use. Mobile games often use 512x512 or 1024x1024 textures to save memory. AAA PC/Console games typically aim for 2048x2048 (2K) or 4096x4096 (4K). For cinematic VFX, textures can easily exceed 8K. AI tools like Hitem3D natively support generating 4K PBR-ready textures, providing a high-fidelity base for any industry standard.