Every great movie, breathtaking animation, and immersive cinematic sequence begins with a simple idea. But how do you translate the words on a script into a compelling visual experience? The answer lies in the art of storyboarding.
For directors, animators, and film students, mastering storyboarding film and animation projects is a non-negotiable skill. It is the bridge between imagination and execution, saving time, money, and countless headaches on set or during production. Whether you are mapping out an indie short film or a complex 3D animated feature, having a comprehensive film storyboard guide at your disposal is crucial.
In this article, we will explore the core principles of visual storytelling, break down how to storyboard step-by-step, and discover how modern AI and 3D tools are revolutionizing traditional pre-production workflows.
What is a Storyboard?
A storyboard is a sequence of graphic illustrations displayed in chronological order to pre-visualize a motion picture, animation, or interactive media sequence.
Think of it as a comic book version of your script. It serves as a visual roadmap that communicates the director’s vision to the rest of the crew, detailing what the camera sees, how the characters move, and how the narrative flows from one shot to the next. By creating an animation storyboard or film board, creators can experiment with pacing, composition, and emotional beats long before the cameras roll or the rendering begins.
The Three Core Types of Storyboards
Not all storyboards are created equal. Depending on the stage of production, you will likely encounter three distinct variations:
1. Thumbnail Storyboards
These are quick, rough sketches—often no larger than a postage stamp—drawn rapidly to capture initial ideas. Thumbnail storyboards are not meant to be pretty; they are designed to brainstorm shot sequences, basic blocking, and screen direction.
2. Production Storyboards
Once the thumbnails are approved, they are upgraded into production storyboards. These feature refined drawings, detailed character expressions, precise camera angles, and important notes regarding dialogue, sound effects, and lighting. They are the official blueprints distributed to the cinematography and art departments.
3. Animatics (Story Reels)
An animatic takes the production storyboard panels and edits them together in a video timeline, complete with scratch dialogue, temporary sound effects, and a musical score. Animatics are heavily used in animation to test the timing and pacing of a scene before committing to expensive, labor-intensive character animation.
Key Principles of Visual Storytelling
Before you put pen to paper (or stylus to screen), you must understand the language of cinematography. An effective storyboard doesn’t just show what happens; it shows how the audience is meant to feel.
Shot Types and Camera Angles
Choosing the right shot size dictates the emotional weight of a scene. Below is a quick reference table for standard shot types:
| Shot Type | Abbreviation | Purpose & Visual Impact |
|---|---|---|
| Wide Shot / Establishing | WS / ES | Establishes the location, geography, and scale of the characters within their environment. |
| Medium Shot | MS | Shows characters from the waist up. Ideal for normal dialogue and interaction. |
| Close-Up | CU | Frames the face tightly. Used to highlight intense emotion, reaction, or crucial details. |
| High Angle | HA | Camera looks down on the subject, making them appear vulnerable, small, or insignificant. |
| Low Angle | LA | Camera looks up at the subject, making them appear powerful, heroic, or imposing. |
Composition and Framing
Good composition guides the viewer’s eye. Utilize the Rule of Thirds by placing key elements along the intersecting lines of a 3x3 grid. Look for leading lines in the environment (like roads or hallways) that point directly to your focal point.
Screen Direction and the 180-Degree Rule
Consistency is vital. If a character is walking from left to right in one shot, they must continue moving left to right in the next (unless they are shown changing direction). Furthermore, the 180-degree rule dictates that you draw an imaginary line between two interacting characters; the camera must stay on one side of this line to avoid confusing the audience’s spatial awareness.
Step-by-Step: How to Storyboard Like a Pro
Ready to create your own? Follow this logical workflow to build a functional and compelling storyboard.
Step 1: Break Down the Script
Read through your script and divide it into individual shots. Highlight key actions, important props, and specific emotional beats. Decide where a scene requires a slow, creeping zoom versus a rapid, chaotic sequence of quick cuts.
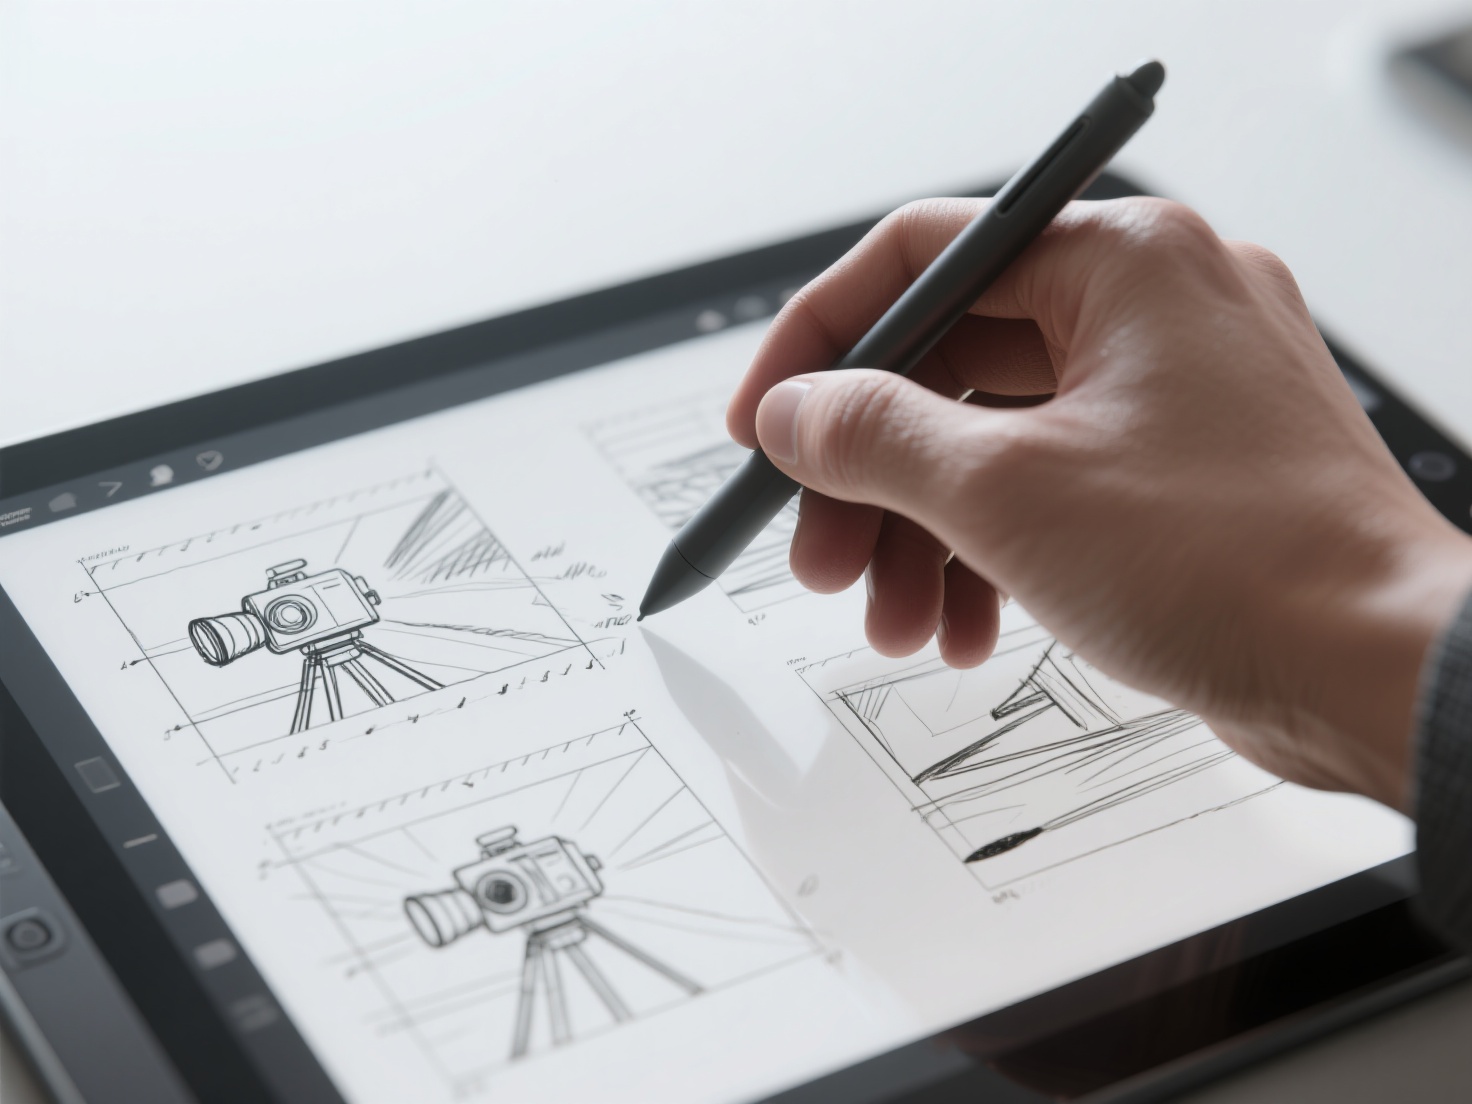
Step 2: Sketch the Thumbnails
Start small. Draw rapid stick figures and basic shapes to block out the scene. Focus entirely on composition, shot scale, and camera placement. Don’t worry about details yet.
Step 3: Refine the Drawings (Even if You “Can’t Draw”)
Many directors panic at this stage, claiming they lack artistic skills. However, storyboarding is about clarity, not fine art. Use arrows to indicate character movement (red arrows) and camera movement (blue arrows).
Pro Tip for Non-Artists: If you struggle to draw complex props, vehicles, or dynamic character poses from difficult angles (like an extreme high angle), use 3D reference models. This is where modern AI workflows dramatically speed up the process.
Step 4: Add Action Notes and Dialogue
Below each panel, write clear, concise descriptions of the action taking place. Include snippets of dialogue, sound cues (e.g., SFX: Door slams), and camera instructions (e.g., Pan left, Tilt up).
Step 5: Present and Pitch
Storyboards are communication tools. When presenting to your team, you must “pitch” the board. Stand up, act out the voices, provide sound effects, and explain the emotional motivation behind your camera choices.
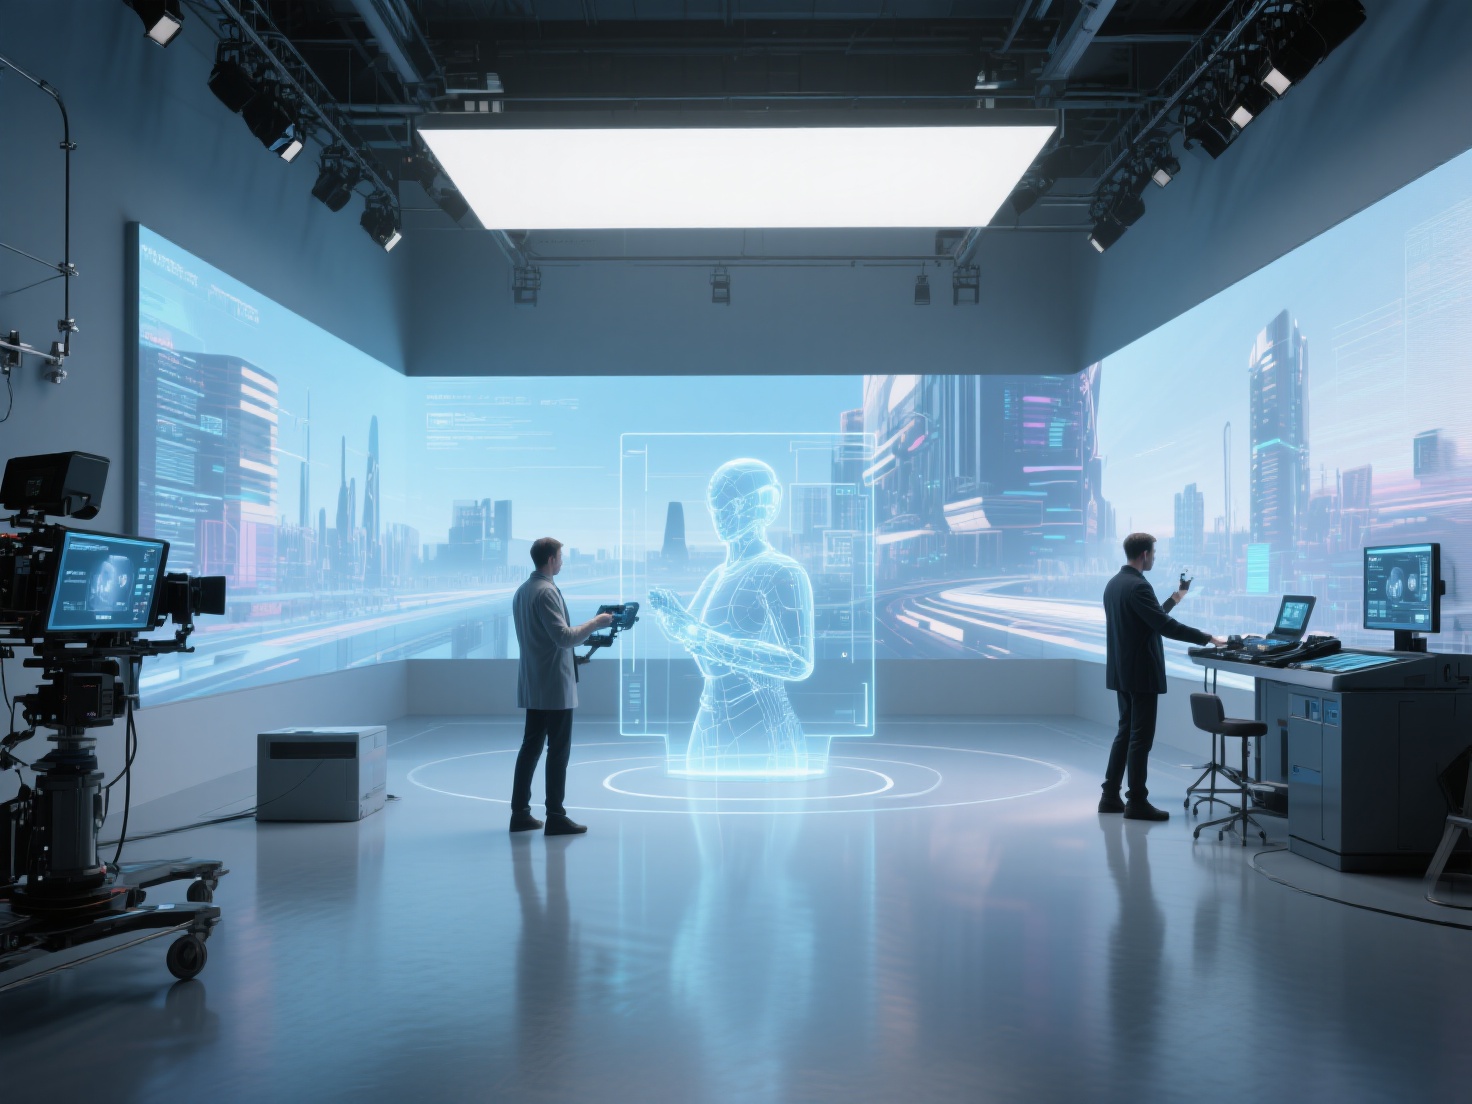
From 2D to 3D: Storyboards vs. 3D Previs
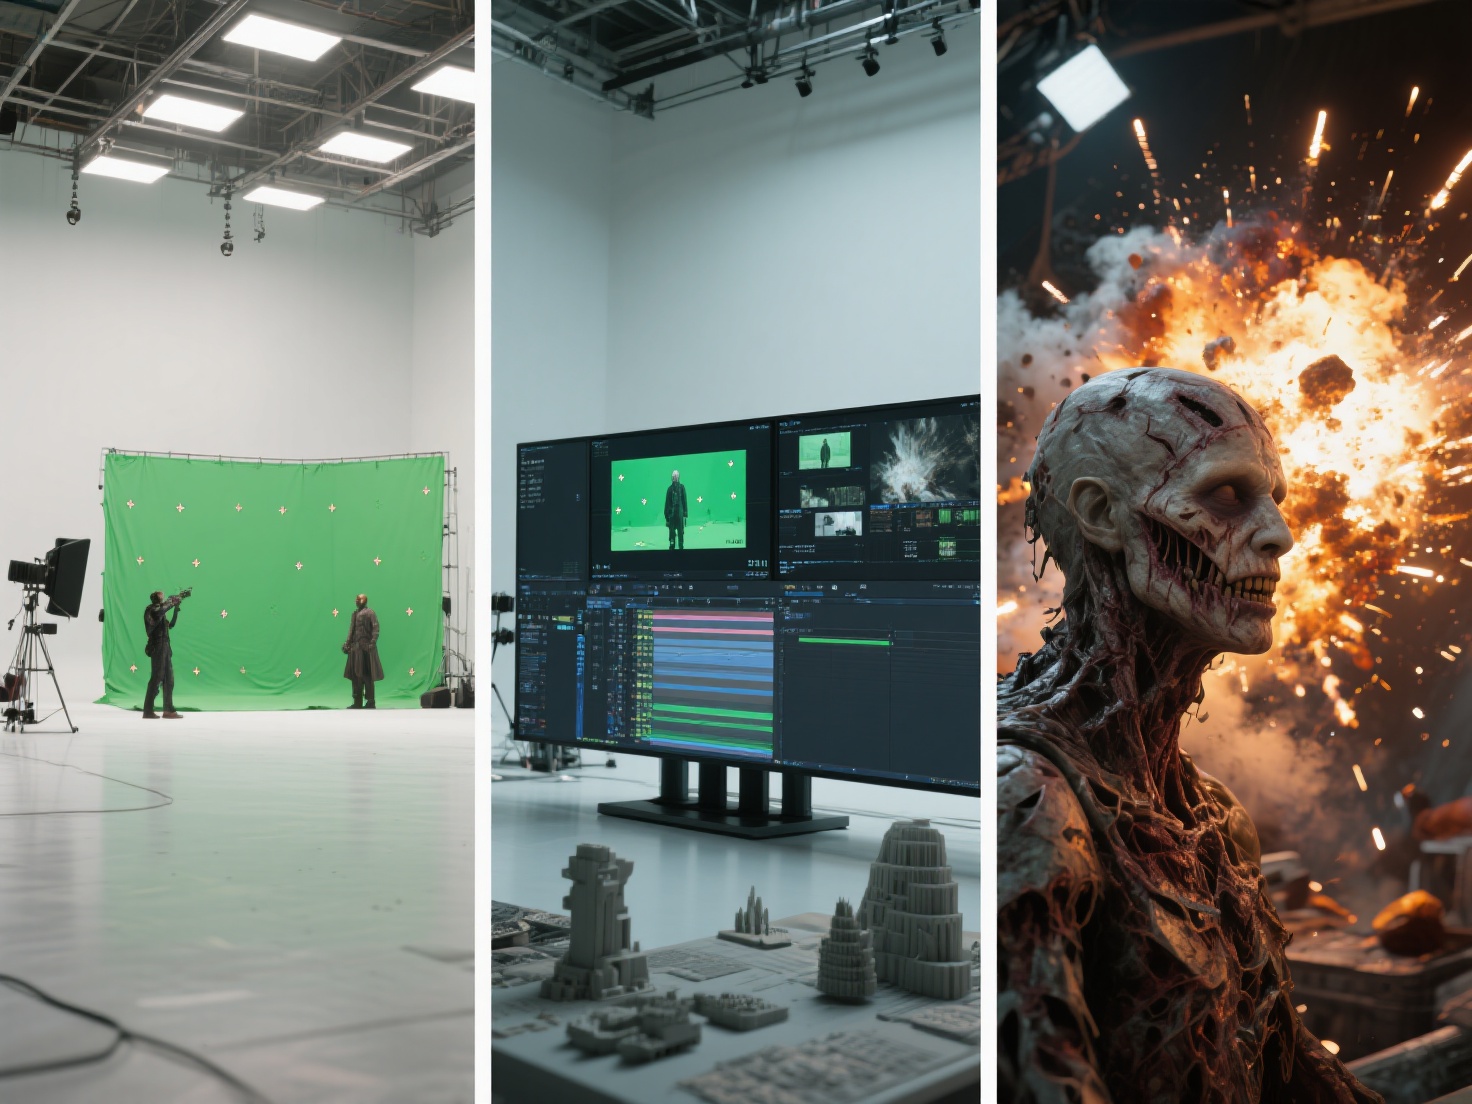
As technology evolves, traditional 2D storyboarding often transitions into 3D Previsualization (Previs). Previs involves building low-poly 3D environments to plan out complex camera moves, particularly for VFX-heavy films, game development cinematics, and 3D animation.
This transition from 2D sketches to 3D space used to be incredibly time-consuming, requiring dedicated 3D modeling teams just to build temporary mockups. Today, AI-powered tools have bridged this gap seamlessly.
Enhancing Your Workflow with Hitem3D
For storyboard artists, directors, and previs animators looking for accurate visual references, Hitem3D is a game-changing solution. As a next-generation AI-powered 3D model generator, Hitem3D allows you to upload a simple 2D concept sketch or reference image and instantly generate a production-ready 3D model.
Instead of struggling to draw a futuristic sci-fi helmet or a complex fantasy weapon from five different camera angles, you can:
- Upload a single 2D concept image of the prop to Hitem3D.
- Let the Sparc3D (high precision) or Ultra3D (high efficiency) models reconstruct the geometry in minutes.
- Utilize Hitem3D’s Invisible Parts technology, which intelligently reconstructs hidden structures beyond the visible surface.
- Export the resulting GLB, OBJ, or FBX file into software like Blender, Unreal Engine, or Storyboard Pro.
- Place a virtual camera anywhere to get the perfect reference angle for your storyboard panel.
By leveraging AI to handle the heavy lifting of 3D asset generation, you can focus purely on pacing, composition, and visual storytelling. Plus, with De-Lighted Textures (removing baked-in lighting for true relightable materials) and up to 1536³ Pro resolution, the assets generated can often be carried directly from previs into final production.
Best Practices for Effective Storyboarding
To ensure your film storyboard guide yields professional results, keep these best practices in mind:
- Number Everything Clearly: Every scene and shot must be numbered (e.g., Scene 1, Shot 1A, Shot 1B). If panels get mixed up or dropped, numbering is your only safety net.
- Embrace the “Rule of Economy”: Don’t draw a new panel if an arrow can explain the action. Only draw a new frame when the camera angle changes or a significant, scene-altering action occurs.
- Design for the Aspect Ratio: Always draw within a frame that matches your final output (e.g., 16:9 for modern screens, 2.35:1 for cinematic widescreen). Drawing in squares when shooting in widescreen will ruin your composition on set.
- Use Digital Tools: Software like Toon Boom Storyboard Pro, Adobe Fresco, or Procreate offer incredible flexibility. They allow you to easily duplicate panels, adjust layers, and export directly to animatic timelines.
Conclusion & Next Steps
Learning how to storyboard is one of the most empowering steps you can take as a visual storyteller. Whether you are sketching thumbnails on a napkin, refining a detailed animation storyboard, or blocking out scenes in a 3D previs environment, the goal remains the same: communicating your creative vision with absolute clarity.
Remember that storyboarding is not about drawing perfectly; it is about thinking cinematically. By combining traditional visual storytelling principles with cutting-edge AI tools, you can plan your productions faster and more accurately than ever before.
If you are struggling with complex angles or need rapid 3D assets to elevate your animatics and pre-visualizations, let AI do the heavy lifting. With free retry mechanisms and unparalleled geometric accuracy, you can generate flawless 3D references from your 2D sketches in minutes.
Ready to transform your 2D ideas into 3D reality?
Frequently Asked Questions (FAQ)
1. Do I need to be a skilled artist to storyboard a film?
No. While strong drawing skills are required for professional storyboard artists in high-budget animation, directors often use simple stick figures or basic shapes to block out live-action films. The most important elements are clear screen direction, accurate shot sizing, and camera movement indicators. Using 3D references via tools like Hitem3D can also help bridge the gap for non-artists.
2. What is an animation storyboard compared to a live-action one?
An animation storyboard is generally much more detailed than a live-action one. Because animation requires creating everything from scratch, the storyboard serves as the absolute blueprint for the animators, defining exact poses, extreme expressions, and precise comedic or dramatic timing. Live-action boards often leave more room for actors’ interpretation on set.
3. What software is an industry standard for storyboarding?
Toon Boom Storyboard Pro is widely considered the industry standard for professional animation studios because it combines drawing tools with timeline editing for instant animatics. Adobe Photoshop, Procreate, and Blender (using the Grease Pencil tool) are also incredibly popular among independent creators.
4. How long does it take to storyboard a short film?
The timeline varies wildly depending on the complexity of the script and the level of detail required. A rough thumbnail pass for a 5-minute short film could take a few hours, whereas a fully polished production storyboard with shading and detailed backgrounds could take a week or more. Utilizing 3D pre-visualization tools can drastically accelerate this timeline.