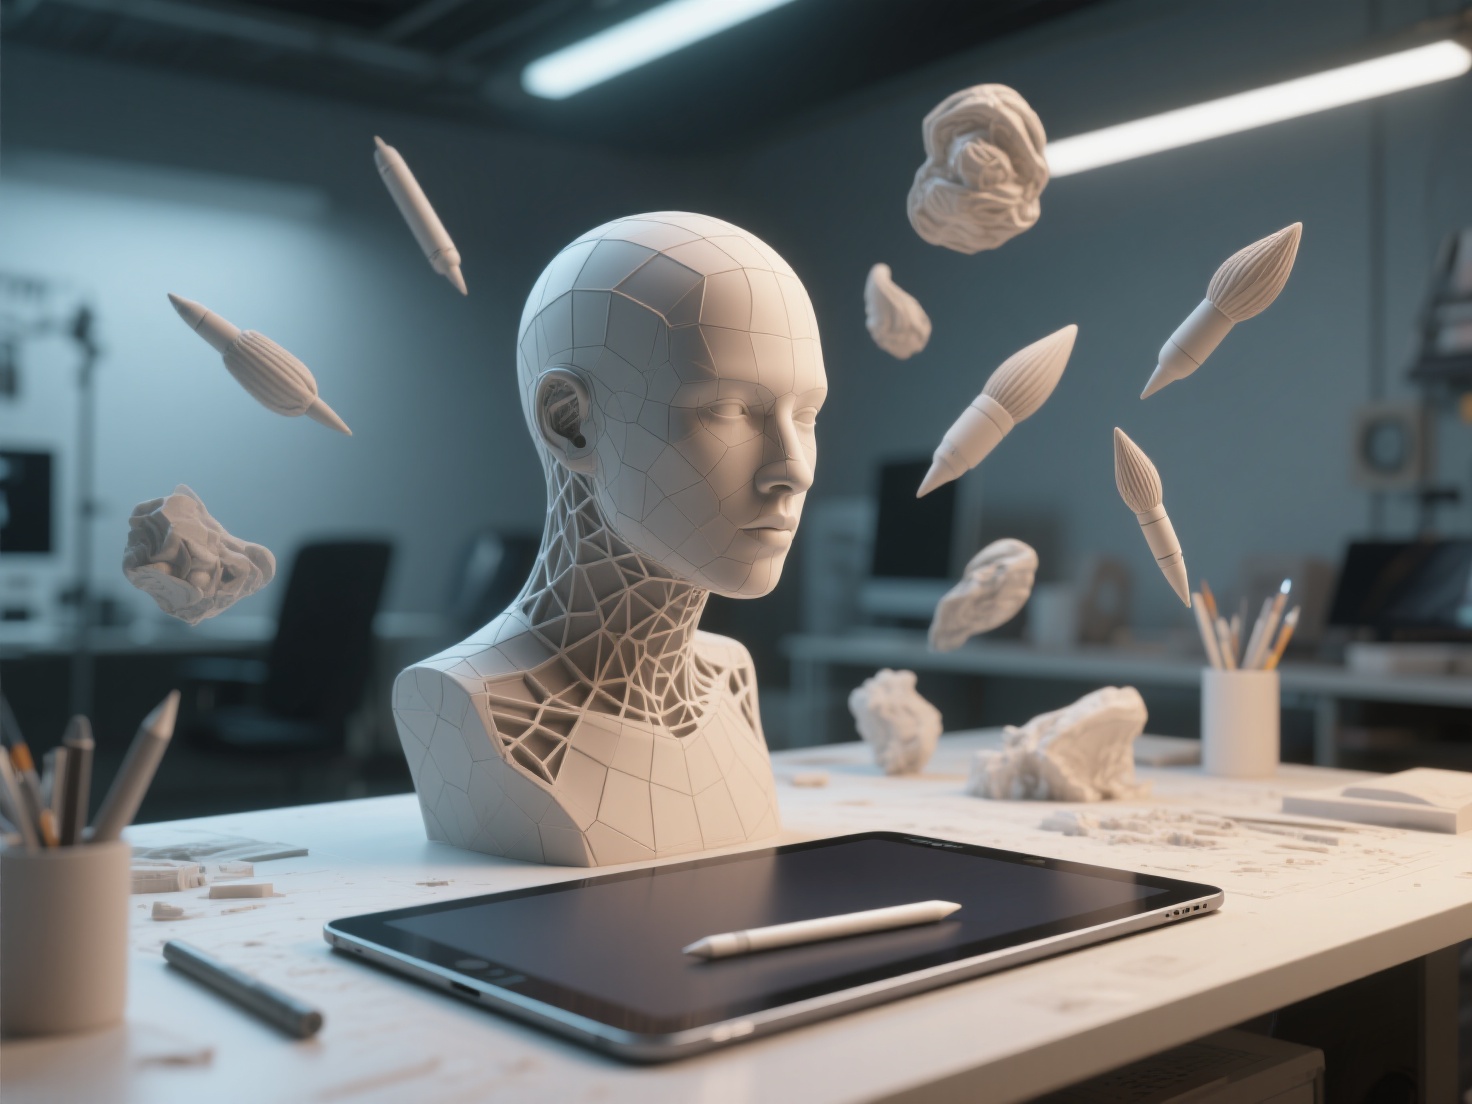
In today’s highly competitive e-commerce and digital marketing landscape, visual appeal is everything. Whether you are launching a new consumer electronic, showcasing luxury jewelry, or designing ergonomic furniture, how a product looks determines how well it sells. Enter 3D product visualization—the ultimate digital tool that has revolutionized how brands present their products to the world.
Gone are the days when companies had to rely exclusively on expensive physical photo shoots, building elaborate sets, and waiting for perfect lighting conditions. Today, commercial 3D art allows artists to create hyper-realistic, pixel-perfect imagery before a product even physically exists.
In this comprehensive guide, we will explore the workflow, software, and insider techniques used by top professionals to master product rendering 3D, and how you can leverage next-generation AI tools to accelerate your creative process.
What is 3D Product Visualization?
3D product visualization is the process of using specialized 3D modeling and rendering software to create photorealistic digital representations of a physical product.
Often referred to as digital prototyping or product design 3D, this technique allows marketers, designers, and manufacturers to showcase products from any angle, in any environment, and with any material finish. By simulating real-world physics, light, and optics, 3D artists can generate images that are entirely indistinguishable from high-end studio photography. This not only saves immense time and money but also offers unparalleled creative flexibility.
The Workflow for Commercial 3D Art: Step-by-Step
Creating a photorealistic render is a multi-step process that requires a blend of technical precision and artistic vision. Here is the standard workflow used by industry professionals.
1. Reference Gathering and 3D Modeling
Every great render starts with accurate geometry. Artists typically begin by importing CAD (Computer-Aided Design) data provided by engineers. If CAD data is unavailable, they must model the product from scratch using blueprints, sketches, or reference photos.
- Pro Tip for Efficiency: Traditionally, manual modeling takes hours or even days. Today, smart artists use AI-powered platforms to skip the tedious block-out phase. By uploading a single photo or multi-view images (2–4 images) to tools like Hitem3D, artists can instantly generate a production-ready base model with clean geometry. Hitem3D’s Invisible Parts Technology even reconstructs hidden structures beyond the visible surfaces, giving you a perfect starting point for refinement.
2. Mastering Photorealistic Materials
A perfectly modeled object will still look fake if the materials are incorrect. Artists use PBR (Physically Based Rendering) materials to dictate how light interacts with the surface.
To achieve stunning realism, you must carefully adjust several maps:
- Metals: Require high “metallic” values and specific roughness maps to simulate brushed steel, anodized aluminum, or polished gold.
- Plastics: Rely heavily on sub-surface scattering (SSS) to mimic how light penetrates and scatters inside the material, preventing it from looking flat.
- Glass & Liquids: Require precise manipulation of the Index of Refraction (IOR) to ensure light bends accurately as it passes through the object.
3. Studio Lighting Setups
In product rendering 3D, lighting is the brush you use to paint your image. Bad lighting ruins great models, while exceptional lighting elevates average ones.
- Three-Point Lighting: The gold standard. It utilizes a Key Light (main illumination), a Fill Light (softens harsh shadows), and a Rim/Back Light (separates the product from the background and highlights edges).
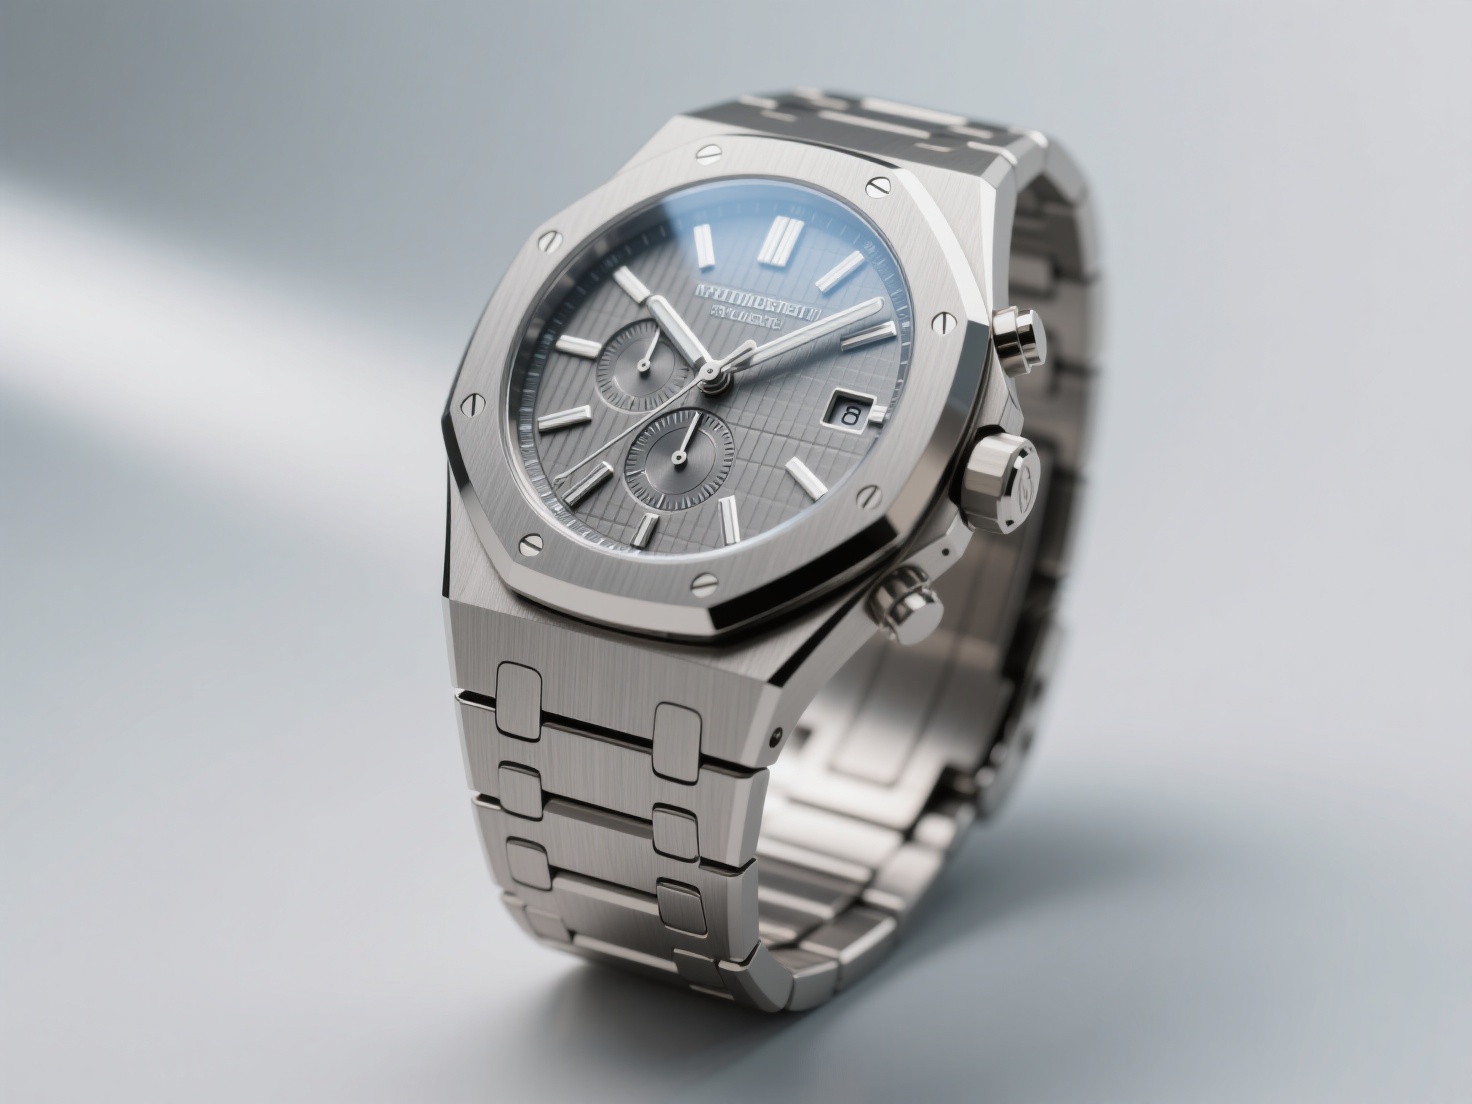
- HDRI (High Dynamic Range Imaging): Artists often use HDRI maps to provide realistic environmental reflections, especially crucial for highly reflective products like watches or cars.
4. Camera Angles and Composition
Just like a real-world photographer, a 3D artist must select the right camera lens and composition.
- Focal Length: Product shots typically use a focal length of 50mm to 85mm to avoid the distortion caused by wide-angle lenses.
- Depth of Field (DoF): Using a shallow DoF blurs the background, instantly drawing the viewer’s eye directly to the product’s core features or brand logo.
5. Rendering and Post-Processing
Once the scene is set, the rendering engine calculates the light paths. After the raw image is generated, it is taken into post-production software like Adobe Photoshop or After Effects. Here, artists adjust color grading, add subtle lens flares, enhance contrast, and composite the product into lifestyle backgrounds.
Top Rendering Engines for Product Design 3D
Choosing the right software is critical for achieving photorealism in product design 3D. Below is a comparison of the industry-standard rendering engines:
| Software | Best Used For | Key Distinctive Feature |
|---|---|---|
| KeyShot | Standalone Product Renders | Real-time drag-and-drop workflow; incredibly intuitive for beginners and industrial designers. |
| V-Ray | Architectural & Commercial 3D Art | Unmatched photorealism and advanced light calculation; the industry standard for high-end commercial work. |
| Blender (Cycles) | End-to-End Creation | Free, open-source, and highly capable with a massive community and excellent material node system. |
| OctaneRender | High-Speed GPU Rendering | Extremely fast, physically correct rendering that excels in cinematic product animations. |
Real-World Applications of Product Rendering 3D
The versatility of 3D product visualization allows it to be used across multiple touchpoints in a product’s lifecycle:
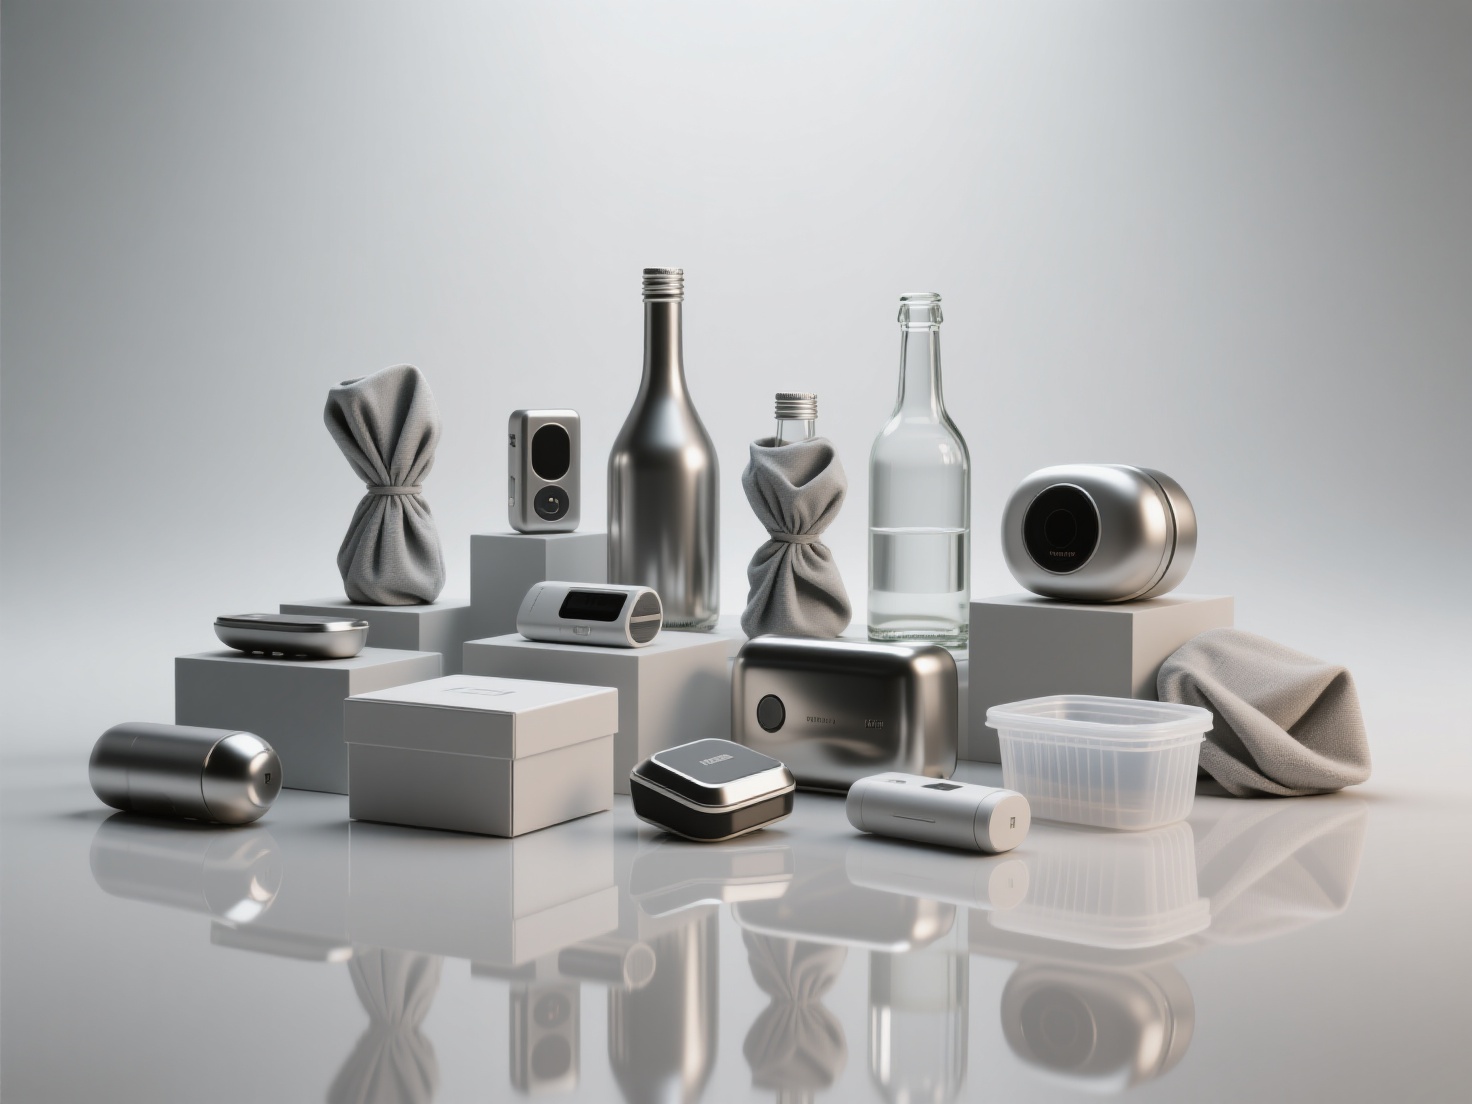
E-Commerce White-Background Shots
If you browse Amazon or Apple’s website, the flawless white-background product images you see are almost entirely 3D renders. Renders guarantee perfect consistency in lighting and scale across hundreds of product variations, which is nearly impossible to maintain in physical photography.
Lifestyle Scene Integration
Instead of renting an expensive modern kitchen to photograph a new blender, artists can digitally place the 3D blender into a pre-built 3D kitchen environment. This “lifestyle” imagery helps consumers visualize the product in their own homes, significantly boosting conversion rates.
Animated Commercials and Explainer Videos
For products with complex internal mechanisms (like a smartwatch or a running shoe), 3D animation can “explode” the product into its individual parts, allowing marketers to highlight specific technological features in a visually captivating way.
Best Practices for Exceptional 3D Product Visualization
If you want your commercial 3D art to stand out, strictly follow these best practices:
- Embrace Imperfections: In reality, nothing is perfectly clean. Add microscopic surface imperfections—like subtle fingerprints, dust particles, or micro-scratches—to your roughness maps. This tricks the human brain into believing the image is a photograph.
- Bevel Every Edge: In the physical world, perfectly sharp 90-degree edges do not exist. Always add a slight bevel (chamfer) to your model’s edges so they naturally catch highlights from your lighting setup.
- Use Accurate Real-World Scale: Rendering engines base their light falloff and depth of field calculations on real-world measurements. If your 3D coffee cup is modeled to the size of a building, the lighting and shadows will look entirely wrong.
- Utilize De-Lighted Textures: When using photo-scanned materials, ensure the textures do not have pre-baked shadows. Textures must be “De-Lighted” so they can react dynamically to your custom 3D lighting environment.
Elevate Your Product Design 3D Workflow with AI
Mastering 3D product visualization opens up a world of limitless creative potential for artists, marketers, and brands. By understanding the intricacies of modeling, PBR materials, and studio lighting, you can create product rendering 3D assets that captivate audiences and drive commercial success.
However, the traditional modeling pipeline can be incredibly time-consuming. If you want to dramatically accelerate your workflow while maintaining professional quality, Hitem3D is your ultimate solution.
As a Next-Gen 3D Model Generator powered by AI, Hitem3D utilizes in-house Sparc3D (high precision) and Ultra3D (high efficiency) models to transform 2D images directly into high-fidelity, production-ready 3D models.
Why 3D Artists Choose Hitem3D:
- Instant Base Meshes: Upload a single product photo and get a fully detailed 3D model exported in GLB, OBJ, STL, FBX, or USDZ formats.
- Invisible Parts Technology: Unlike basic AI tools, Hitem3D accurately reconstructs hidden structures beyond the visible surfaces, ensuring true geometric accuracy.
- Flawless Materials: Generate 4K resolution PBR-ready textures. Hitem3D’s intelligent De-Lighted Texture feature automatically removes baked-in lighting and shadows, giving you true relightable materials perfect for studio setups.
- Unmatched Detail: Supports up to 1536³ Pro resolution (up to 2M polygons), capturing the sharp edges necessary for commercial renders and 3D printing.
- Free Retry System: Regenerate your results without spending additional credits until you get the perfect model.
Ready to transform your sketches and product photos into stunning commercial 3D art in seconds? Join creators from over 50 countries who are already revolutionizing their workflow.
Frequently Asked Questions (FAQ)
1. Why choose 3D product visualization over traditional photography?
3D product visualization offers infinite flexibility. Once a product is modeled in 3D, you can change its color, material, lighting, and environment in minutes. It eliminates the need for physical prototypes, shipping costs, set construction, and expensive photography equipment, making it highly cost-effective for large product lines.
2. How long does it take to create commercial 3D art?
The time varies based on complexity. A simple product like a perfume bottle might take a few hours to model, texture, and render manually. Highly complex items like car engines can take weeks. However, using AI tools like Hitem3D to generate the base model and textures can reduce the initial modeling time from days to mere minutes.
3. What formats should I export my 3D product models in?
For rendering software like KeyShot or V-Ray, OBJ and FBX are the most standard and reliable formats. If you are creating interactive web viewers (like Shopify AR) or mobile AR experiences, GLB and USDZ are the optimized industry standards. Hitem3D seamlessly supports exporting to all of these formats.