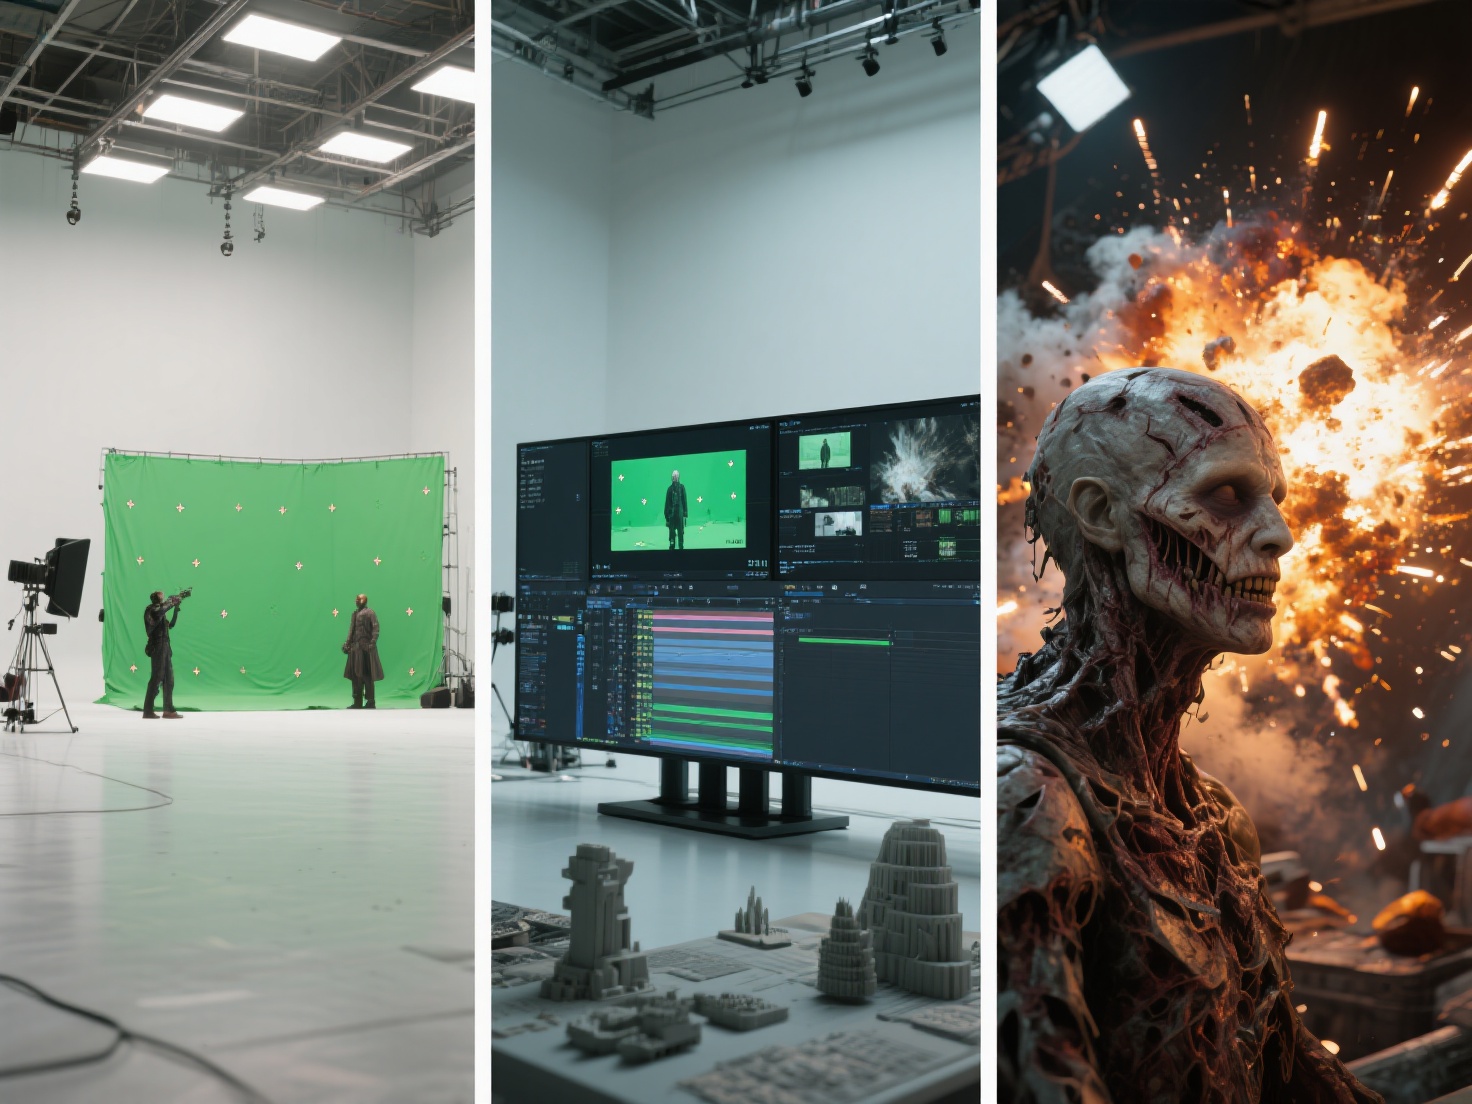
From the roaring flames of a dragon’s breath to the collapsing skyscrapers in blockbuster disaster movies, dynamic visual effects are what make modern cinema so immersive. Mastering particle effects VFX is an essential skill for any technical artist looking to create believable, physics-driven elements on screen.
However, creating high-quality simulations like fire simulation VFX or realistic water requires more than just dropping an asset into a scene. It demands a deep understanding of physics, fluid dynamics, and the right software tools. Whether you are a student just starting out or an intermediate artist looking to refine your workflow, understanding the core principles of simulations is key.
In this guide, we will break down the fundamentals of creating fire, smoke, and explosions, explore industry-standard tools like Houdini, and share best practices for optimizing your rendering pipeline.
What are Particle Effects in VFX?
Particle effects in VFX refer to computer graphics techniques that use thousands (or millions) of tiny, individual points (particles) emitting from a source to simulate chaotic, fluid, or volumetric phenomena like fire, smoke, dust, rain, and explosions.
In a 3D environment, each particle is assigned specific attributes—such as velocity, lifespan, color, and mass. By applying physical forces like gravity, wind, and turbulence to these particles, VFX artists can generate highly complex and realistic behaviors that would be impossible to animate by hand.
The Core Fundamentals: Systems, Solvers, and Tools
Before diving into creating specific effects, it is crucial to understand the technical foundation of how visual effects software handles dynamic simulations.
Particle Systems vs. Volumetric Simulations
While the term “particles” is often used as a catch-all, modern VFX relies on two distinct approaches:
- Particle Systems: These calculate the physics of individual points moving through space. They are ideal for sparks, rain, snow, debris, and magical trails.
- Volumetric Simulations (Fluid Dynamics): To create thick, billowing clouds or roaring fire, artists use voxel-based grids (often exported as OpenVDB files). Instead of tracking points, the software calculates how density, temperature, and velocity move through a 3D grid over time.
Industry-Standard Tools
Depending on your pipeline, choosing the right software will dictate how you approach simulation:
- Houdini FX: The undisputed king of the VFX industry. Houdini particle effects are driven by a node-based, procedural workflow. Its Pyro solver (for fire/smoke) and FLIP solver (for fluids) are unmatched for film-quality simulations.
- Blender: An excellent, accessible tool featuring built-in particle and Mantaflow fluid systems. It is perfect for indie creators and students looking to learn the basics without heavy software costs.
- Unreal Engine (Niagara): For game developers and virtual production, Unreal’s Niagara system provides incredibly powerful, real-time particle generation.
How to Create Core Dynamic Simulations
Creating believable simulations is a delicate balancing act of math, physics, and artistic direction. Here is a breakdown of how to approach the most common effects.
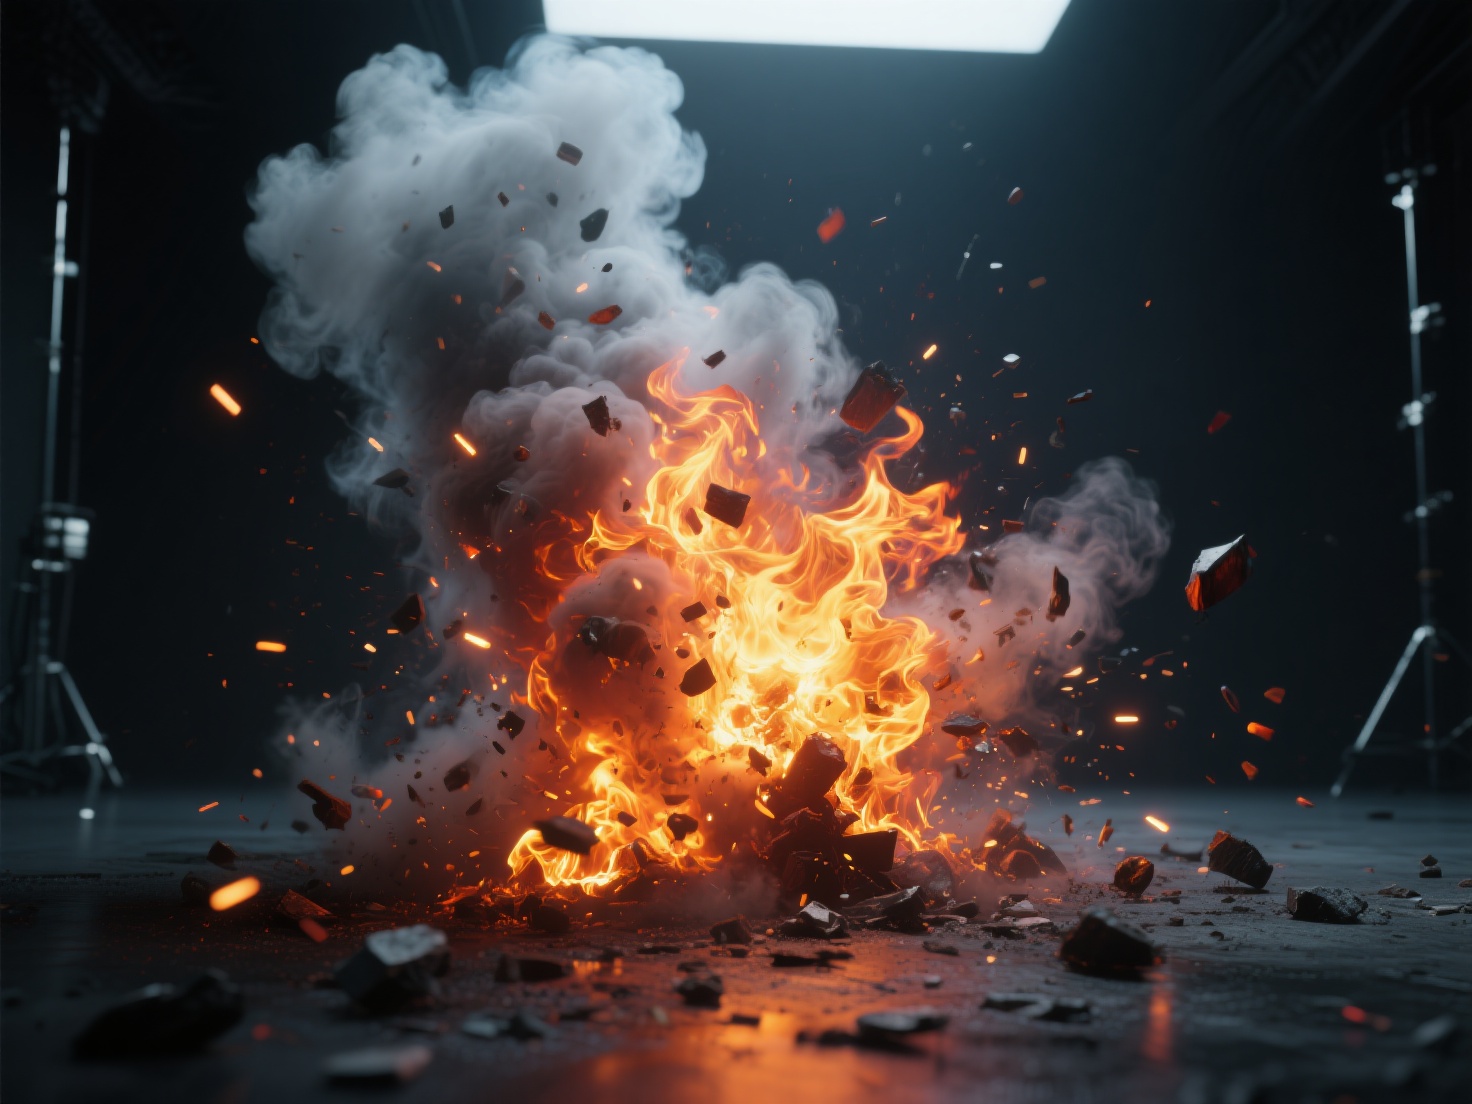
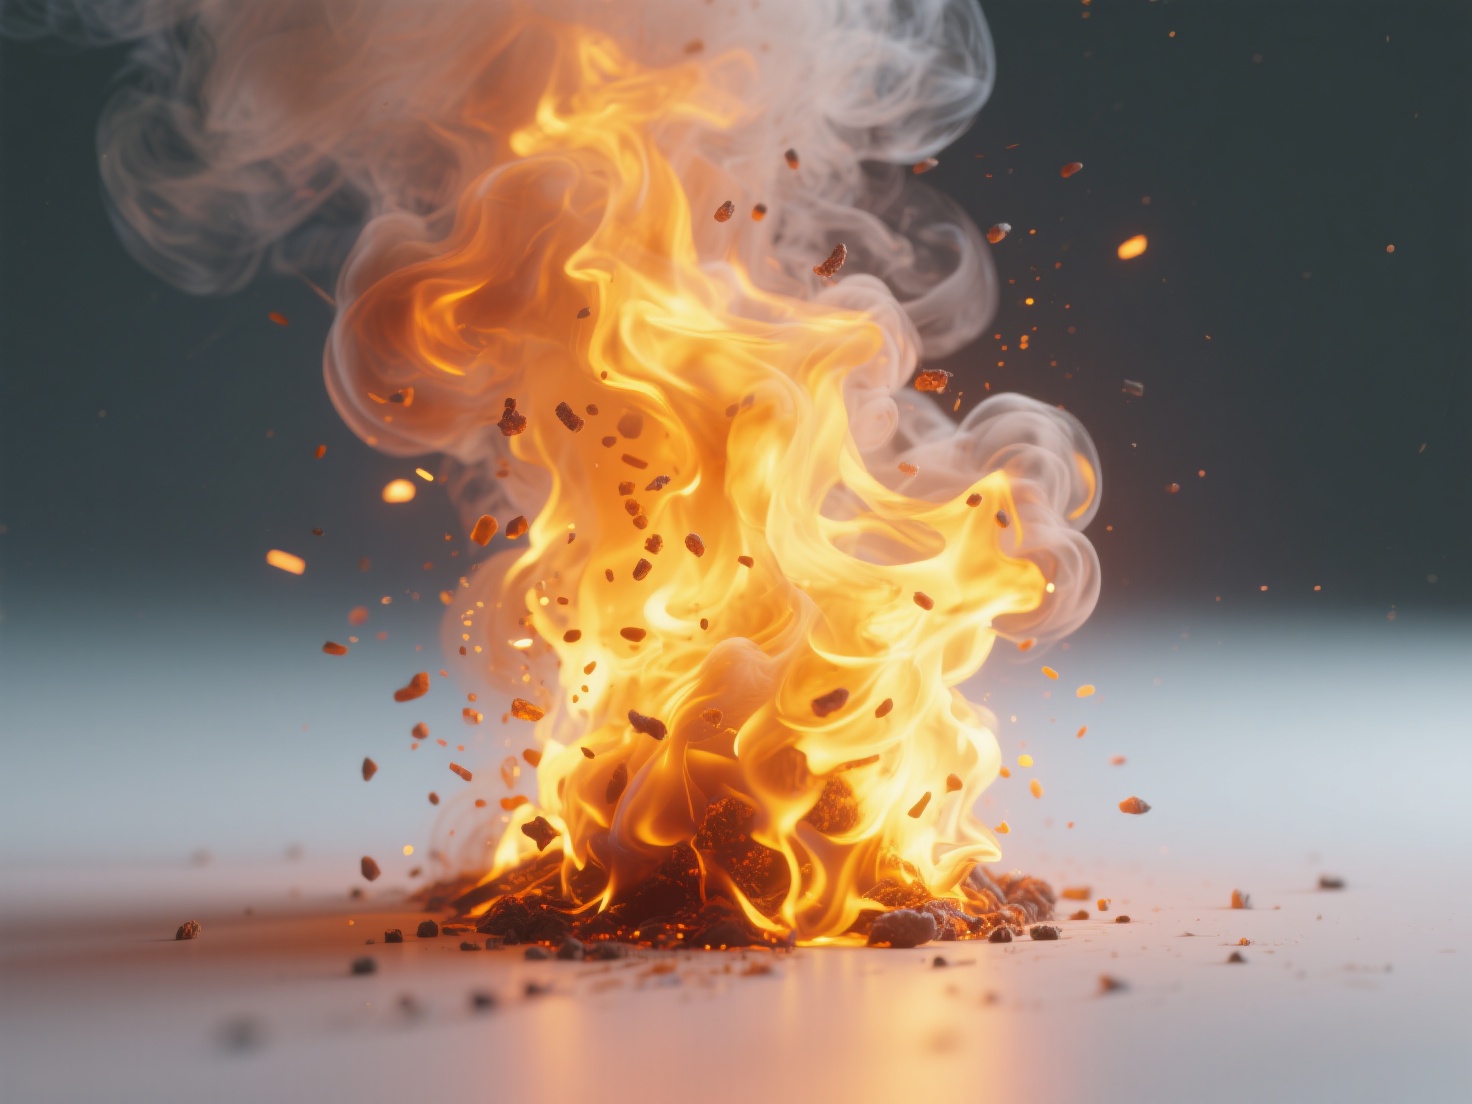
1. Fire Simulations (Combustion, Fuel, and Temperature)
To create a realistic fire simulation VFX, you cannot simply emit orange particles. In tools like Houdini, fire is simulated using a “Pyro Solver.”
- Source: You must designate a 3D object to act as the emitter.
- Fuel and Temperature: The simulation relies on “Fuel” being ignited by “Temperature.” As the fuel burns, it creates heat, causing the flames to rise (buoyancy).
- Micro-solvers: To prevent the fire from looking like a smooth, glowing blob, artists inject turbulence and disturbance to create the chaotic, licking edges typical of real flames.
2. Realistic Smoke and Dust Effects
Smoke effects for film operate on the same volumetric principles as fire but focus on different attributes.
- Density: This determines how thick the smoke is. A heavy explosion will have high density, while cigarette smoke is thin and wispy.
- Advection: This is the process of moving the smoke’s density along velocity fields. To make smoke look realistic, it needs to swirl and curl upon itself, a phenomenon known as vorticity.
- Dissipation: Smoke shouldn’t last forever. Setting a proper dissipation rate ensures the smoke slowly fades into the atmosphere over time.
3. Destruction and Rigid Body Dynamics (RBD)
Explosions rarely happen in an empty void. They usually involve destruction. Rigid Body Dynamics (RBD) are used to simulate breaking concrete, shattering glass, or splintering wood.
- Artists use Voronoi fracturing or Boolean operations to pre-cut 3D models into chunks.
- When a simulated force (like a bomb) hits the object, the constraints holding the chunks together break, sending debris flying.
- The Integration: Realism is achieved when you link systems together. For example, falling RBD debris should emit dust particles upon hitting the ground.
Practical Applications: Simulating with Environmental Collisions
In professional production, simulations never exist in isolation. Fire must wrap around a pillar, water must splash against rocks, and smoke must billow through a hallway. To achieve this, your simulation solvers require collision objects.
This is where the modeling pipeline frequently creates bottlenecks for VFX artists. Creating watertight, clean-topology models to serve as interaction targets for fluid and smoke solvers is time-consuming. Hitem3D provides a next-generation solution for this workflow.
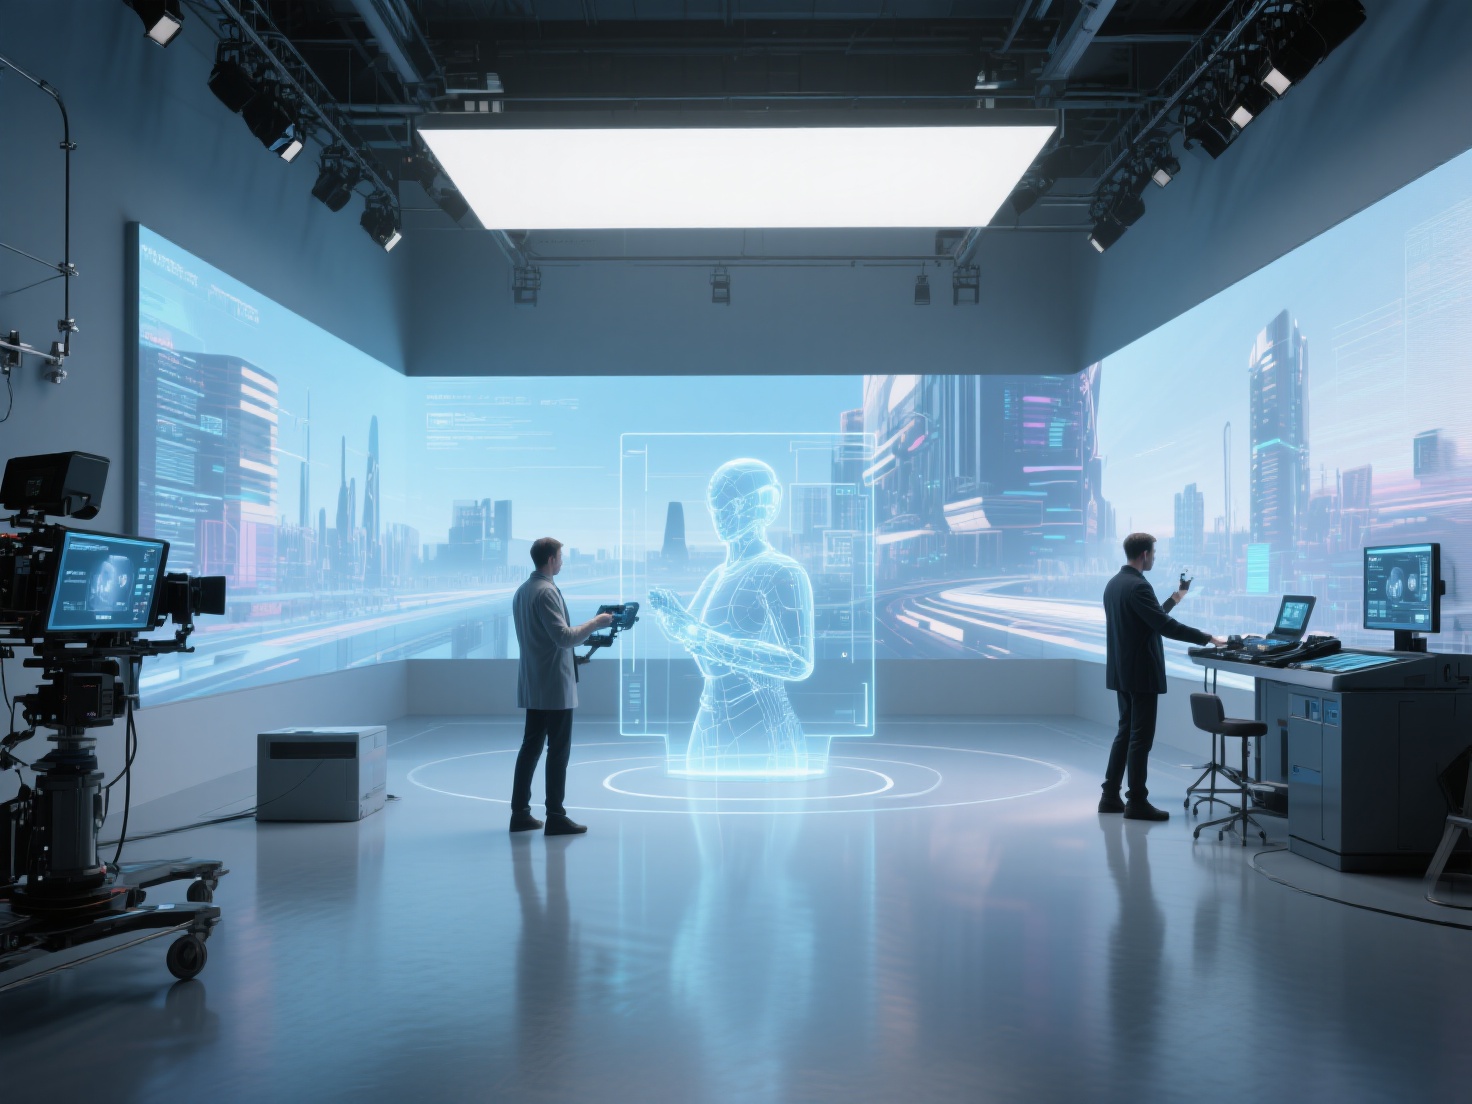
Using Hitem3D to Accelerate VFX Pipelines
Hitem3D is an AI-powered 3D model generator that can instantly transform 2D concept art or reference photos into production-ready 3D models. When setting up a complex simulation, artists can use Hitem3D to rapidly generate environment assets or props for particles to interact with.
- Clean Geometry for Solvers: Hitem3D is built on the high-precision Sparc3D model. It generates high-fidelity geometry with sharp edges up to 1536³ Pro resolution (up to 2M polygons). Crucially, its Invisible Parts technology reconstructs hidden structures, ensuring your models are fully closed and watertight—a strict requirement for accurate fluid and smoke collisions in Houdini or Blender.
- De-Lighted Textures: When rendering an explosion, the fiery light must interact realistically with surrounding objects. Hitem3D’s AI generates 4K PBR-ready textures with De-Lighted processing. By intelligently removing baked-in lighting and shadows, the materials are truly relightable, allowing the dynamic glow of your simulated fire to reflect perfectly off the generated assets.
- Seamless Export: With support for GLB, OBJ, STL, FBX, and USDZ, models can be dropped directly into your VFX software. Plus, with the Free Retry system, you can tweak your generations until you get the perfect collision asset.
Best Practices for Rendering and Optimization
Simulations generate massive amounts of data. Without proper optimization, your computer will quickly run out of RAM, and render times will become unmanageable.
1. Work in Real-World Scale
Physics solvers are mathematically based on real-world gravity (9.8 m/s²). If your 3D building is modeled to the size of a matchbox, your fire and destruction simulations will look like slow-motion miniatures. Always scale your scene correctly before starting a simulation.
2. Cache Your Simulations
Never try to render a live, un-cached simulation. Once you are happy with the movement of your fire or smoke, bake (cache) the data to your hard drive.
- Use Alembic (.abc) files for moving geometry and particles.
- Use OpenVDB (.vdb) files for volumetric data like smoke and fire.
3. Optimize Your Render Engines
When rendering volumes, raytracing engines can get bogged down calculating light scattering through dense smoke. If using engines like Karma, Mantra, or Arnold, limit your volume ray bounces (usually 1 or 2 is enough) to drastically cut down render times without sacrificing too much visual fidelity.
Conclusion: The Future of VFX Workflows
Mastering particle effects VFX—from the delicate swirl of cigarette smoke to the chaotic destruction of an explosion—is a journey that blends technical precision with artistic vision. By understanding the core differences between particle systems and volumetrics, utilizing industry-standard tools like Houdini, and practicing strict optimization, you can elevate the quality of your visual effects.
As the industry evolves, the integration of AI tools into the VFX pipeline is making the creation process faster and more efficient. Instead of spending hours modeling background props and collision objects for your simulations, you can leverage AI to handle the heavy lifting of asset generation.
Ready to streamline your VFX workflow with high-precision, production-ready 3D assets that are built for seamless simulation interactions?
Create For Free with Hitem3D today and bring your dynamic scenes to life faster than ever.
Frequently Asked Questions (FAQ)
Is Houdini hard to learn for beginners?
Houdini has a steeper learning curve compared to other 3D software because of its procedural, node-based workflow. However, it is the industry standard for VFX. Beginners are encouraged to start with basic tutorials on Houdini’s built-in Shelf Tools before diving deep into complex VEX coding.
Can I create professional VFX in Blender?
Yes. Blender has made massive strides in recent years. Its Mantaflow fluid system and geometry nodes make it highly capable of producing excellent fire, smoke, and particle effects, especially for indie films and freelance projects.
What is the difference between an explosion and a fire simulation?
While both use volumetric solvers, an explosion simulation requires a sudden, massive injection of velocity, temperature, and expansion (divergence) in a fraction of a second, followed by a rapid cool-down into thick smoke. A fire simulation relies on a steady, continuous burn of fuel.
How do I make my 3D models interact with smoke and fluids?
To make smoke or water interact with a 3D model, the model must be designated as a “Collider” or “Static Object” within the physics solver. The model should have clean geometry without holes (watertight) so the solver accurately calculates how the fluid bounces off the surface.