Have you ever watched a blockbuster sci-fi movie and wished you could bring that same cinematic magic to your own videos? For a long time, high-quality visual effects were locked behind multi-million-dollar budgets, massive Hollywood studios, and teams of veteran animators. But today, the landscape has completely shifted. If you want to create VFX at home, you no longer need unlimited resources or a professional soundstage.
Thanks to powerful, affordable software and cutting-edge AI tools, independent filmmakers, YouTubers, and passionate hobbyists can craft mind-bending visuals right from their bedrooms. In this comprehensive beginner VFX tutorial, we will walk you through the essential gear, the best software, and the fundamental techniques you need to start producing stunning home visual effects on an indie budget.
What are DIY Visual Effects (VFX)?
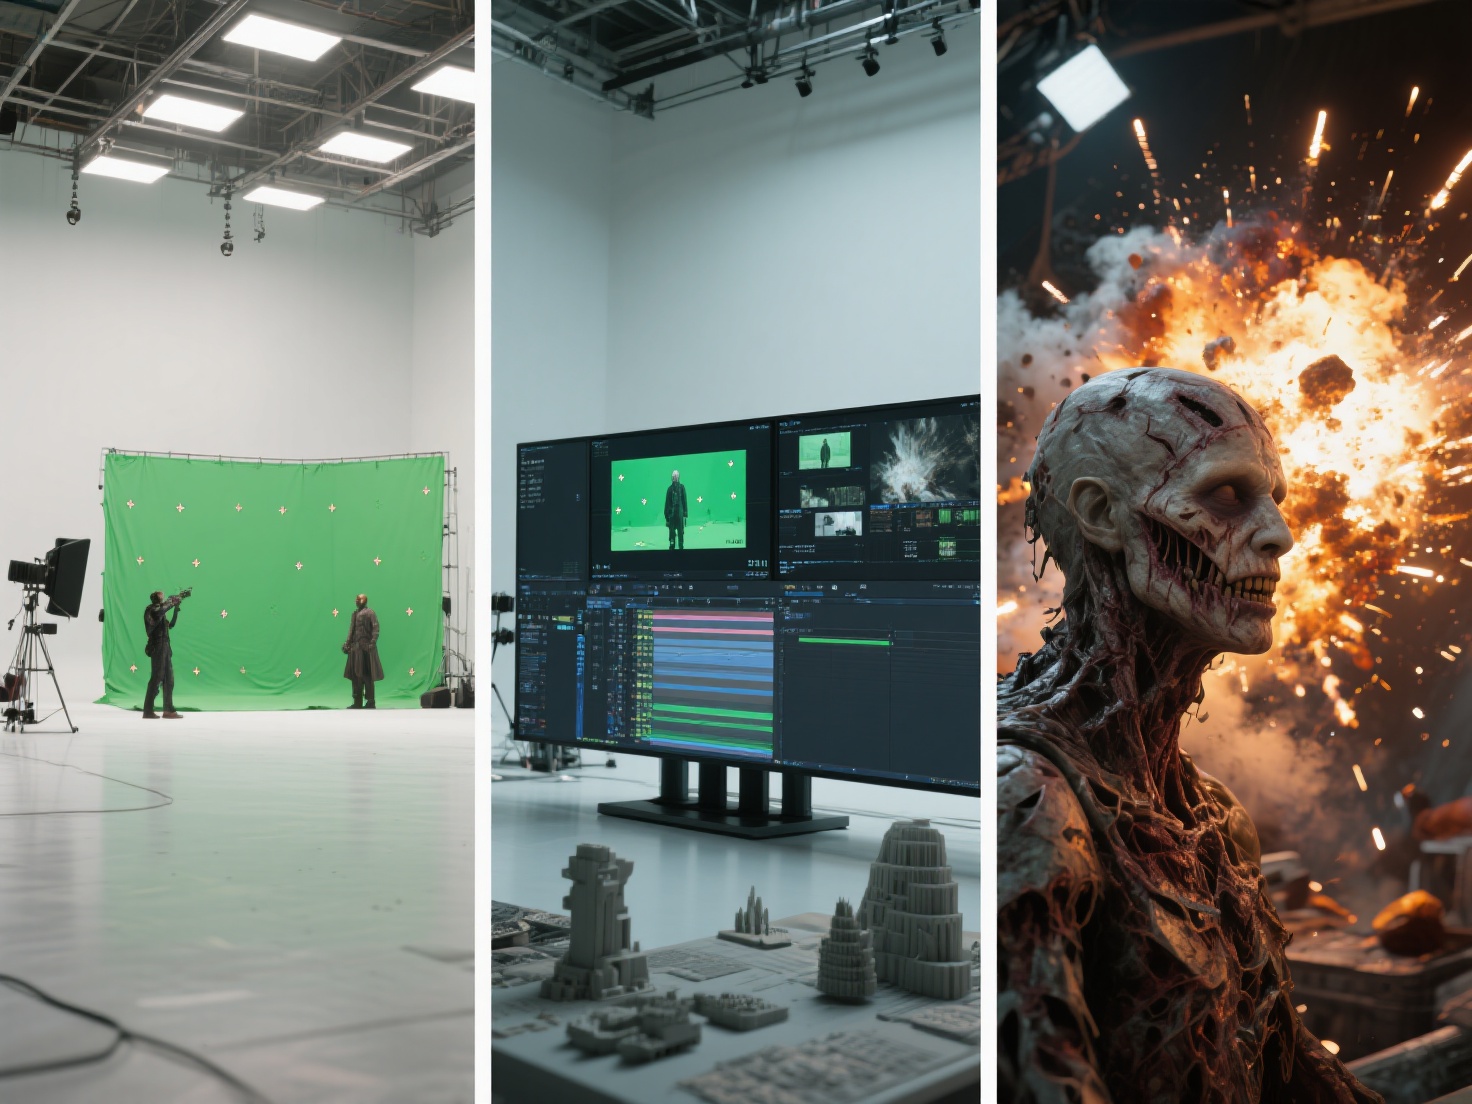
DIY VFX (Do-It-Yourself Visual Effects) refers to the process of creating, manipulating, and compositing digital imagery into live-action footage using consumer-grade equipment and accessible software, entirely outside of a traditional professional studio environment.
Unlike practical effects (which are filmed live on camera, like actual explosions or physical makeup), visual effects happen in post-production. For the solo creator, DIY VFX is all about problem-solving—using green screens, digital compositing, and computer-generated imagery (CGI) to tell a more compelling story without breaking the bank.
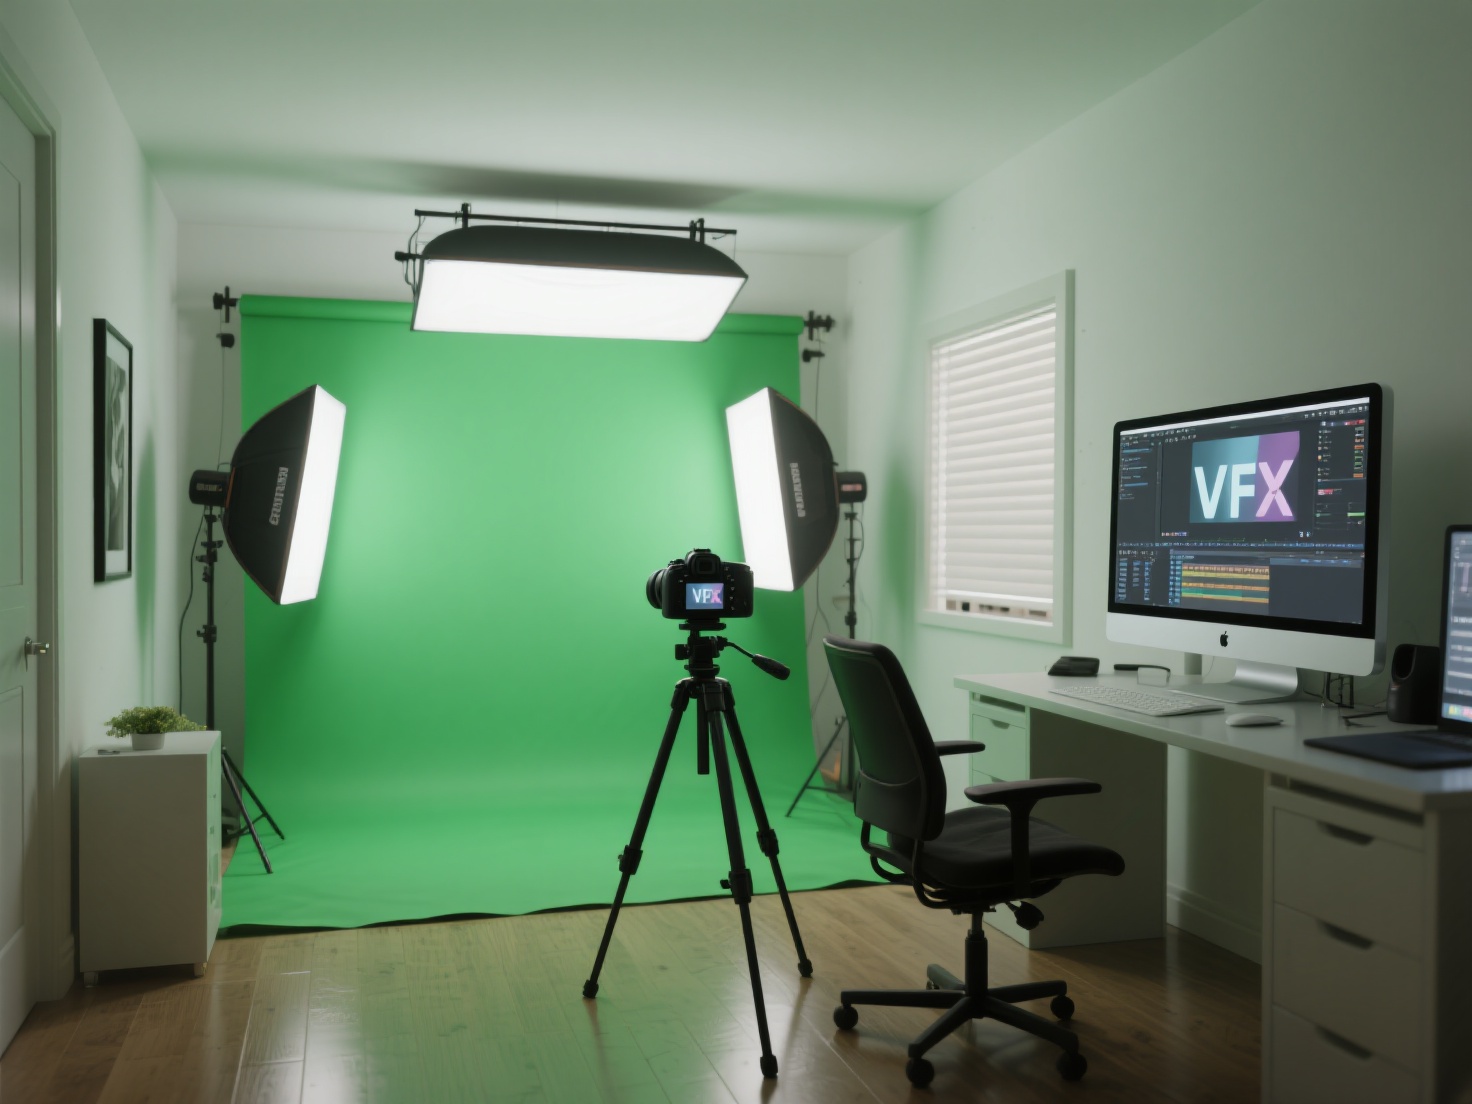
Essential Gear for Your Home Visual Effects Studio
You don’t need an ARRI Alexa or a Hollywood lighting grid to start. However, having a few fundamental pieces of equipment will make the compositing process significantly easier.
1. A Capable Camera (Even Your Smartphone)
To create VFX at home, you need footage that is clean and sharp. While mirrorless cameras (like the Sony A7 series or Panasonic Lumix) are fantastic, a modern smartphone is more than capable.
- Pro Tip: Always use a tripod. Shaky footage requires complex digital tracking, which is frustrating for beginners. If using a phone, use a “Pro” camera app to lock your exposure and focus—auto-adjustments will ruin your digital composites.
2. A Basic Green Screen Setup
A green screen allows you to digitally remove the background and transport your actors anywhere—from a spaceship to a fantasy landscape.
- You can use a collapsible pop-up green screen or simply paint a smooth wall with chromakey green paint.
- Ensure the fabric is pulled tight; wrinkles create shadows that are difficult to key out.
3. Accessible Lighting
Lighting is the secret sauce of realistic home visual effects. If your actor is lit from the left, but the digital background is lit from the right, the audience will instantly know it looks “fake.”
- Invest in a pair of budget-friendly LED light panels. They allow you to control color temperature and brightness, ensuring your practical lighting perfectly matches your digital environment.
Free and Affordable Software for DIY VFX
The barrier to entry for VFX software has never been lower. Here are the industry-standard tools that solo creators can access for little to no cost.
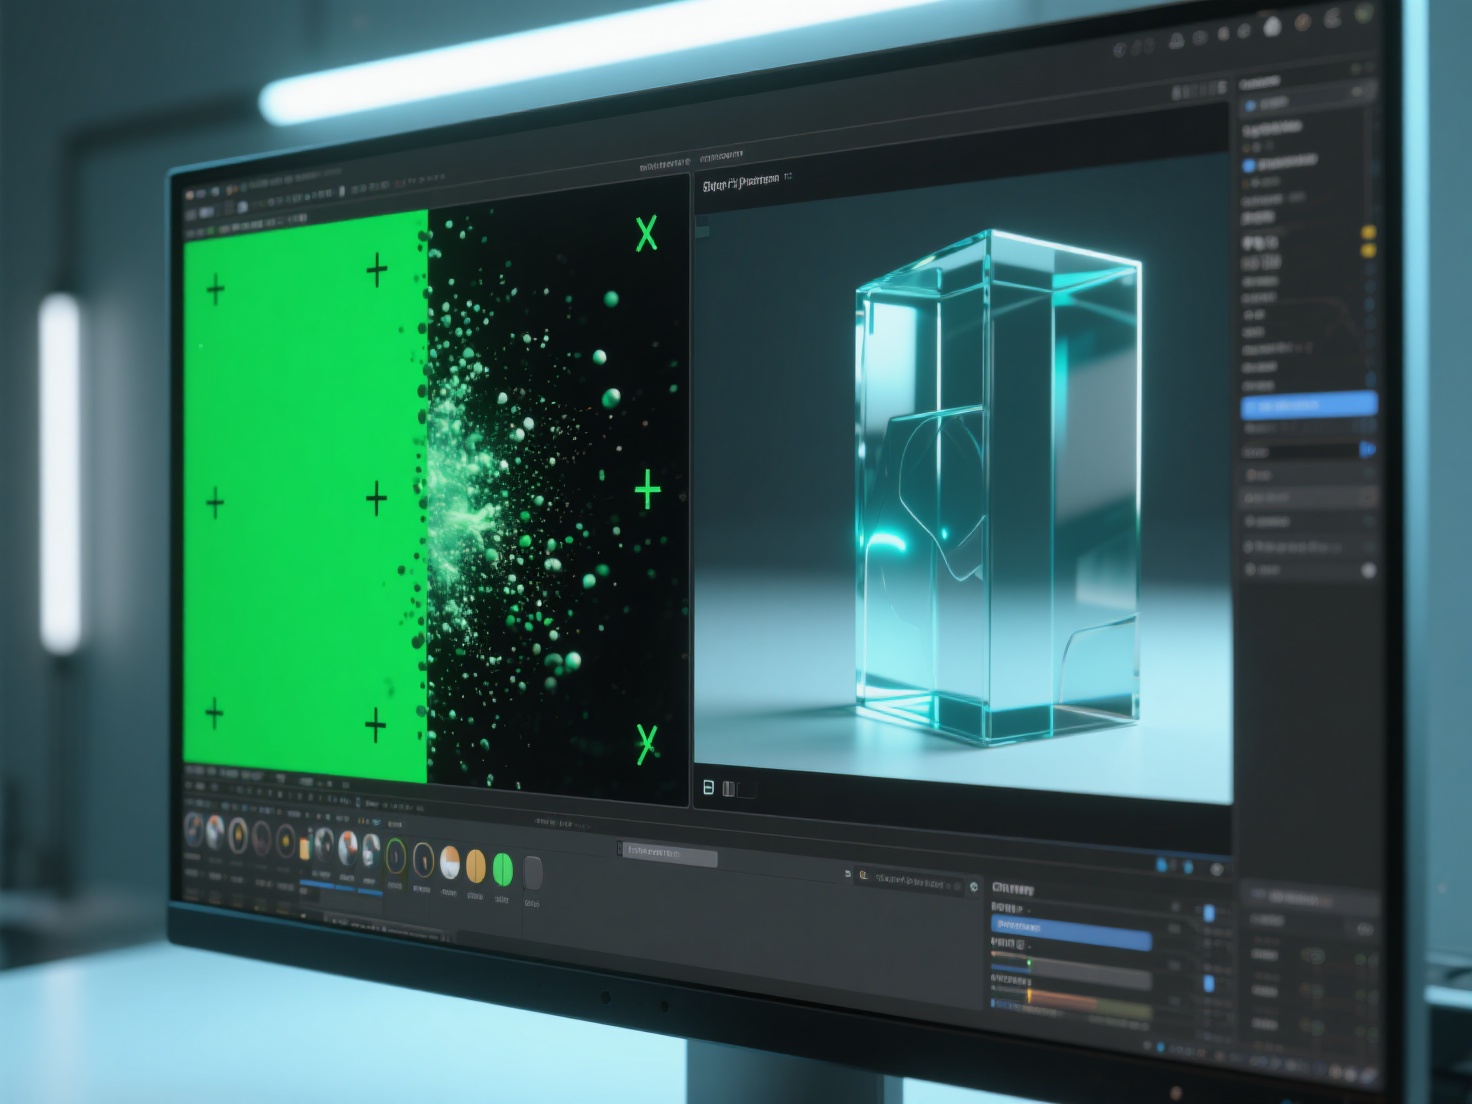
DaVinci Resolve (Fusion)
Blackmagic Design’s DaVinci Resolve is an absolute powerhouse. Not only is it a world-class video editor and color grader, but it also features Fusion, a built-in node-based compositing workspace. The best part? The standard version is 100% free. It is perfect for green screen keying, 3D tracking, and compositing.
Blender
If you want to integrate 3D models, environments, or fluid simulations into your footage, Blender is the ultimate tool. It is a completely free, open-source 3D creation suite used by indie creators and professional studios alike.
Adobe After Effects
While not free, After Effects remains the industry standard for motion graphics and 2.5D compositing. It uses a layer-based system that many beginners find more intuitive than nodes. You can utilize their free trial or subscribe to their affordable single-app plan to learn the ropes.
Beginner VFX Tutorial: Core Techniques to Master
To successfully create VFX at home, you should start by mastering a few fundamental techniques before moving on to complex 3D explosions.
1. Screen Replacement
This is the most common task in modern filmmaking. It involves replacing the blank screen of a smartphone, TV, or laptop with your own video.
- How it works: You place tracking markers (like tiny pieces of tape) on the physical screen. In software like After Effects or Fusion, you use a “Planar Tracker” to track those markers, allowing your digital footage to pin seamlessly to the moving screen.
2. Object Removal (Clean Plate Creation)
Accidentally left a coffee cup in a medieval fantasy shot? Or maybe a boom microphone dipped into the frame?
- How it works: You create a “clean plate” by taking a blank frame of the background without the actor or the unwanted object. You then use masks to digitally paint out the mistake, replacing it with the clean background.
3. Basic Particle Effects
Adding atmospheric elements like fog, falling ash, rain, or sparks instantly raises the production value of your scene.
- How it works: You can either use built-in particle emitters in your VFX software or download stock footage elements (shot on black backgrounds). By changing the blend mode of the stock footage to “Screen” or “Add,” the black background disappears, leaving only the realistic fire or rain over your footage.
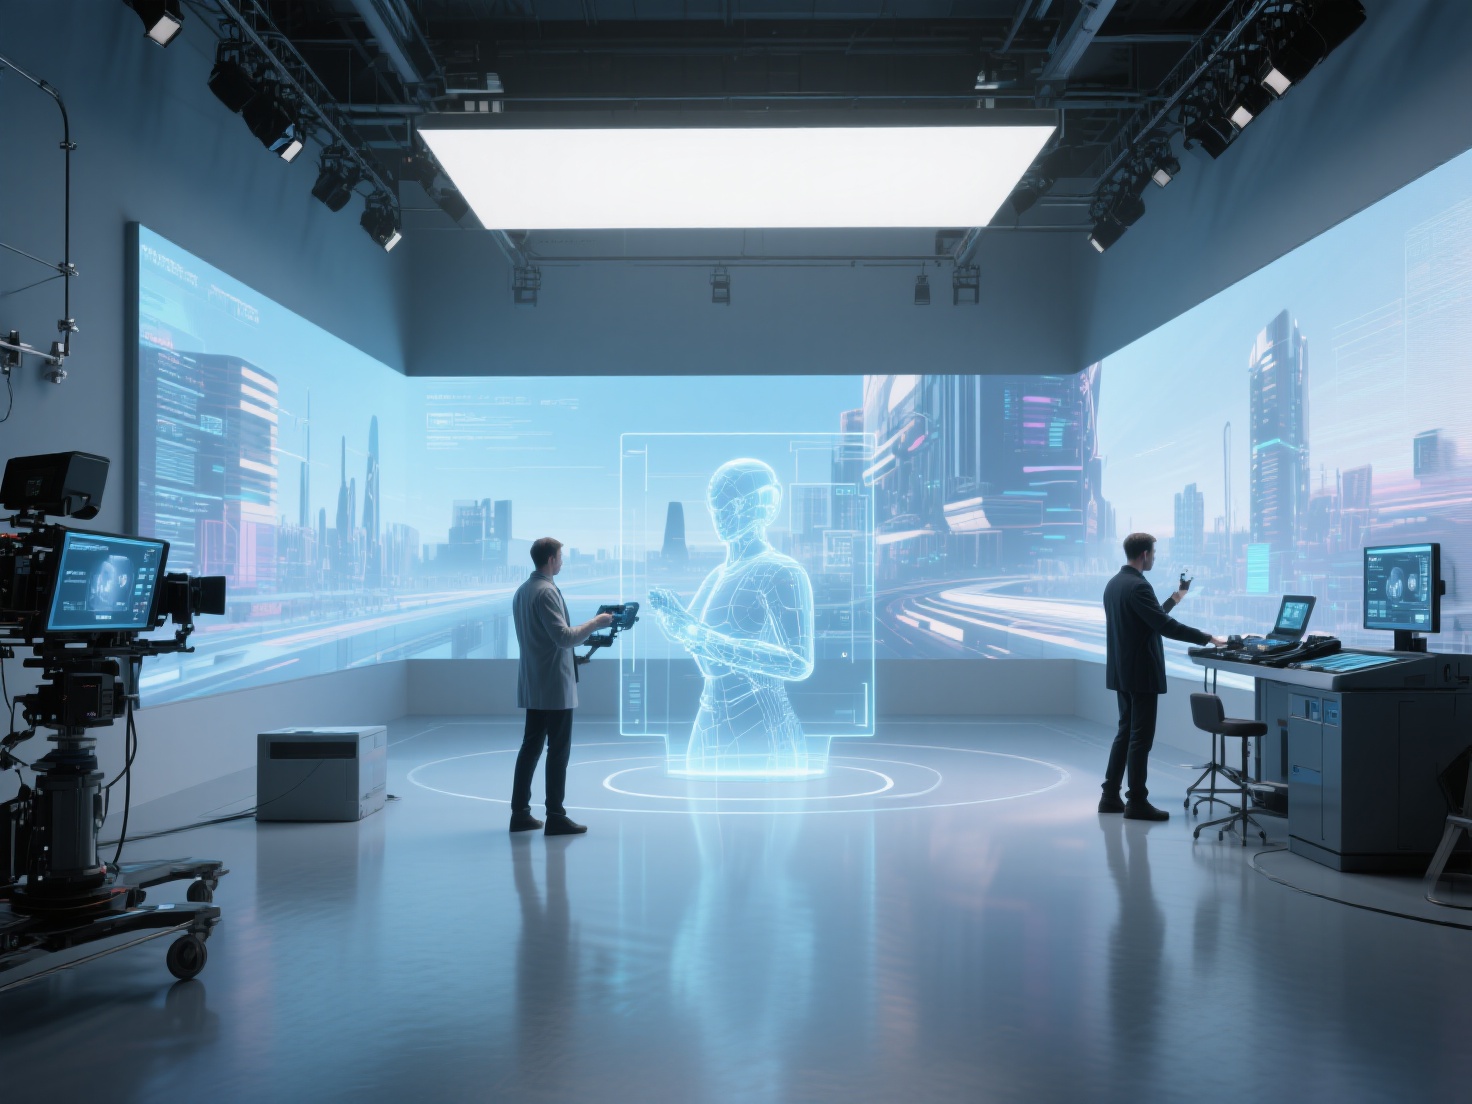
4. CGI Integration
This is the holy grail of DIY VFX: taking a digital 3D object—like an alien artifact or a robot—and making it look like it exists in your real-world bedroom or backyard. This requires 3D camera tracking, matching the perspective, and ensuring the lighting is identical.
Real-World Applications for Solo Creators
Mastering these basic techniques opens up incredible storytelling possibilities:
- Indie Filmmakers: Shoot a gritty sci-fi short film by placing highly detailed 3D spaceships into the sky of your hometown footage.
- YouTubers & Content Creators: Create engaging comedy sketches where you clone yourself to play multiple characters in the exact same room.
- Product Videographers: Showcase a new gadget by integrating floating, rotating 3D models of the product alongside the live-action footage.
Best Practices and Workflow Tips for DIY VFX Artists
When executing a beginner VFX tutorial, many creators fall into the same traps. Follow these pro tips to ensure your workflow is efficient and your results look professional.
1. Plan Everything in Pre-Production
VFX is not a magical “fix it in post” button. Storyboard your shots beforehand. Know exactly where your digital elements will go before you press record. Shoot reference photos of your filming location so you know exactly where the real-world lights were placed.
2. The Golden Rule: Match Your Lighting
The human eye is incredibly good at spotting fake CGI. 90% of the time, bad CGI is just bad lighting. Pay close attention to the direction, color, and harshness of the shadows in your real footage, and replicate that exactly in your 3D software.
3. Leverage AI to Bypass Tedious 3D Modeling
One of the biggest pain points for home VFX artists is sourcing high-quality 3D assets. Learning to 3D model from scratch can take years, and buying premium models gets expensive. This is where AI drastically changes the game for solo creators.
Instead of spending weeks modeling an intricate prop for your scene, you can use Hitem3D, a next-generation AI-powered 3D model generator. Built on high-precision Sparc3D and high-efficiency Ultra3D models, Hitem3D allows you to simply upload a 2D image (like concept art or a photo of a prop) and generate a production-ready 3D model in minutes.
Why Hitem3D is a game-changer for home VFX:
De-Lighted Textures: When you download a 3D model from the internet, the textures often have lighting and shadows permanently “baked” into the image. This ruins VFX composites because you can’t relight the object to match your scene. Hitem3D intelligently removes baked-in lighting, giving you true, relightable PBR materials (up to 4K resolution) that react perfectly to the digital lights in Blender or After Effects.
Invisible Parts Technology: Unlike basic AI generators that only map what they see, Hitem3D reconstructs hidden and invisible structures beyond the visible surface. If you need your CGI object to spin 360 degrees in your shot, you will have fully realized geometry on all sides.
Cinematic Detail: With support for up to 1536³ Pro resolution (generating up to 2 million polygons), the models are highly detailed, ensuring sharp edges that hold up perfectly even in close-up VFX shots. It outputs in industry-standard formats like FBX, OBJ, and GLB, dropping seamlessly into your workflow.
Conclusion: Elevate Your Home Visual Effects
Learning to create VFX at home is an incredibly rewarding journey. By starting with basic gear, utilizing free software like DaVinci Resolve and Blender, and mastering core techniques like tracking and keying, you can bring cinematic visions to life right from your desk. Remember to plan your shots, pay obsessive attention to lighting, and don’t be afraid to start small.
Furthermore, don’t let a lack of traditional 3D modeling skills stall your creativity. By embracing AI workflows, you can level the playing field against major studios. Hitem3D empowers you to generate flawless, relightable 3D assets from simple images, complete with a Free Retry system so you always get the perfect model for your scene without wasting credits.
Ready to add stunning, high-fidelity CGI props to your next video project?
Frequently Asked Questions (FAQ)
Q: Can I really create VFX at home with just a smartphone?
A: Absolutely. Modern smartphones shoot in 4K resolution with excellent dynamic range. The trick is to use a tripod to eliminate rolling shutter and jitter, and lock your exposure using a manual camera app before shooting.
Q: What is the easiest VFX technique for a beginner to start with?
A: Screen replacements and simple object removals (like masking out a wire) are the best starting points. They teach you the foundational skills of tracking, masking, and layering without overwhelming you with 3D space.
Q: How do I get realistic 3D models for my VFX shots without buying them?
A: You can use AI-powered platforms like Hitem3D. By uploading a single image or concept sketch, the AI generates a fully textured, high-polygon 3D model (like an OBJ or FBX) that you can directly import into Blender or After Effects for compositing.
Q: Why does my CGI look fake when I composite it into my video?
A: The most common culprits are mismatched lighting and incorrect black levels. Ensure the shadows on your CGI match the direction and softness of the shadows in your live-action room. Also, make sure the darkest parts of your 3D object are no darker than the darkest parts of your actual video footage.