You have likely seen mesmerizing time-lapse videos of plastic slowly melting into action figures, mechanical gears, or even life-sized furniture. As this technology becomes increasingly accessible to hobbyists and professionals alike, a common question arises for beginners: how does 3D printing work exactly?
While it might look like pure magic, the additive manufacturing process is actually a highly logical and structured workflow. However, jumping into this world without understanding the foundational steps can lead to failed prints, wasted material, and immense frustration.
In this comprehensive guide, we will break down the essential 3D printing steps from a blank screen to a physical object. Whether you are looking to buy your first desktop printer or simply want to understand the technology, you will learn exactly what goes into bringing digital creations to life.

What is 3D Printing?
What is 3D printing? Simply put, 3D printing is an additive manufacturing process that creates physical three-dimensional objects from a digital file by depositing material layer by layer until the final shape is fully formed.
Unlike traditional “subtractive” manufacturing (like CNC milling or wood carving), where a solid block of material is hollowed out or cut away, 3D printing only adds material exactly where it is needed. This fundamentally changes how we design, allowing for complex geometries and hollow structures that would be impossible to manufacture using any other method.
The Step-by-Step 3D Printing Process
To truly understand how does 3D printing work, we must look at the standard workflow. Every successful print follows these five crucial 3D printing steps.
Step 1: 3D Modeling and Design
Before a printer can build anything, it needs a set of instructions, which begins with a digital 3D model. Traditionally, this is done using Computer-Aided Design (CAD) software. While CAD is powerful, it comes with a notoriously steep learning curve and can be highly time-consuming for beginners.
Fortunately, artificial intelligence has drastically lowered this barrier to entry. If you lack CAD skills, you can use Hitem3D, a next-generation AI-powered 3D model generator. Instead of spending hours learning to sculpt, you can simply upload a 2D image. Powered by the in-house Sparc3D model for high precision, Hitem3D instantly reconstructs the object.
Unlike basic generators, Hitem3D uses Invisible Parts technology to accurately reconstruct hidden structures beyond the visible surface. It generates print-ready geometry with sharp edges, completely bypassing the tedious modeling phase and giving you a flawless digital asset ready for the next step.
Step 2: File Preparation (Exporting)
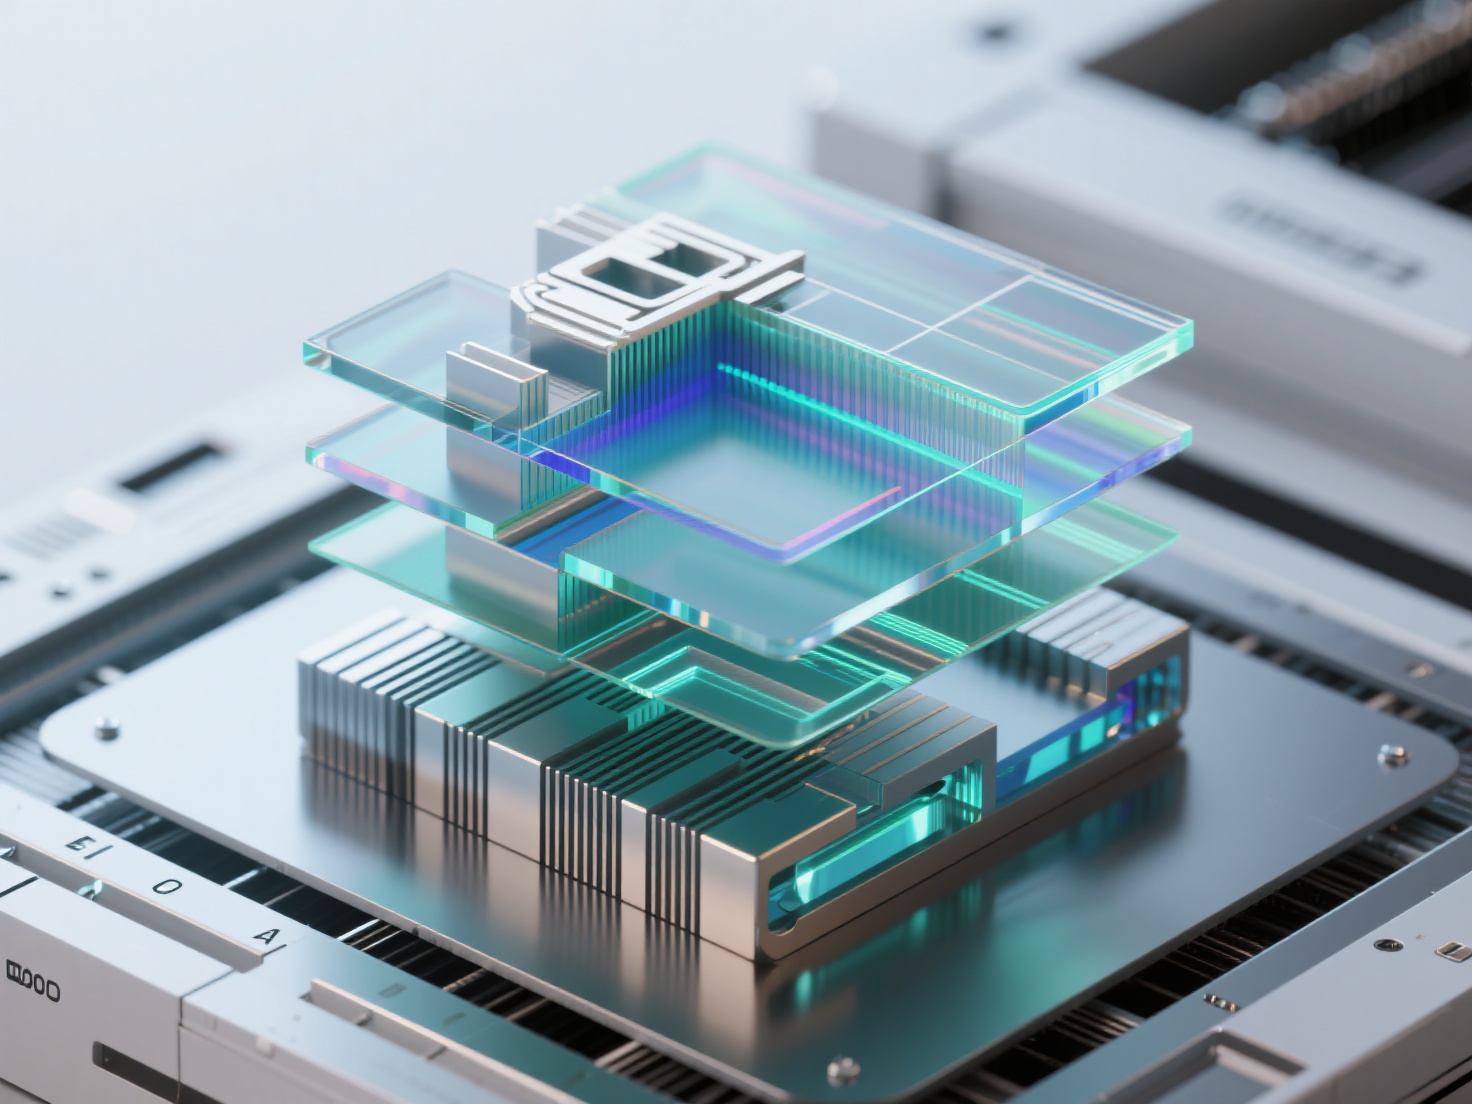
Once your 3D model is created, it must be exported into a format that 3D printing software can understand. The digital model is essentially a mathematical representation of surfaces and vertices.
The most common file formats used in the 3D printing process are:
- STL (Standard Tessellation Language): The universal standard that represents the surface of a model as a mesh of triangles.
- OBJ: Similar to STL but can hold texture and color data.
- 3MF: A newer, more robust format that packages model data, materials, and print settings into a single archive.
If you generate a model using Hitem3D, you can easily export it as a clean, high-resolution STL or OBJ file, perfectly optimized for 3D printing.
Step 3: Slicing the Model
Your 3D printer does not actually understand 3D models; it only understands toolpaths and coordinates. This is where “Slicing” comes in. Slicing software (like Cura, PrusaSlicer, or Bambu Studio) takes your 3D model and literally slices it into hundreds or thousands of flat, horizontal 2D layers.
During this stage, you define the physics of your print. You will set parameters such as:
- Layer Height: Determines the resolution and smoothness of the print.
- Infill Density: Dictates how solid the inside of the object will be (e.g., a honeycomb pattern at 20% density saves plastic while maintaining strength).
- Supports: Automatically generates temporary plastic scaffolding to hold up overhanging parts of your model.
Once sliced, the software generates G-code, a long script of text commands telling the printer exactly where to move, how fast to go, and what temperature to maintain. For absolute convenience, Hitem3D features a one-click direct send to Bambu Studio and OrcaSlicer, making the transition from AI generation to slicing entirely seamless.
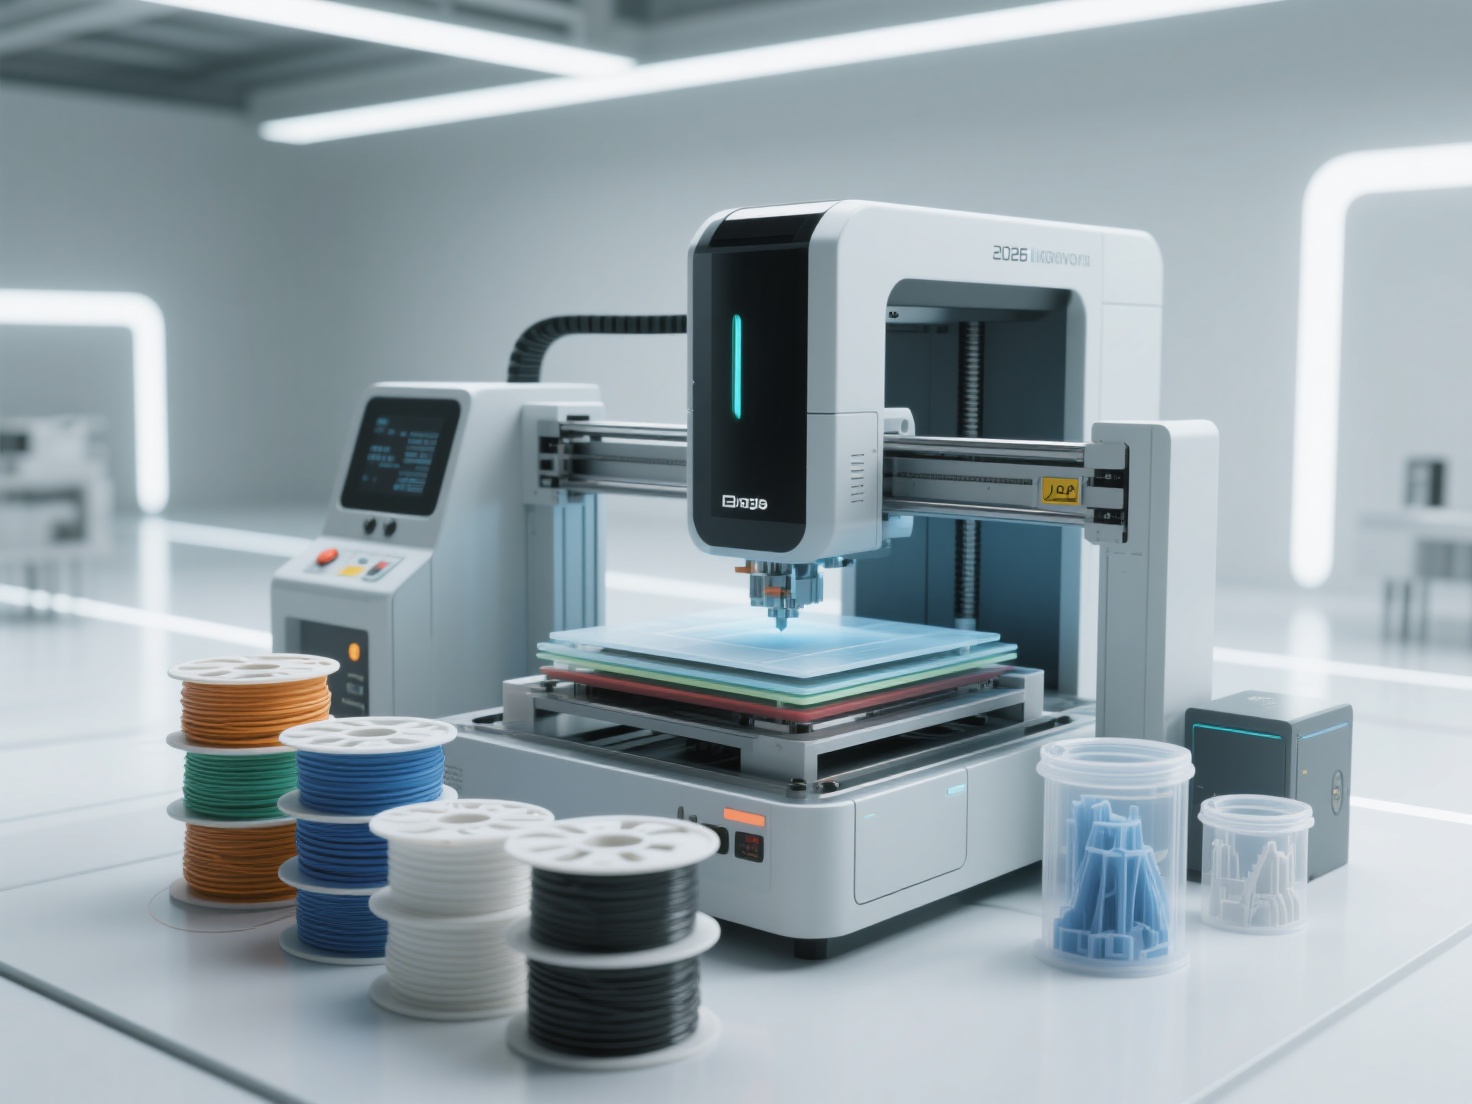
Step 4: The Printing Phase
With the G-code loaded into the machine via a USB drive, SD card, or Wi-Fi, the physical magic begins. The printer’s printhead heats up, the build plate moves into position, and the machine executes the G-code line by line.
The first layer is the most critical part of the entire additive manufacturing process. The printer carefully extrudes material onto the build plate, ensuring it sticks perfectly. Once the first layer is complete, the printhead moves up by a fraction of a millimeter, and the next layer is deposited directly on top of the previous one. They fuse together, cooling and solidifying to form the physical object over the span of hours or even days.
Step 5: Post-Processing
Taking the part off the print bed is rarely the final step. Depending on the technology and the model, post-processing is required to achieve a finished look.
Basic post-processing includes carefully snapping away the temporary support structures with pliers. From there, creators often sand the layer lines to achieve a smooth finish, prime the model, and paint it. For specific types of printing like resin, post-processing involves washing the print in isopropyl alcohol and curing it under a UV light to fully harden the material.
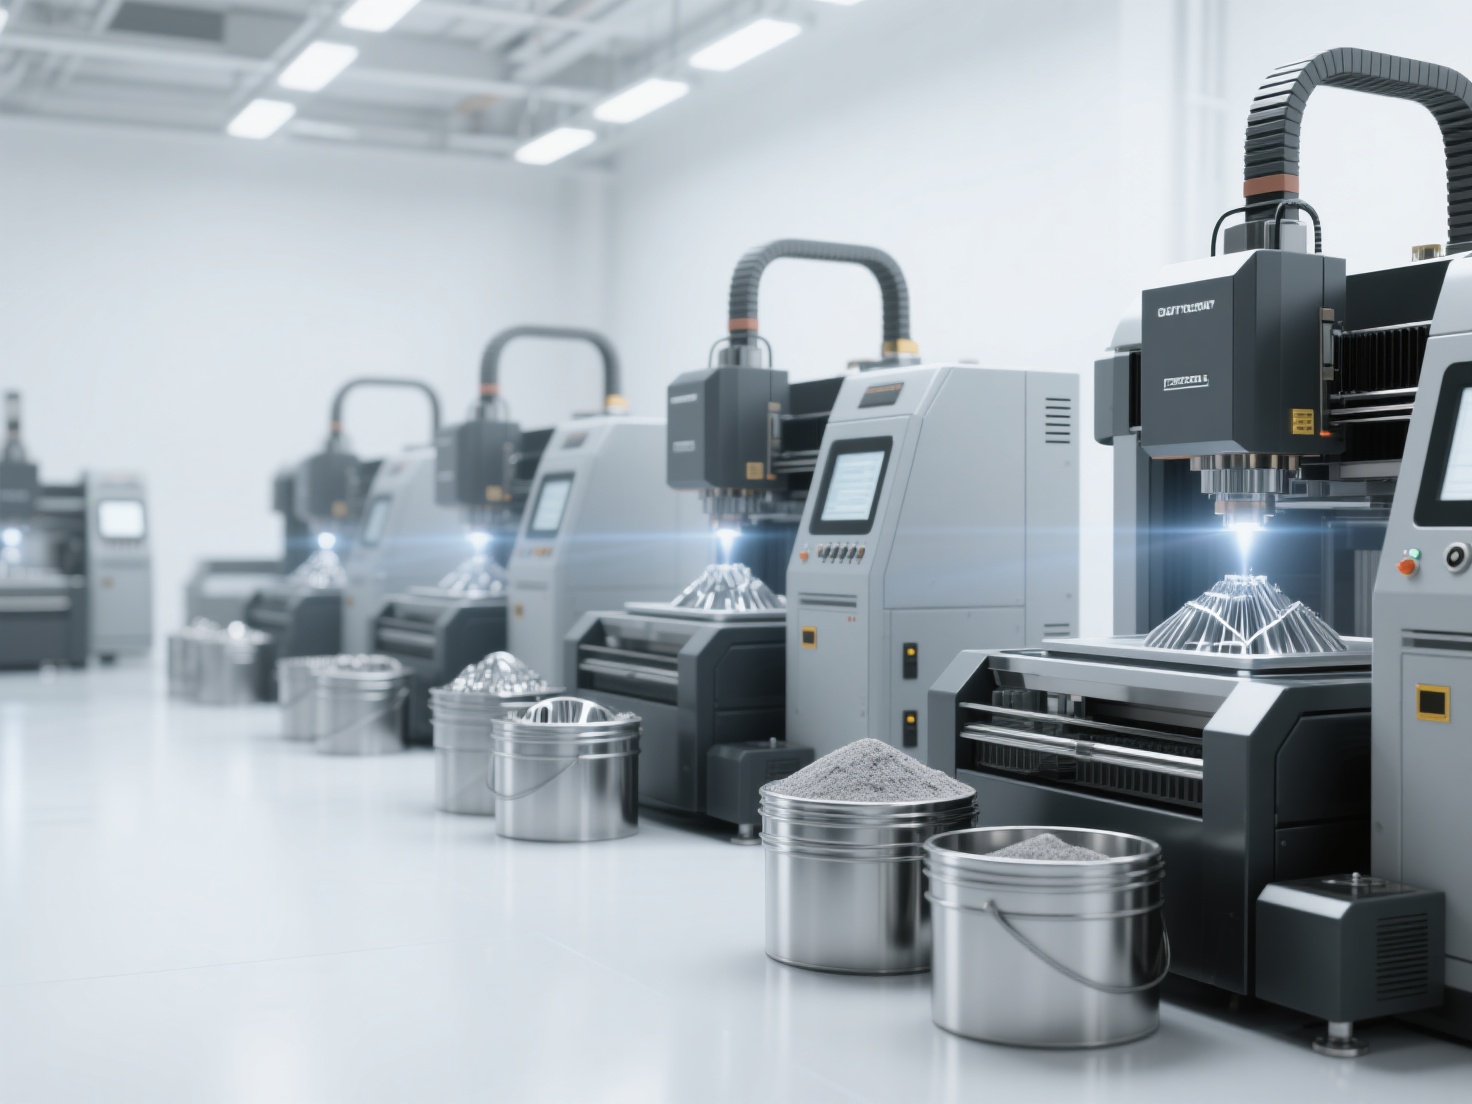
How the Process Differs by Technology
While the digital workflow remains consistent, the physical 3D printing process varies significantly depending on the hardware you use. Here is a breakdown of the three most popular technologies:
| Printing Technology | Full Name | How It Works | Best Used For |
|---|---|---|---|
| FDM | Fused Deposition Modeling | Melts a continuous thread of plastic filament through a heated nozzle, drawing layers like a hot glue gun. | Prototyping, functional parts, large hobby prints. |
| SLA | Stereolithography | Uses a UV laser or LCD screen to selectively cure liquid resin into hard plastic, layer by layer. | Miniatures, jewelry, dental models, high-detail art. |
| SLS | Selective Laser Sintering | Uses a high-powered laser to fuse small particles of polymer powder into a solid structure. No supports are needed. | Industrial parts, complex moving assemblies, durable goods. |
Real-World Applications of 3D Printing
Now that you know how does 3D printing work, you might wonder how it is used in the real world. The additive manufacturing process has moved far beyond simple plastic trinkets.
In medicine, doctors print patient-specific surgical guides and custom prosthetics that fit perfectly. In manufacturing and engineering, companies use 3D printing for rapid prototyping, allowing them to test physical iterations of a product in hours rather than weeks.
In the digital art and entertainment space, prop makers and cosplayers print incredibly detailed armor sets and movie-accurate props. Even independent creators and small businesses use desktop 3D printers to manufacture bespoke jewelry, custom mechanical keyboard cases, and home decor to sell online.
Best Practices for a Successful 3D Printing Workflow
Mastering the 3D printing steps takes practice. To skip the frustration and achieve better prints right out of the gate, keep these best practices in mind:
- Prioritize the First Layer: A successful print requires a perfectly leveled bed. Ensure your nozzle is the correct distance from the build plate; otherwise, the print will detach mid-way through.
- Keep Your Filament Dry: Materials like PLA, PETG, and especially Nylon absorb moisture from the air. Wet filament causes stringing, popping noises, and weak layer adhesion. Store your materials in airtight containers with desiccant.
- Start with Quality Models: A printer can only be as good as the file it is fed. If a model has “non-manifold” edges (holes in the digital mesh), the slicer will fail. Using tools like Hitem3D ensures you are starting with clean, watertight, and highly accurate geometry that practically guarantees a smooth slicing experience.
- Calibrate Your Printer Regularly: Check your belt tension, lubricate the z-axis screws, and periodically run temperature towers to find the ideal melting point for different brands of filament.
Conclusion: Streamlining Your Additive Manufacturing Process
Understanding how does 3D printing work demystifies the technology and opens up a world of creative possibilities. By mastering the core 3D printing steps—from digital modeling and slicing to the physical extrusion and final post-processing—you can turn any idea into a tangible reality.
Historically, the biggest bottleneck in this additive manufacturing process has been Step 1: creating the 3D model. But you no longer need to spend months learning complex CAD software to bring your ideas to the build plate.
With Hitem3D, generating high-fidelity, production-ready 3D models is as simple as uploading an image. Backed by the Sparc3D model, it delivers print-ready geometry with sharp edges and features a one-click export directly to Bambu Studio and OrcaSlicer. Plus, with the Free Retry system, you can regenerate results until they are perfect without wasting credits.
Ready to skip the tedious modeling phase and jump straight to printing?
Create For Free today and revolutionize your 3D printing workflow.
Frequently Asked Questions (FAQ)
Is 3D printing hard to learn?
The hardware side of 3D printing has become incredibly user-friendly, with many modern printers offering auto-leveling and plug-and-play setups. The steepest learning curve is usually 3D modeling, but AI tools like Hitem3D have made creating custom models accessible to anyone, regardless of experience.
How long does the 3D printing process take?
The time varies wildly based on the size of the object, the layer height, and the printer’s speed. A small chess piece might take 30 minutes, while a full-sized wearable helmet could take 48 to 72 hours of continuous printing.
What is the best file format for 3D printing?
STL remains the most widely accepted and universally used format across all slicing software. However, 3MF is rapidly gaining popularity because it is a more modern format that can store colors, textures, and specific machine settings alongside the 3D geometry.
Can I 3D print without knowing CAD?
Absolutely! While traditional CAD software is great for precise engineering parts, you can easily bypass it. You can download pre-made models from community repositories, or use AI-powered platforms like Hitem3D to automatically generate print-ready 3D models from simple 2D images.