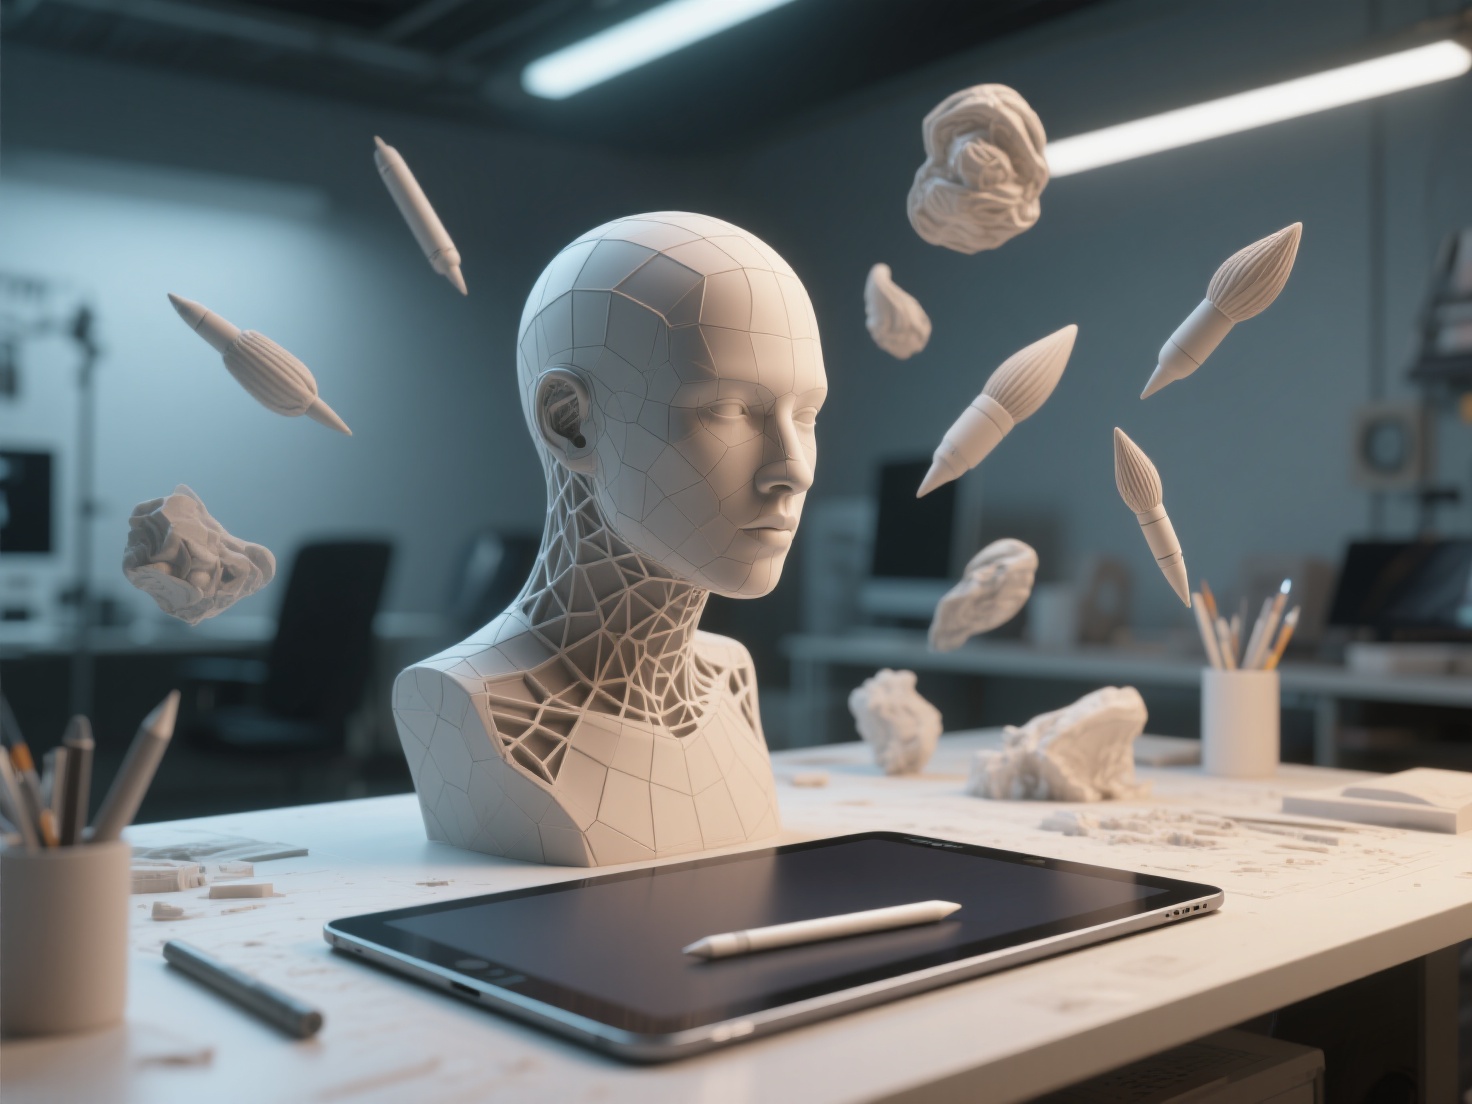
Crafting compelling concept art is the first step in bringing any 3D project to life, whether it’s for a blockbuster video game, a stunning visual effects sequence, or a cutting-edge product design. But the best concept art does more than just look pretty – it serves as a blueprint for 3D artists, guiding them in creating models that are faithful to the original vision. Are you a concept artist looking to bridge the gap between 2D design and 3D execution? This guide will equip you with the techniques to create concept art optimized for seamless 3D production.
What is Concept Art for 3D Production?
Concept art for 3D production is visual development art that is specifically designed to be easily translated into a three-dimensional model. It goes beyond aesthetic appeal and focuses on providing clear, detailed, and technically accurate information that allows 3D artists to efficiently and effectively create a 3D representation of the design.
Six Key Principles of Effective Concept Art for 3D
To create concept art that truly shines in the 3D realm, consider these essential principles:
1. Silhouette Readability: The Power of the Outline
Silhouette is one of the most important visual aspects of any 3D model. A strong, easily recognizable silhouette ensures that the form is clear and engaging from any angle.
- Prioritize Clear Shapes: Avoid overly complex or ambiguous forms that can be difficult to interpret in 3D.
- Vary the Outline: Use contrasting curves and straight lines to create visual interest and define key features.
- Consider Positive and Negative Space: Pay attention to the shapes formed by the spaces around the object, as these can contribute to the overall silhouette.
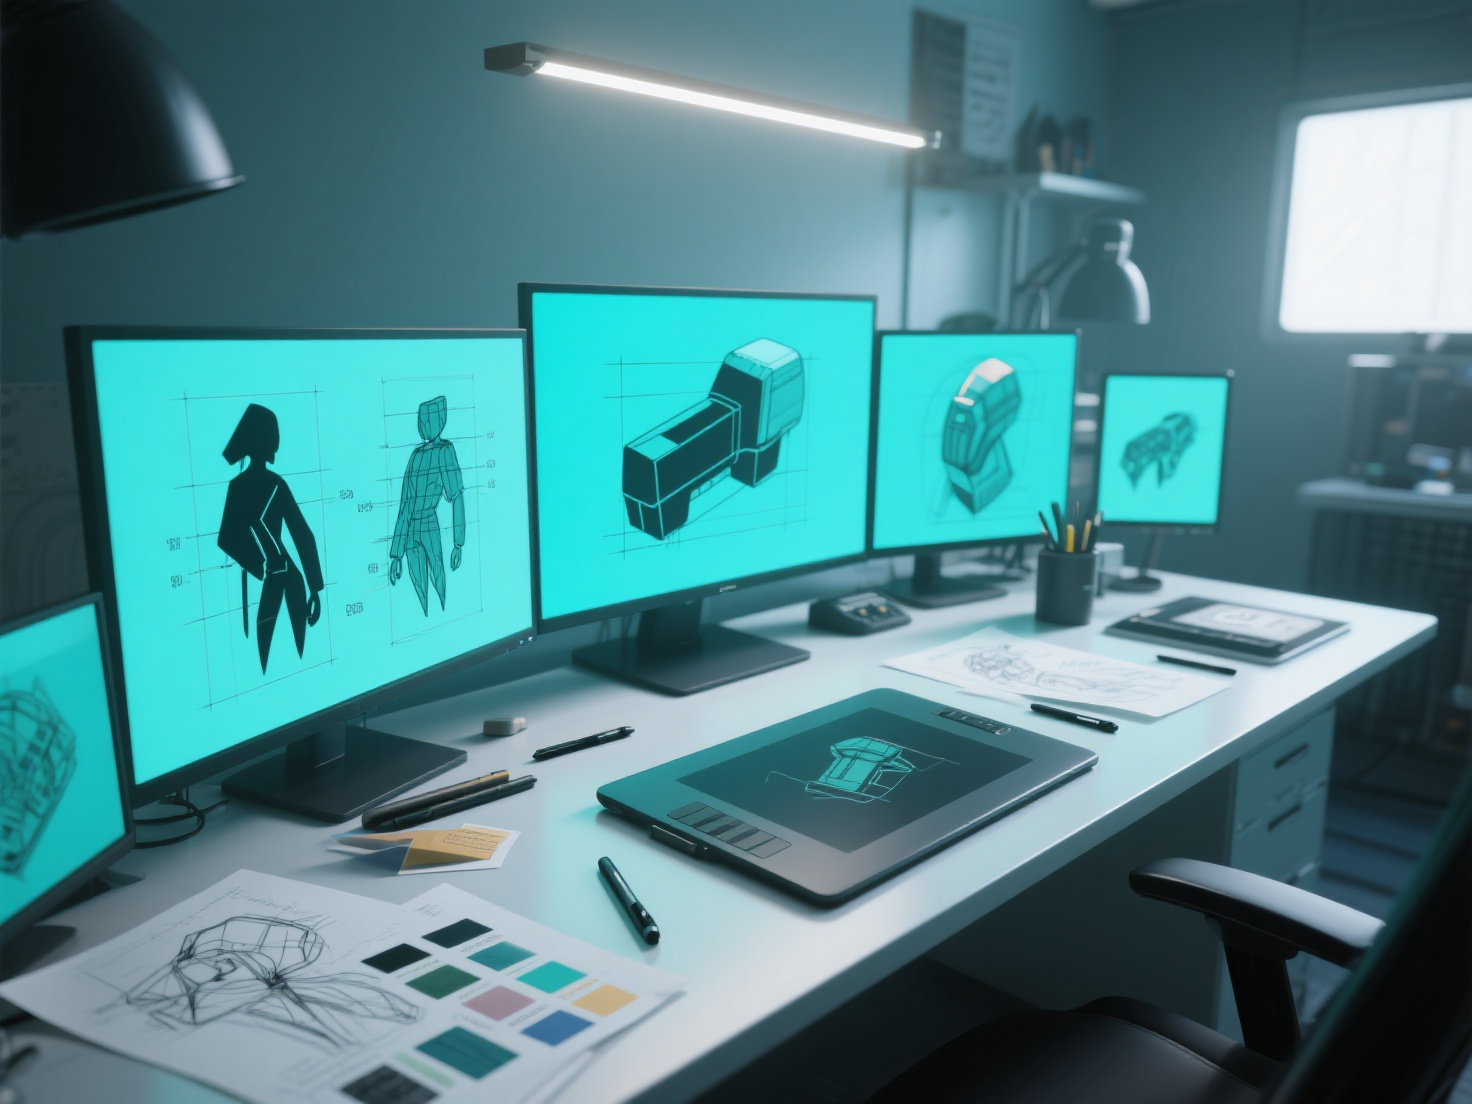
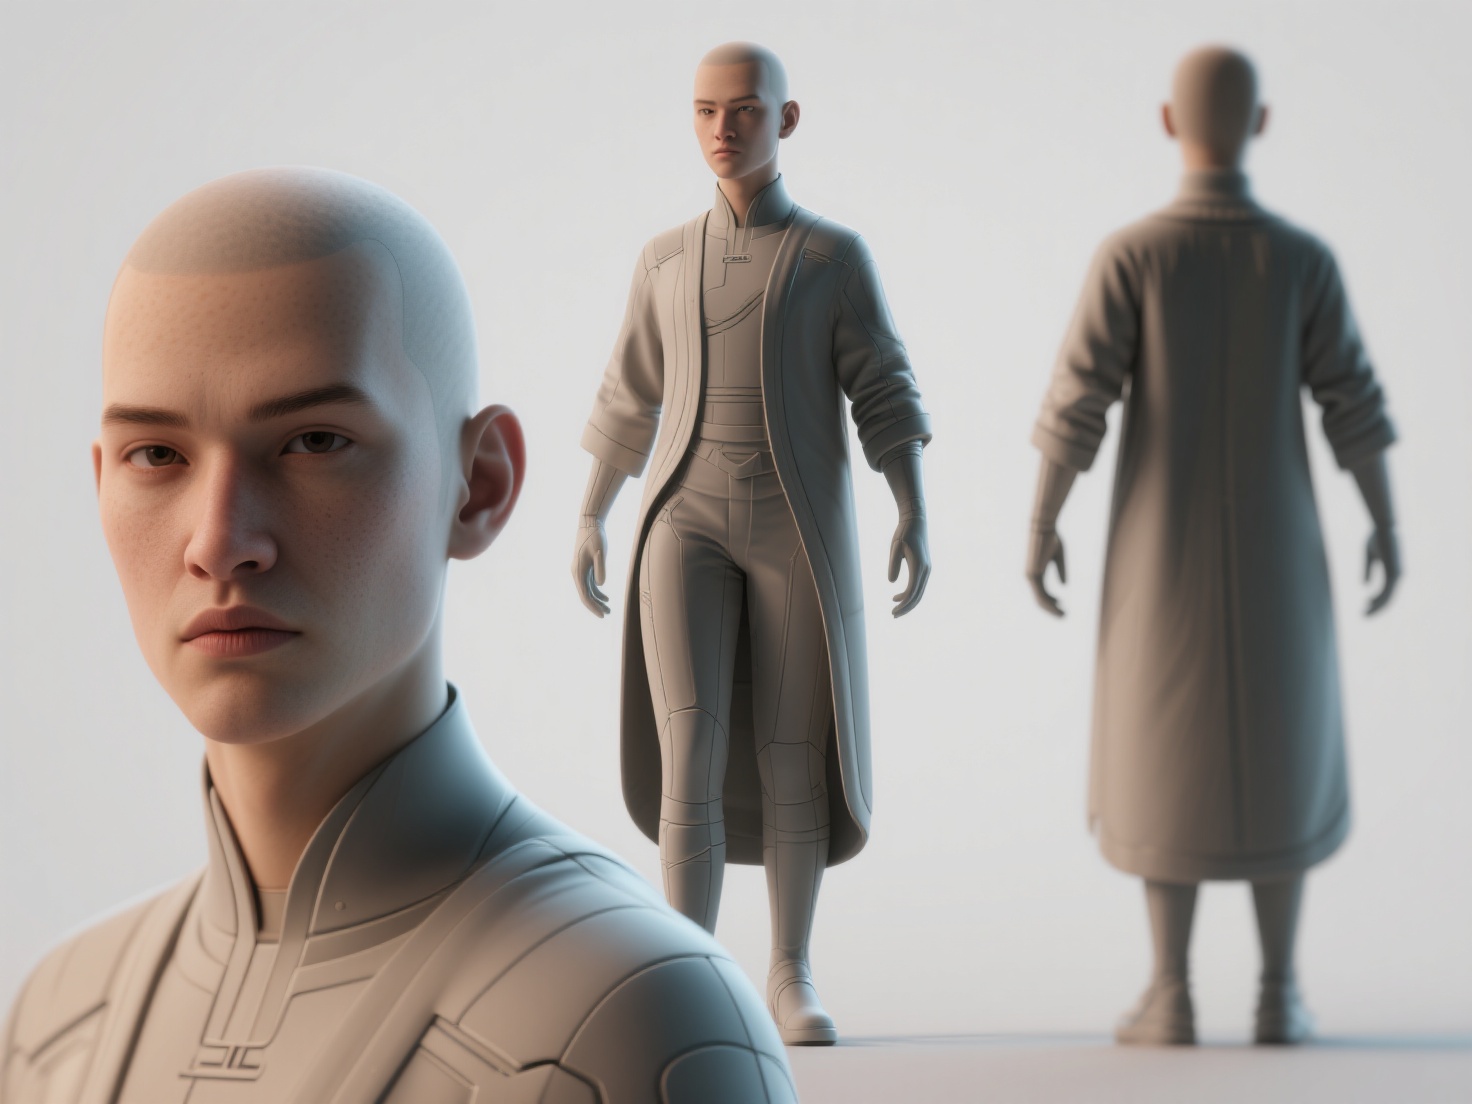
2. Orthographic Turnarounds: Mapping the 3D Space
Orthographic turnarounds are essential for providing 3D modelers with a complete understanding of the design from all angles. These usually consist of front, side, and back views, often presented in a single document.
- Precise Alignment: Ensure that all views are perfectly aligned to maintain accurate proportions.
- Consistent Style: Keep the rendering style and level of detail consistent across all views.
- Include Key Dimensions: Add measurements for critical dimensions to guide the 3D modeling process.
3. Material and Color Callouts: Defining the Surface
Clearly defining the materials and colors used in your design is crucial for achieving a realistic and visually appealing 3D model.
- Specific Material Descriptions: Instead of simply stating “metal,” specify the type of metal (e.g., brushed aluminum, polished steel) and its surface properties (e.g., roughness, reflectivity).
- Color Swatches with Codes: Provide accurate color swatches with corresponding color codes (e.g., Pantone, RGB, Hex) to ensure color consistency.
- Surface Detail Notes: Indicate any surface textures, patterns, or imperfections that should be replicated in the 3D model.
4. Detail Sheets: Zooming in on Complexity
For intricate designs with complex components, create dedicated detail sheets that provide close-up views and specific instructions.
- Focus on Problem Areas: Identify areas that may be challenging to model based on the orthographic views alone.
- Exploded Views: Use exploded views to showcase the individual parts and their relationships to each other.
- Clear Annotations: Add clear and concise annotations to explain specific features, assembly instructions, or functional requirements.
5. Designing for Manufacturing/Printing Constraints: Thinking Ahead
If the 3D model will be physically manufactured or 3D printed, consider the constraints of these processes during the design phase.
- Minimum Wall Thickness: Ensure that all parts meet the minimum wall thickness requirements for the chosen manufacturing method.
- Draft Angles: Incorporate draft angles to facilitate easy removal from molds.
- Support Structures: Design the model in a way that minimizes the need for support structures during 3D printing.
6. Communicating Design Intent: Telling the Story
Ultimately, concept art is about conveying the overall design intent, including the character’s personality, the object’s function, and the mood of the scene.
- Include Narrative Elements: Add elements that hint at the backstory, purpose, or environment of the design.
- Use Dynamic Posing: Pose characters in dynamic and expressive ways to communicate their personality and attitude.
- Consider Lighting and Composition: Use lighting and composition to create a sense of drama and guide the viewer’s eye.
The Concept-to-3D Workflow: A Collaborative Approach
The most effective concept-to-3D workflows involve close collaboration between concept artists and 3D modelers. Regular communication, feedback sessions, and iterative refinement are crucial for ensuring that the final 3D model accurately reflects the original design intent.
Real-World Applications of 3D-Ready Concept Art
- Video Games: Character and environment design that translates flawlessly into playable game assets.
- Film & VFX: Creating realistic creatures, props, and sets for visual effects sequences.
- Product Design: Developing prototypes and visualizing product concepts for manufacturing.
- 3D Printing: Designing models that are optimized for 3D printing and physical prototyping.
Best Practices for Bridging the 2D-to-3D Gap
- Learn Basic 3D Modeling: Understanding the fundamentals of 3D modeling will allow you to create more informed and practical concept art.
- Collaborate with 3D Artists Early On: Involve 3D artists in the design process from the beginning to get their feedback and identify potential challenges.
- Use 3D Software for Concepting: Consider using 3D software to create rough blockouts or initial models to inform your 2D concept art.
- Maintain Consistent Naming Conventions: Establish clear naming conventions for files and assets to ensure organization and clarity.
Streamline Your Workflow with Hitem3D
The traditional concept-to-3D pipeline can be time-consuming and require specialized skills. But what if you could drastically reduce the time and effort required to bring your concept art to life in 3D?
Hitem3D offers a revolutionary solution. By simply uploading your concept art or reference images – even single-view images – Hitem3D’s AI-powered platform can generate high-fidelity, production-ready 3D models with clean geometry and realistic PBR textures. Imagine bypassing the tedious manual modeling process and instantly transforming your 2D visions into tangible 3D assets.
Hitem3D leverages its in-house Sparc3D (high precision) and Ultra3D (high efficiency) models to reconstruct hidden structures, providing accurate and detailed 3D models even from limited reference material. With Hitem3D, you can:
- Accelerate the Concept-to-3D Pipeline: Generate 3D models in a fraction of the time compared to traditional methods.
- Reduce Modeling Costs: Eliminate the need for expensive manual modeling services.
- Iterate Faster: Quickly experiment with different design variations and explore new ideas.
- Focus on Creativity: Spend more time refining your concept art and less time worrying about the technical challenges of 3D modeling.
Conclusion: Embrace the Future of 3D Creation
Creating concept art that translates seamlessly into 3D models is essential for efficient and successful 3D projects. By following the principles outlined in this guide, you can create concept art that is both visually stunning and technically sound. And with innovative tools like Hitem3D, the barrier between 2D design and 3D creation is becoming smaller than ever before.
Ready to experience the power of AI-driven 3D model generation? Create For Free with Hitem3D today and revolutionize your concept-to-3D workflow. Visit Hitem3D Create to get started!
FAQ: Frequently Asked Questions About Concept Art for 3D
Q: What file formats should I use for my concept art?
A: Common file formats for concept art include JPG, PNG, and PSD. For orthographic turnarounds, consider using a layered PSD file that allows the 3D modeler to easily isolate each view.
Q: How much detail should I include in my concept art?
A: The level of detail will depend on the complexity of the design and the needs of the 3D modeler. As a general rule, provide enough detail to clearly communicate the form, materials, and function of the design.
Q: Should I provide multiple variations of a design?
A: Providing multiple variations can be helpful for exploring different design options and allowing the 3D modeler to choose the best approach. However, be sure to prioritize clarity and focus on the most promising variations.
Q: How can I improve my communication with 3D modelers?
A: Establish open communication channels, provide clear and concise instructions, and be receptive to feedback. Regular meetings and check-ins can help to ensure that everyone is on the same page.
Q: Is Hitem3D suitable for all types of concept art?
A: Hitem3D is particularly well-suited for converting concept art of objects, characters, and environments into 3D models. Its AI-powered platform excels at reconstructing hidden structures and generating high-quality textures, making it a valuable tool for a wide range of 3D projects.