Great games are built on more than just tight controls and solid mechanics; they are defined by the spaces that invite exploration, evoke emotion, and challenge players at the perfect pace. Whether you are building a sprawling open-world RPG, an intense multiplayer shooter, or a cozy puzzle game, mastering level design is the crucial link between a game’s underlying code and the player’s actual experience.
However, starting at an empty 3D grid can be incredibly intimidating. How do you guide a player without holding their hand? How do you balance fun with frustration? In this comprehensive guide, we will explore core level design principles, break down the environmental development pipeline, and teach you how to design game levels that leave a lasting impact on your audience.
What is Game Level Design?
Game level design is the discipline of creating the interactive spaces, environments, and stages within a video game where gameplay takes place. It is a strategic blend of architecture, psychology, and pacing designed to ensure players intuitively understand their objectives, utilize game mechanics effectively, and remain deeply immersed in the virtual world.
While environment artists focus on how a world looks, level designers focus on how a world plays.
Core Level Design Principles You Need to Know
To create environments that feel both natural and engaging, professional developers rely on several time-tested level design principles.
1. Visual Player Guidance (Leading the Eye)
One of the hardest tasks in game level design is telling the player where to go without explicitly using arrows or text prompts. Good design uses subtle visual cues:
- Lighting: Players are naturally drawn to illuminated areas. Placing a bright light over a doorway or a glowing item at the end of a dark corridor implicitly tells the player, “Go here.”
- Color Theory: Using contrasting colors for interactive elements (like the famous yellow paint on climbable ledges or red explosive barrels) quickly trains the player on what they can interact with.
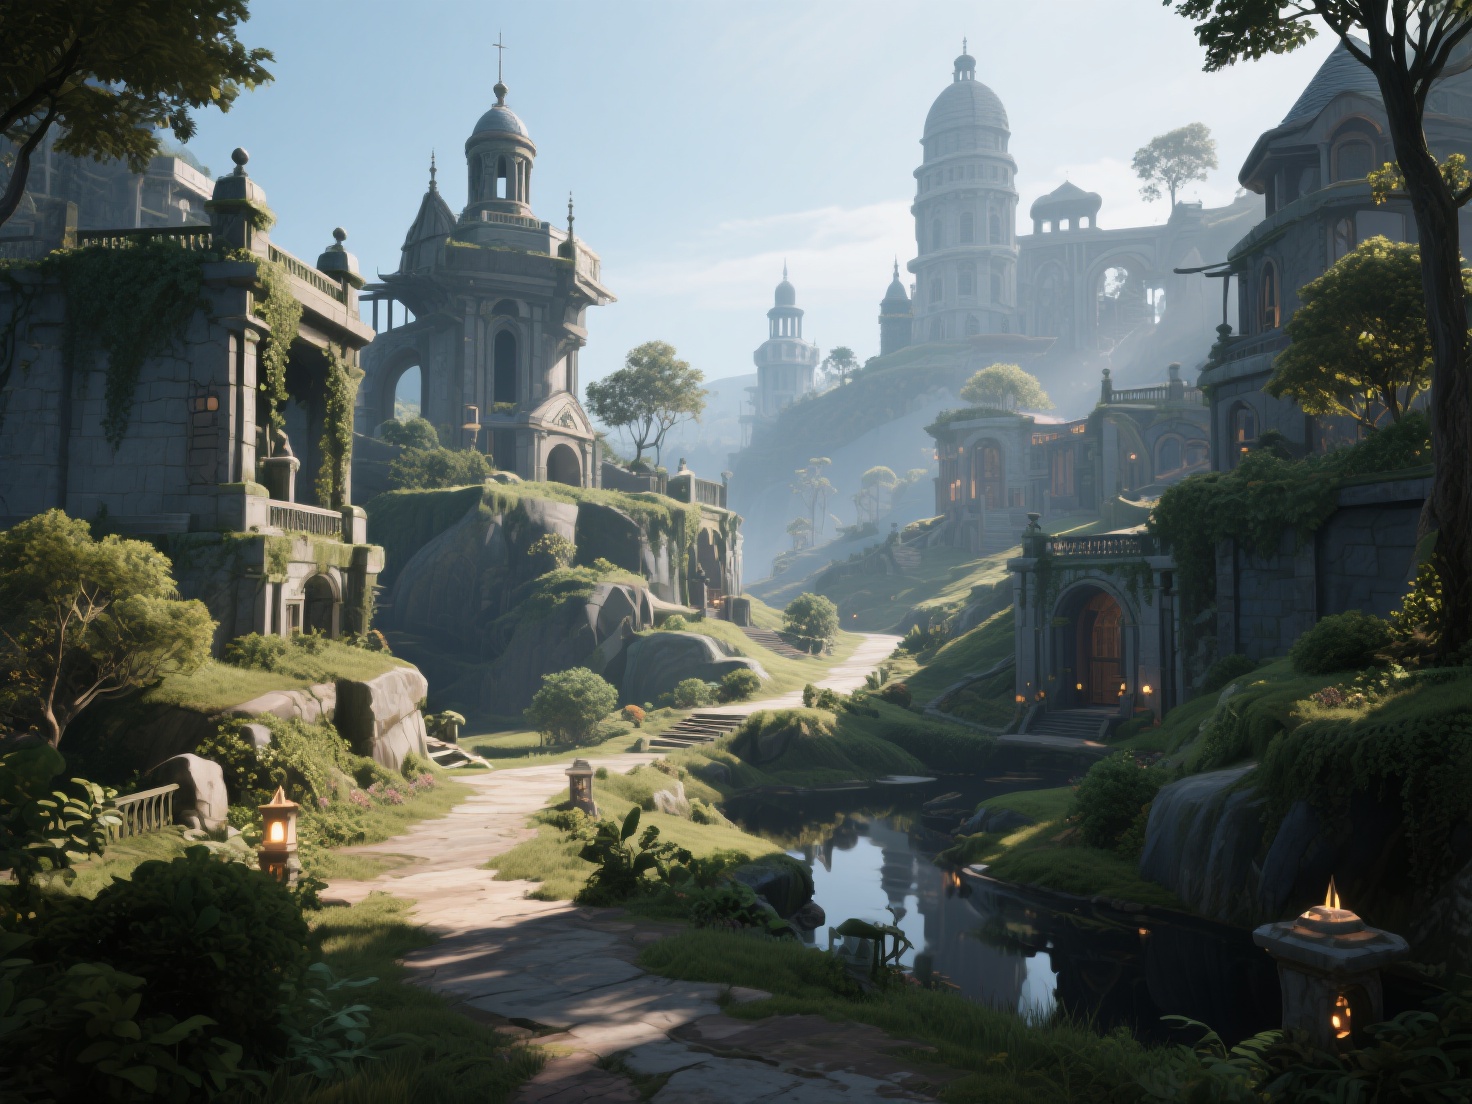
- Landmarks (Weenies): A concept borrowed from Disney theme parks, placing massive, distinct structures in the background (like a towering castle or a glowing mountain) helps players orient themselves without a mini-map.
2. Mastering Flow and Pacing
A level should never be a continuous, exhausting barrage of enemies, nor should it be an endless, boring walk. Pacing is about creating a rhythm of tension and release.
Designers often structure levels in waves: a challenging combat encounter, followed by a quiet puzzle, followed by a safe zone for looting and resting. This rhythmic flow keeps player fatigue at bay and makes the action sequences feel much more impactful.
3. The Challenge Curve and Reward Placement
Learning how to design game levels requires understanding the “Flow Channel”—the sweet spot between anxiety (too hard) and boredom (too easy).
Introduce a new mechanic in a safe environment. Once the player proves they understand it, introduce a slightly harder variation. Finally, test them with a complex challenge that combines mechanics. Upon overcoming this challenge, reward the player with meaningful loot, a narrative cinematic, or a stunning vista to validate their effort.
4. Environmental Storytelling
“Show, don’t tell” is a golden rule in game development. Environmental storytelling involves placing props, textures, and geometry in a way that implies a narrative. A barricaded door with scratch marks on the inside, a dinner table set for two but abandoned in a rush, or a skeleton clutching a rusty sword all tell stories without a single line of dialogue.
The Level Design Process: From Sketch to Final Art
Creating a level is an iterative process. Moving straight into 3D modeling without a plan almost always leads to wasted time. Here is the standard six-step workflow used by industry professionals.
Step 1: Paper Planning and Layouts
Before touching a game engine, sketch your level on paper or a digital canvas. Define the start point, the end goal, key choke points, and major encounter zones. This top-down view helps you establish the critical path (the main route to the objective) and secondary paths (hidden areas for explorers).
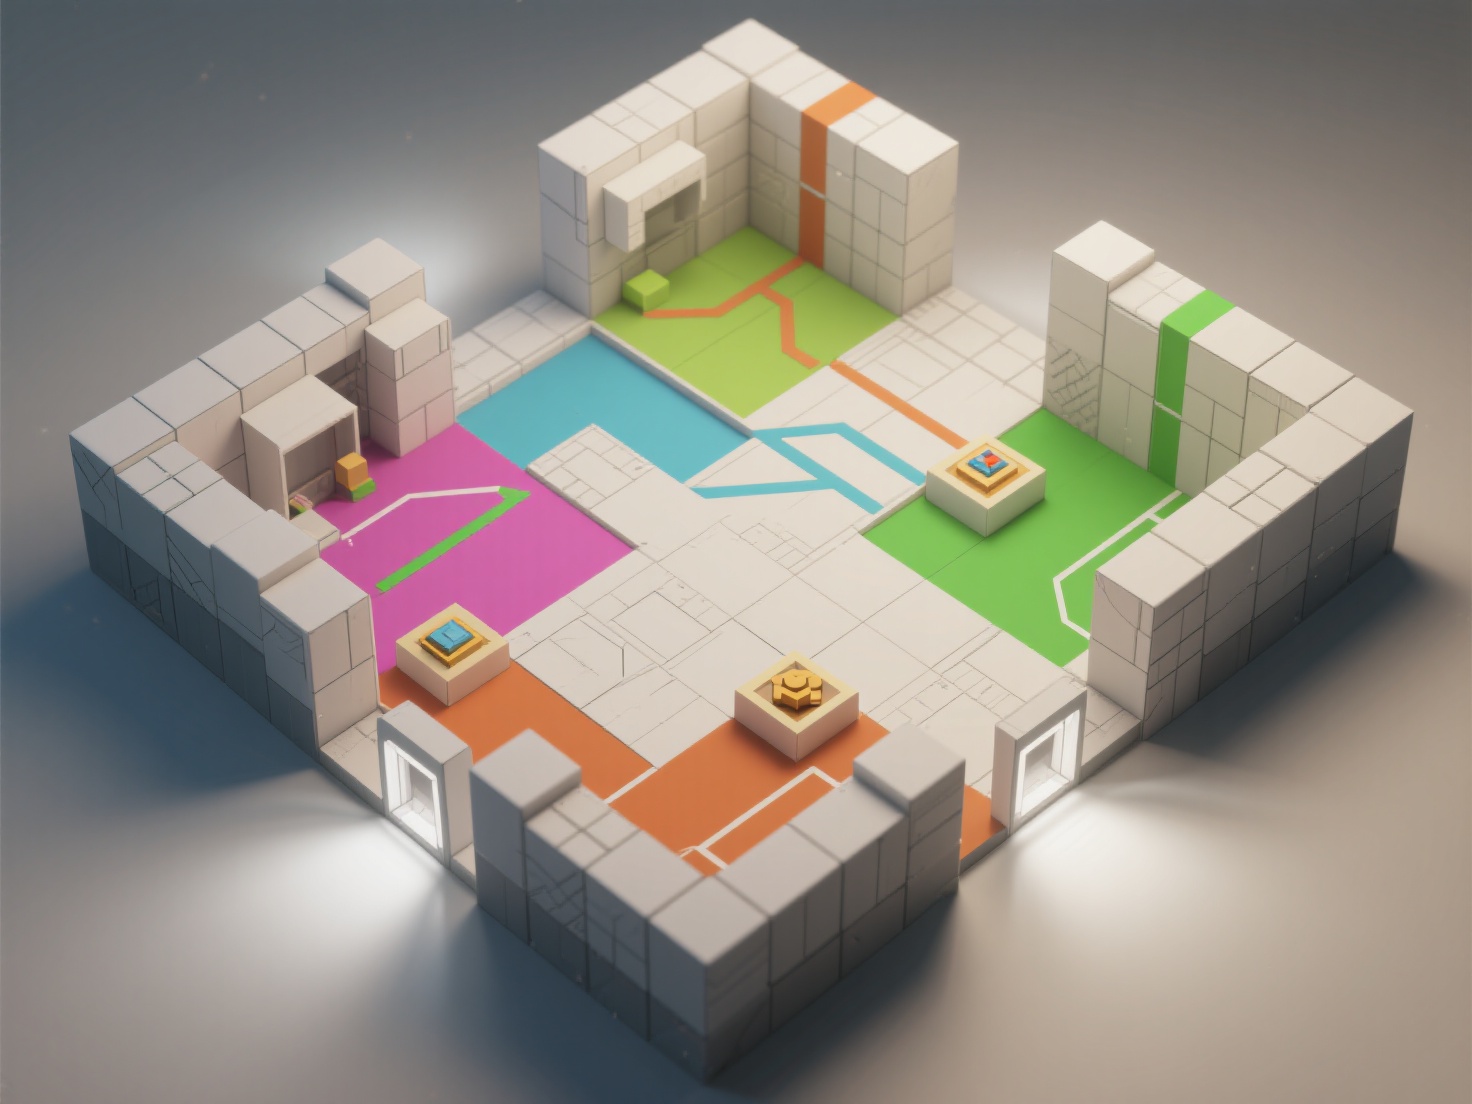
Step 2: The Blockout Phase (Greyboxing)
Once the 2D layout is solid, transition to a 3D game engine (like Unreal Engine or Unity) and build the level using basic geometric shapes (cubes, cylinders, ramps). This is called “greyboxing” or “blocking out.” The goal here is to establish scale, jump distances, and sightlines without worrying about textures or art.
Step 3: Scripting and Playtesting
Add basic gameplay logic—spawn points, enemy AI, triggers, and moving platforms. Once the level is playable, playtest it relentlessly. Invite people who have never seen the level to play it. Watch where they get stuck, where they get bored, and where they die unfairly. Iterate on the blockout based on this feedback.
Step 4: The Final Art Pass
Once the gameplay is locked in and the blockout is fun to play, it is time for the art pass. This is where environment artists replace the grey boxes with final 3D meshes, apply materials, add set dressing (clutter, foliage), and finalize the atmospheric lighting.
Real-World Applications and Examples
To truly understand these concepts, let’s look at how successful games implement them:
- Super Mario Bros. (World 1-1): The quintessential example of teaching mechanics safely. The placement of the first Goomba and the first Question Block forces the player to learn that jumping is both an attack and a way to interact with the world.
- Elden Ring: FromSoftware’s masterpiece excels at using massive landmarks (the Erdtree, legacy castles) to guide players across an open world naturally, rewarding curiosity with bespoke mini-dungeons.
- The Last of Us: Naughty Dog uses environmental storytelling and meticulous lighting to guide players through ruined cities, using yellow cables or subtle spotlighting to highlight the critical path amidst visual chaos.
Best Practices for How to Design Game Levels
Keep these actionable tips in mind when building your next environment:
| Best Practice | Description |
|---|---|
| Kill Your Darlings | Don’t fall in love with your first draft. If a section looks beautiful but plays terribly, you must be willing to delete or alter it. |
| Avoid Dead Ends | If a player explores a secondary path, reward them. Don’t make them walk all the way back through an empty hallway. Create looping shortcuts. |
| Use Modular Kits | Build levels using modular 3D assets (walls, floors, pillars that snap together on a grid). This saves massive amounts of time during the art pass. |
| Optimize Sightlines | Block long sightlines to improve game performance (occlusion culling) and to build suspense by hiding what is around the next corner. |
Accelerating Your Level Design Workflow with AI
One of the biggest bottlenecks transitioning from Step 2 (Blockout) to Step 4 (Final Art Pass) is asset creation. Populating a level with unique statues, background architecture, scatter props, and environmental storytelling elements can drain a small indie team’s resources and take weeks of manual 3D modeling.
This is where integrating next-generation AI tools like Hitem3D can revolutionize your workflow.
As an AI-powered 3D model generator, Hitem3D allows developers to instantly turn 2D concept art, reference images, or even rough sketches into production-ready 3D models. Built on proprietary Sparc3D (high precision) and Ultra3D (high efficiency) models, it acts as a massive shortcut for environment artists and level designers.
Here is how Hitem3D solves common game dev bottlenecks:
- Invisible Parts Reconstruction: Unlike basic photogrammetry, Hitem3D intelligently infers and reconstructs the hidden geometry of an object from a single image. You get a fully volumetric prop that looks great from every angle, perfect for dropping directly into your game level.
- De-Lighted PBR Textures: Game engines like Unreal and Unity require materials to react dynamically to in-game lights. Hitem3D generates 4K PBR-ready textures while automatically removing baked-in lighting and shadows from the original image. This ensures your assets look natural regardless of your level’s lighting setup.
- Engine-Ready Formats: Export directly to game-industry standards like FBX, OBJ, or GLB. With resolutions up to 1536³ Pro (yielding up to 2M polygons), you can generate high-fidelity hero props and easily decimate them as needed for performance.
- Risk-Free Iteration: Level design requires iteration. Hitem3D’s Free Retry system allows you to regenerate results until you find the perfect prop to fit your level’s aesthetic, without wasting your credits.
Whether you need a specific gargoyle for a gothic cathedral level or a futuristic terminal for a sci-fi corridor, AI generation bridges the gap between greybox and final art in minutes rather than days.
Conclusion: Start Building Memorable Worlds
Great level design is the invisible hand that guides the player through an unforgettable experience. By mastering level design principles like visual guidance, flow, pacing, and environmental storytelling, you can transform basic game mechanics into legendary digital worlds. Remember to start simple with paper layouts, greybox your ideas, test relentlessly, and leverage modern tools to speed up your art passes.
Ready to populate your game levels with stunning, high-fidelity 3D assets in seconds? Don’t let modeling bottlenecks slow down your creative process.
Create For Free -> hitem3d.ai
Frequently Asked Questions (FAQ)
What is the difference between environment art and level design?
Level design focuses on the gameplay, layout, and pacing of a space—ensuring it is fun to navigate and play in. Environment art focuses on the visual aesthetics, texturing, lighting, and creating the final 3D models that make the space look believable and beautiful.
How do I start learning level design?
The best way to start is by modding existing games. Tools like the Source Engine (Half-Life/Portal), Bethesda’s Creation Kit (Skyrim), or Unreal Editor for Fortnite (UEFN) provide pre-built mechanics and assets, allowing you to focus purely on layout, pacing, and learning how to design game levels.
What software is best for game level design?
For modern game development, Unreal Engine and Unity are the industry standards for blocking out and assembling levels. For creating the actual 3D assets to fill those levels, developers use software like Blender, Maya, ZBrush, and AI generators like Hitem3D to accelerate asset creation.