Few things are more frustrating than waiting hours for a project to finish, only to discover that your 3D printing failed. Whether you are greeted by a tangled mess of plastic spaghetti or a part with severe structural defects, dealing with 3D printing problems is an inevitable rite of passage for any maker.
However, print failures do not mean your machine is broken. Most issues are caused by minor calibration errors, slicer settings, or even poorly constructed 3D models. In this comprehensive guide, we will walk you through essential 3D print troubleshooting techniques, helping you diagnose, fix, and prevent the most common errors so you can get back to creating flawless prints.
What is 3D Print Troubleshooting?
3D print troubleshooting is the systematic process of identifying, diagnosing, and resolving physical, mechanical, or software-related defects in a 3D printed object to achieve optimal print quality. It involves analyzing the visual symptoms of a failed print (such as warping or stringing) and adjusting hardware calibrations or slicer settings to fix the root cause.
Quick Reference: 3D Print Troubleshooting Matrix
Before diving into detailed fixes, use this quick diagnostic table to identify your issue:
| Visual Symptom | Common Name | Likely Culprits |
|---|---|---|
| Corners of the print lifting off the bed | Warping | Uneven cooling, unheated bed, drafty room |
| Spiderweb-like plastic strings between parts | Stringing / Oozing | Retraction settings, print temperature too high |
| The print suddenly steps to the left or right | Layer Shifting | Loose belts, stepper motor skipping, print head collision |
| Gaps, missing layers, or fragile prints | Under-Extrusion | Partial nozzle clog, low temperature, tangled filament |
| Drooping plastic, blobs, or lost details | Over-Extrusion | Flow rate multiplier too high, incorrect E-steps |
| Print knocks off the bed mid-print | Adhesion Failure | Dirty build plate, Z-offset too high |
| Bulging outward at the very bottom layers | Elephant’s Foot | Bed temperature too high, nozzle too close to bed |
10 Common 3D Printing Problems & Step-by-Step Fixes
1. Warping (Corners Lifting)
If you are wondering how to fix warping 3D print issues, you are not alone. Warping occurs when the plastic cools and shrinks too quickly, causing the corners of your model to curl and detach from the build plate.
- The Fix: Use a heated bed to keep the lower layers warm and stabilize the plastic. Apply a bed adhesive like glue stick or hairspray. In your slicer, add a Brim or Raft to increase the surface area touching the bed. For temperature-sensitive materials like ABS, use an enclosure.
2. Stringing or Oozing
Stringing looks like cobwebs or fine hairs stretched across gaps in your model. It happens when plastic continues to ooze out of the nozzle while the print head is traveling between different parts of the print.
- The Fix: Enable and tune your Retraction settings in your slicer. This pulls the filament back slightly during travel moves. Additionally, try lowering your printing temperature by 5°C to 10°C to make the melted plastic less runny. Drying your filament can also drastically reduce stringing.
3. Layer Shifting
Layer shifting results in a model that looks like it has been sliced and slid horizontally. This is a mechanical issue where the printer loses track of its position.
- The Fix: Check your X and Y axis belts; they should be taut like a guitar string, but not over-tightened. Ensure the pulleys on your stepper motors are securely fastened. Sometimes, the nozzle catches on a curled piece of plastic—enabling Z-hop in your slicer can prevent these collisions.
4. Under-Extrusion
Under-extrusion means the printer is not pushing out enough plastic, resulting in missing layers, weak parts, or sponge-like textures.
- The Fix: Check for a tangled spool of filament that is restricting the extruder. If the spool rotates freely, you may have a partial nozzle clog (see issue #9). Finally, check your print temperature; if it is too low, the plastic will struggle to flow.
5. Over-Extrusion
The opposite of under-extrusion, over-extrusion pushes out too much plastic. Your prints will suffer from poor dimensional accuracy, drooping layers, and blobs on the outer walls.
- The Fix: Check your Flow Rate (or Extrusion Multiplier) in your slicer and reduce it by 5%. If the problem persists, you may need to calibrate your extruder’s E-steps to ensure it is feeding the exact amount of filament requested.
6. First Layer Adhesion Failure
If the very first layer fails to stick to the bed, your entire 3D printing failed before it even began.
- The Fix: A clean bed is crucial. Wipe down your build plate with isopropyl alcohol (IPA) to remove oils left by your fingers. Next, adjust your Z-offset. The nozzle needs to squish the filament onto the bed properly—too high, and it won’t stick; too low, and it will scrape the bed.
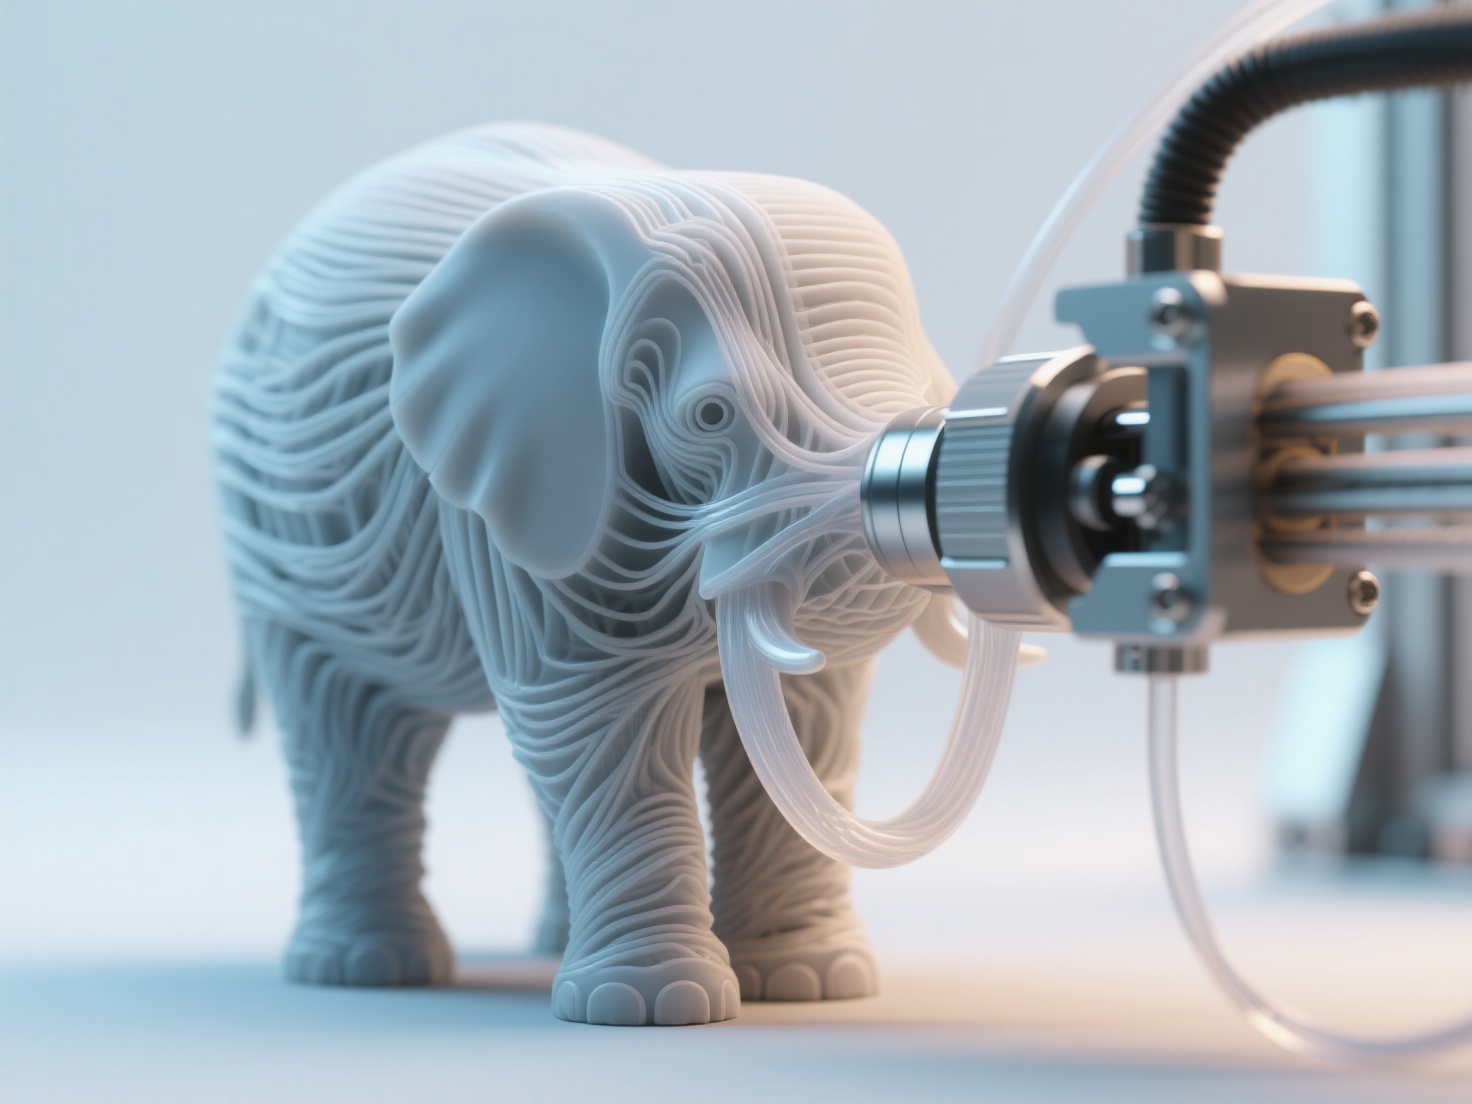
7. Elephant’s Foot
This defect causes the first few layers of a print to bulge outward, ruining the dimensional accuracy of parts that need to fit together.
- The Fix: Lower your heated bed temperature by 5°C after the first layer. You can also use the Initial Layer Horizontal Expansion (or Elephant Foot Compensation) setting in your slicer, which shrinks the first layer slightly to offset the bulge.
8. Ghosting (Ringing)
Ghosting appears as faint, repeating ripples or echoes on the surface of your print, usually following a sharp corner or text. It is caused by vibrations in the machine’s frame.
- The Fix: The easiest fix is to reduce your print speed and acceleration settings. Ensure your printer is sitting on a heavy, stable surface. Tightening loose belts and tightening the bolts on your printer frame will also minimize vibrations.
9. Clogged Nozzle
A clogged nozzle stops extrusion entirely. You will hear the extruder gear clicking as it grinds against the filament, unable to push it through.
- The Fix: Heat the nozzle to your normal printing temperature and use an acupuncture needle to clear the tip. If that fails, perform a Cold Pull (Atomic Pull) using nylon or cleaning filament to yank out the debris.
10. Support Removal Damage
Sometimes the print is successful, but removing the support structures leaves ugly pockmarks or breaks delicate parts of the model.
- The Fix: Increase the Support Z Distance (the gap between the support and the model) in your slicer. Switching to Tree Supports (or Organic Supports) can drastically reduce the amount of plastic touching your model, making them incredibly easy to snap off. Additionally, starting with a clean, fully manifold 3D model ensures supports are generated accurately.
Real-World Application: The Importance of a Good Foundation
Mastering 3D print troubleshooting goes beyond tweaking your machine; it actively impacts professional workflows. For example, a cosplay prop maker dealing with layer shifting might waste a whole spool of filament and 48 hours of print time. A product designer struggling with elephant’s foot won’t be able to snap their prototype casing together.
It is vital to recognize that hardware and software are interconnected. Often, makers spend hours adjusting belts and temperatures when the root cause is actually a poorly optimized, non-manifold 3D model downloaded from the internet. Models with zero-thickness walls, inverted normals, or hidden internal geometries confuse slicers, leading to bizarre extrusion issues and ruined prints.
Best Practices to Prevent 3D Printing Problems
To minimize the chances of a 3D printing failed error, implement these preventative habits into your workflow:
Maintain Your Machine: Regularly lubricate lead screws, clean the build plate, and check the tension of your belts and V-roller wheels.
Dry Your Filament: Moisture absorbed by PLA, PETG, and especially Nylon boils inside the hot end, causing stringing, popping noises, and brittle prints. Store filament in a dry box.
Start with a High-Quality 3D Model: A massive percentage of printing issues stem from bad mesh geometry. Before sending a file to your printer, ensure the model is “print-ready.”
If you struggle with finding or creating models with clean geometry, leveraging AI tools can save you hours of mesh repair. Hitem3D is an excellent solution for generating structurally sound models. Its Invisible Parts Reconstruction technology accurately hallucinates and builds out hidden geometries beyond the visible surfaces of a 2D image, ensuring your mesh is fully manifold and closed—the perfect foundation for flawless slicing.
Conclusion & Next Steps
Encountering 3D printing problems is completely normal. By systematically analyzing the symptoms—whether you need to fix warping 3D print corners or clear a clogged nozzle—you can quickly dial in your settings and get back to successful printing. Remember, excellent prints require a combination of a well-calibrated machine, dry filament, and a geometrically perfect 3D model.
If you are tired of dealing with broken meshes and slicing errors from subpar models, try upgrading your modeling workflow. Hitem3D is a Next-Gen AI 3D Model Generator powered by the proprietary Sparc3D and Ultra3D models. It turns simple 2D images into high-fidelity, print-ready geometry with sharp edges. Best of all, it features one-click direct export to Bambu Studio and OrcaSlicer, completely streamlining your path from idea to physical object. You can even use its Free Retry system to regenerate results without wasting credits until you get the perfect model.
Ready to print perfectly optimized 3D models with zero hassle?
Create For Free
Frequently Asked Questions (FAQ)
Why does my 3D print look like spaghetti?
Spaghetti prints happen when your model detaches from the build plate mid-print, or when the printer attempts to print in mid-air without proper support structures. The extruded plastic has nothing to adhere to, resulting in a tangled mess.
Can a bad STL file cause 3D printing problems?
Absolutely. If an STL file has “non-manifold” edges (holes in the surface) or inverted faces, the slicer won’t know what is inside or outside the model. This leads to missing layers and failed prints. Using AI generators like Hitem3D ensures your outputs have clean, solid, print-ready geometry.
How often should I level my 3D printer bed?
If you have a manual leveling system, you should check your bed level every 3–5 prints, or anytime you forcefully scrape a print off the bed. If your printer has Auto Bed Leveling (ABL), it is still good practice to run the mesh calibration once a month or whenever you change the nozzle.