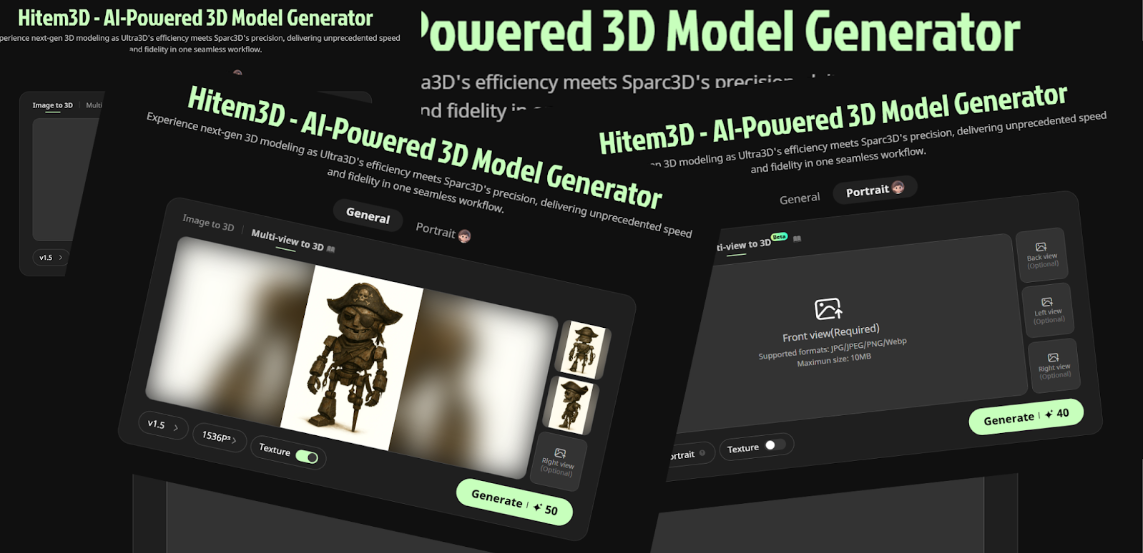
From image to 3DModel: My Journey with Hitem3D
I have tried a lot of tools. Most were fun for a day and then disappeared from my workflow. However, Hitem3D doesn’t.
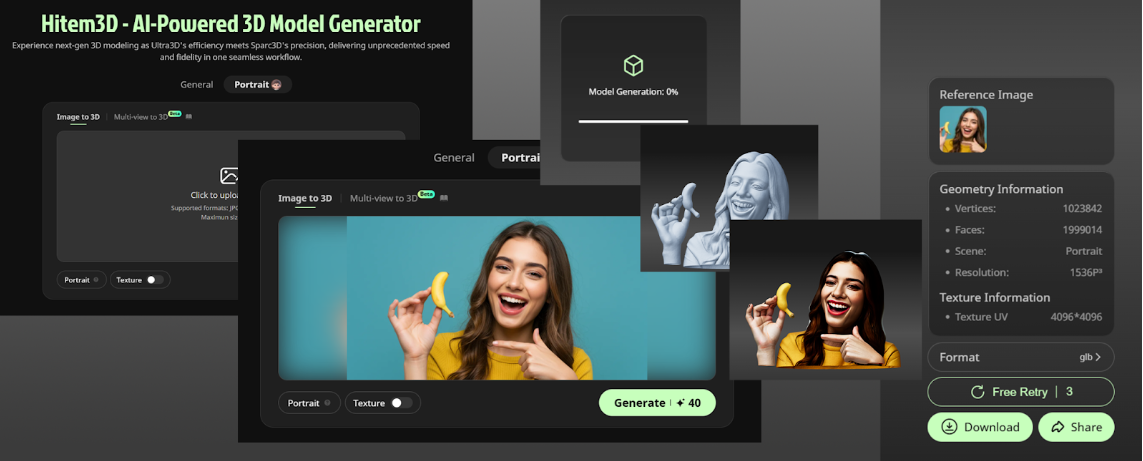
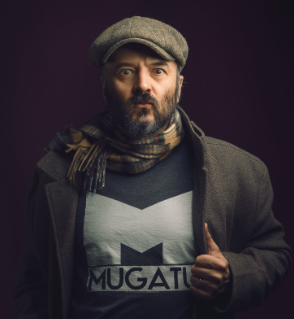
The first time I tested it, I tossed in a single selfie just for kicks and got back a clean 3D bust that actually looked like me—well, me as Gru from Despicable Me, but still. The geometry was usable, and the exports dropped straight into Blender without drama. That’s when I stopped “testing” and started building real projects.
Below is how I use Hitem3D, why the latest updates matter, and where it lands against other 2D-to-3D tools from a working creator’s point of view.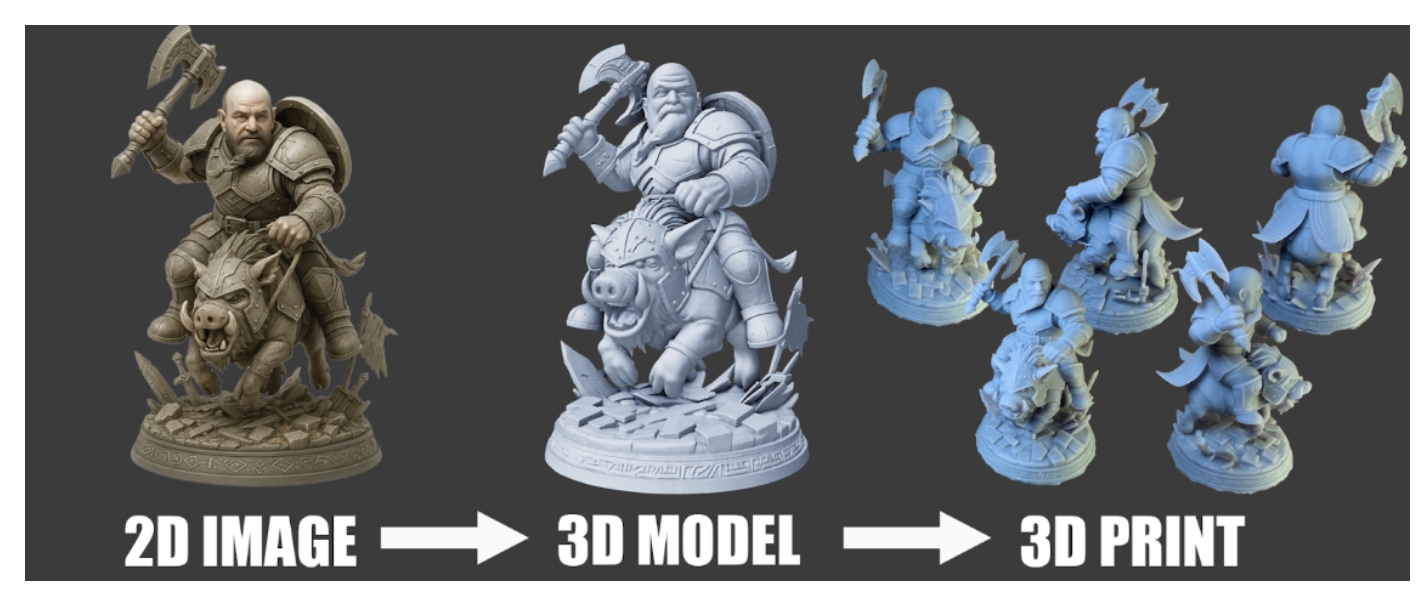
What Hitem3D Gets Right (the short version)
It nails the fundamentals:
- Single-image to 3D that isn’t lumpy junk.
- Multi-view when you have extra angles—results tighten up fast.
- Portrait mode that preserves likeness instead of the generic “AI face.”
- Pro 1536^3 meshes that are dense where it counts, so I spend less time cleaning.
- Low-poly preset that’s actually shippable for mobile/background work.
- Real exports: STL, OBJ, GLB, FBX—with optional textures. It just works.
The first big win: Portraits that don’t betray you
Most 2D→3D generators drift. You upload your face and get a weird cousin. Hitem3D’s Portrait mode holds identity. That opened up custom busts, figurines, and cosplay parts—projects where likeness is the whole point.
My flow: clean selfie → Portrait mode → generate with textures → quick Blender sanity check (scale/supports) → resin print. If it’s for a beauty shot or client hero, I’ll splurge on Pro 1536³ for the final.
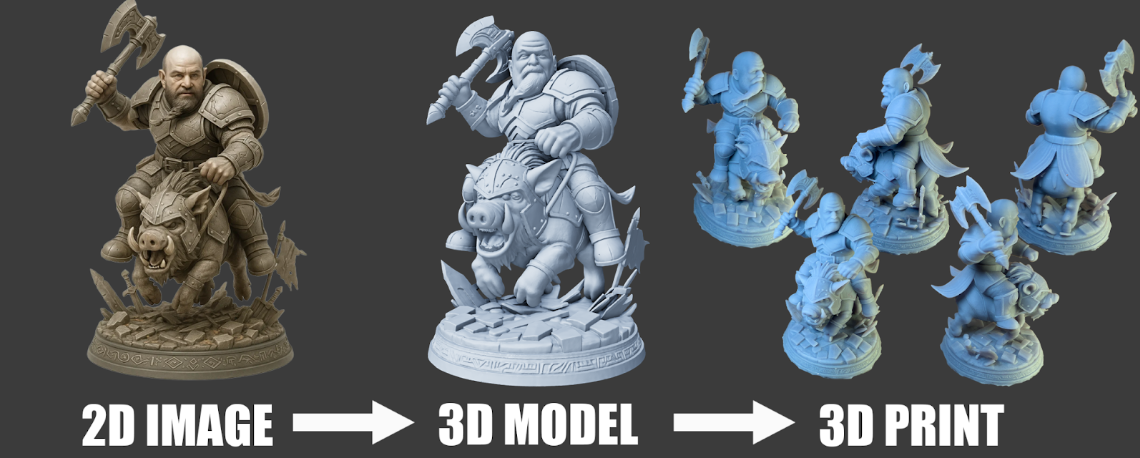
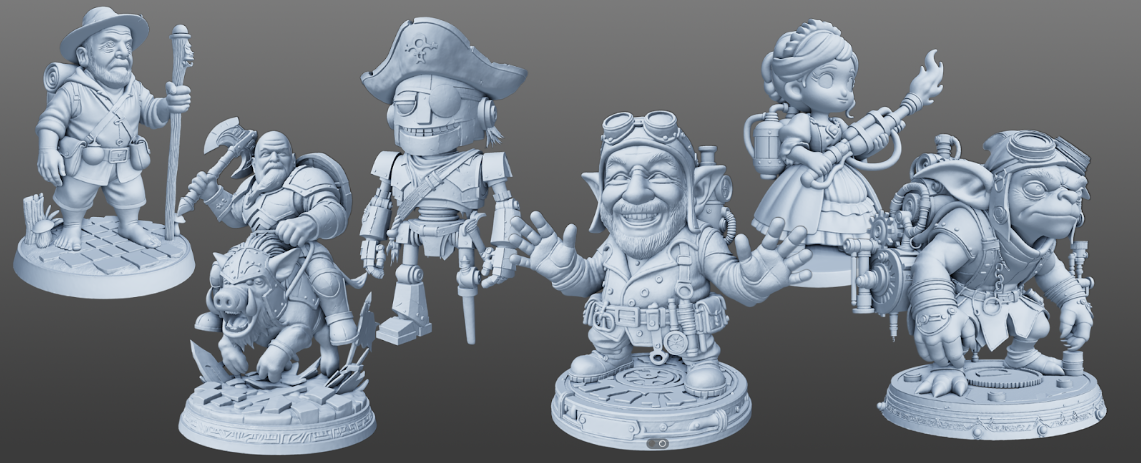
The everyday workhorse: props from a single photo
On deadlines, I rarely have perfect turnarounds. My torture test is a single three-quarter car photo. Hitem3D gives me a complete shell, sensible back faces, and even roughs in the interior enough to sell the shot. Turn textures off, and the structure still reads. For background assets, previs, or stylized games, it’s a lifesaver. If I do have more photos, I switch to Multi-View—edges, symmetry, and cavities all clean up.

The surprise hit: jewelry and reliefs
Portraits and props were expected. Jewelry wasn’t. I can prompt “floral signet ring, ready for 3D printing, no floating parts,” export STL, and go straight to castable resin. It’s much faster than sculpting from scratch. The texture preview helps sanity-check how a metal finish will read before you pour anything expensive.
With brooches/reliefs, depth inference is the differentiator. It doesn’t just extrude a 2D image—it gives thickness and form that prints clean and feels solid.
Prompt tips for printing:
- Add
"ready for 3D printing","continuous surfaces","no floating parts". - Start low-poly to lock the idea, then regenerate in Pro.
- Always check overhangs and wall thickness in your slicer.

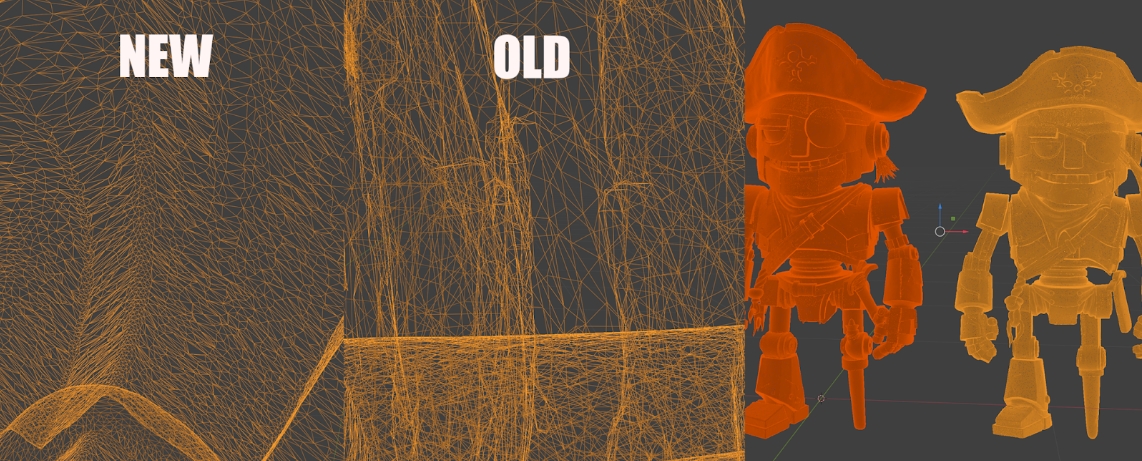
What changed in v1.5—and why it matters
This wasn’t a tiny patch on Sparc3D.
- Multi-View: Feed more references, hallucinations drop. Curves and symmetry improve.
- Portrait mode: Likeness holds better. For client work, that’s the difference between “approved” and “redo.”
- Pro 1536^3 meshes: Not just “more polys”—smarter distribution. Edges and cavities get detail; flats stay lean. Older meshes look “bubbly” next to v1.5, which means less cleanup in Blender.
- Low-poly preset: Legit. I’ve shipped these straight into mobile scenes without guilt.
How it stacks up (creator POV)
I won’t name names—you know the field. Here’s how it feels in practice:
Where Hitem3D shines for me
- Mesh quality at Pro: Saves real cleanup time. I move to layout/print faster.
- Faces: Portrait mode is consistently true to the source.
- Usable low-poly: Many “economy” modes elsewhere are throwaway. Here, they’re great for blocking, mobile, and background work.
- Exports: STL/FBX/GLB/OBJ with textures—no converter detours.
Where you might pair another tool
- Huge material libraries or CAD-style constraints.
- Heavier scene assembly (lights, rig presets) if you need it.
Bottom line: If your job is getting a 2D image into a printable or engine-ready 3D object fast, Hitem3D is likely the first tool to reach for.
Credits without pain
Simple strategy: ideate on low-poly, then commit credits to Pro only when the design is locked and headed for a close-up or the printer.
A 10-minute test drive
- Bust: Drop a clean selfie into Portrait. Generate with textures. Does it look like you?
- Prop: Use a single three-quarter product shot. Generate once, then again with Multi-View. Compare backs/edges/cavities.
- Print: Prompt
"floral signet ring, ready for 3D printing, no floating parts."Export STL and inspect in your slicer.
If you want to try it, here’s my tracking link with bonus credits:
https://www.hitem3d.ai/?sp_source=Geekatplay
Why I’m sticking with it
Because it turns a historically slow, messy phase of 3D work into a fast, repeatable step. I can go from sketch or photo to something printable in an afternoon. That’s real value.
If you build collectibles, props, jewelry—or just want to hold an idea in your hand—give it a spin. And if you make something cool, send me a picture. I like great results even more than great tools.
About the Author
Vladimir Chopine is a digital artist, educator, and founder of Geekatplay Studio, known for producing thousands of tutorials and training videos on 3D design, visual effects, and AI-assisted creativity. With over 35 years in the creative industry—from traditional animation and photography to digital environments, compositing, and AI art—he’s written books, published magazine articles, and led workshops around the world. His focus is bridging imagination and technology, helping artists turn creative ideas into tangible results.
reference links:
https://www.geekatplay.com/
https://www.youtube.com/@Geekatplay
Editor: Ruiz Zhou